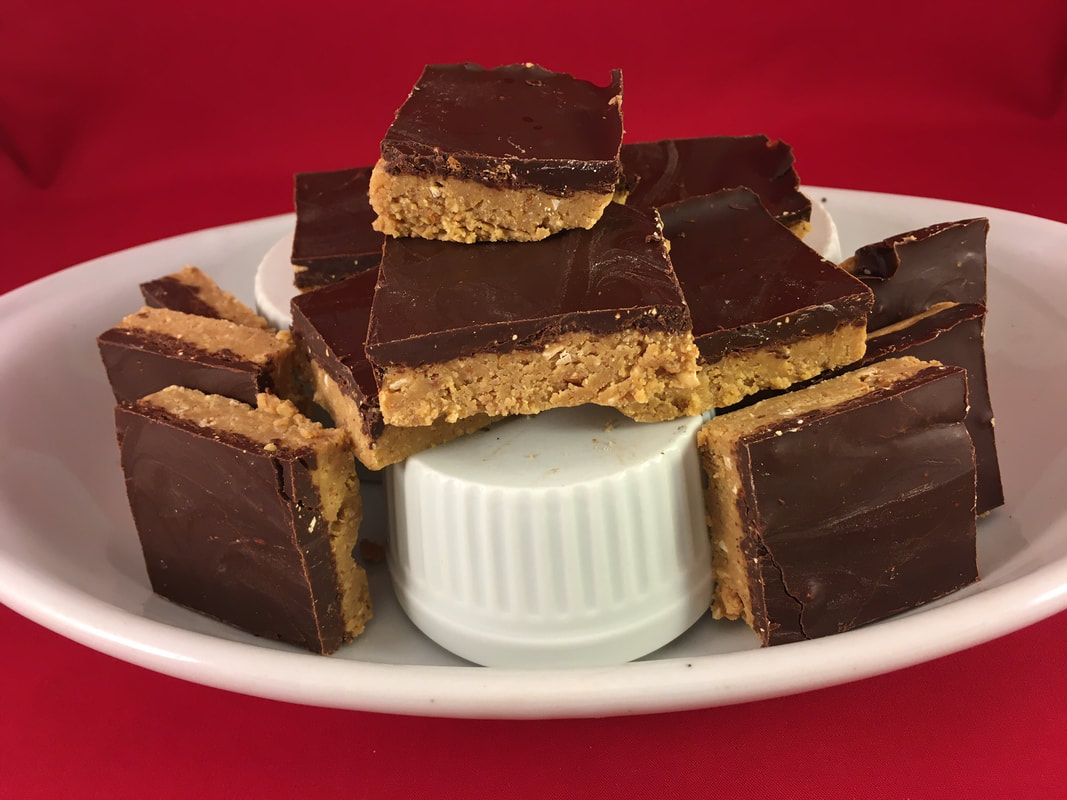
 I am blessed to have a large collection of paper recipes that showcase chocolate. But that doesn't stop me from adding new options to my repertoire, as I find them online. Such is the case with these Chocolate Peanut Butter Bars. Yes, I know - this post is a couple of days earlier than most of my others. But in case you need a super easy/wonderfully delicious last-minute Thanksgiving dessert, this is it. First, you'll need to follow along via the link for the original recipe: https://spoonuniversity.com/recipe/ditch-the-reeses-for-no-bake-chocolate-peanut-butter-bars) 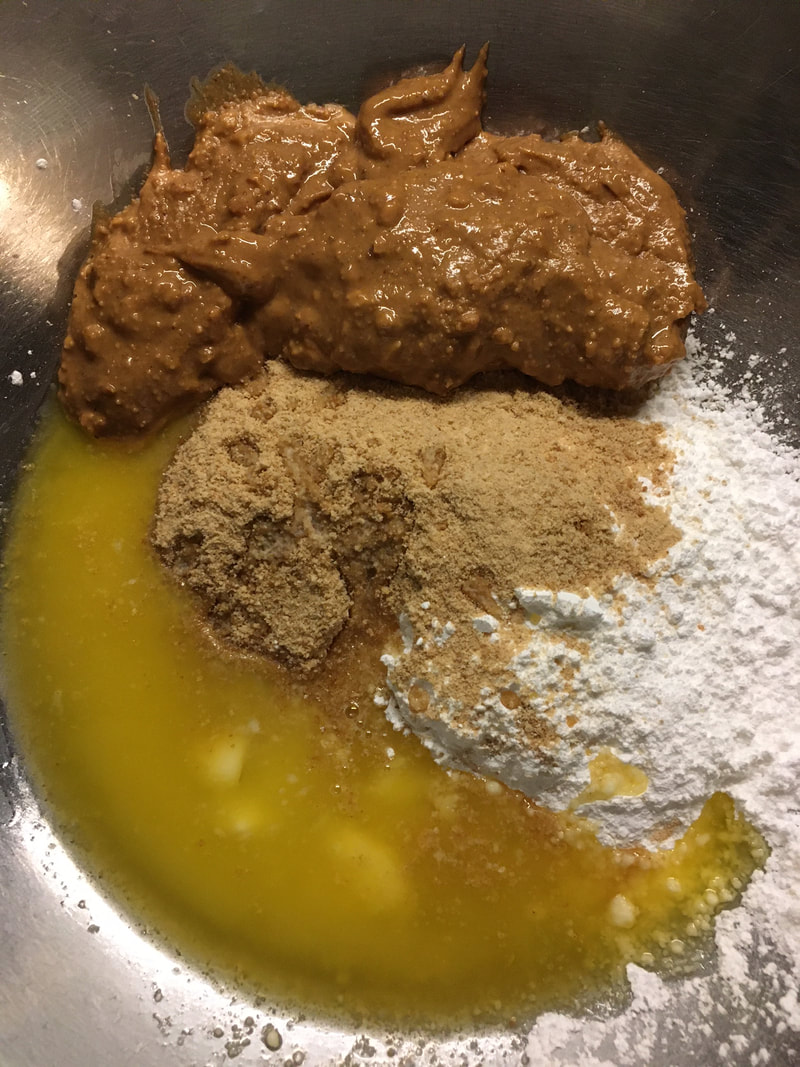 Here's the crust combo (above), in my kitchen. FWIW, I used natural peanut butter whose only ingredients are peanuts and salt. I love the fact this p.b. doesn't add a bit of sugar to the recipe. And I chose crunchy peanut butter, to incorporate a little more texture.  Here's the chocolate layer, coming together in the microwave. I used (and always do!) bittersweet chocolate chips, which further reduced the sugar from the levels in other chips. I suggest heating the combo in 20-30 second increments and stirring after each increment. This took me four go-arounds at around 20 seconds, each. 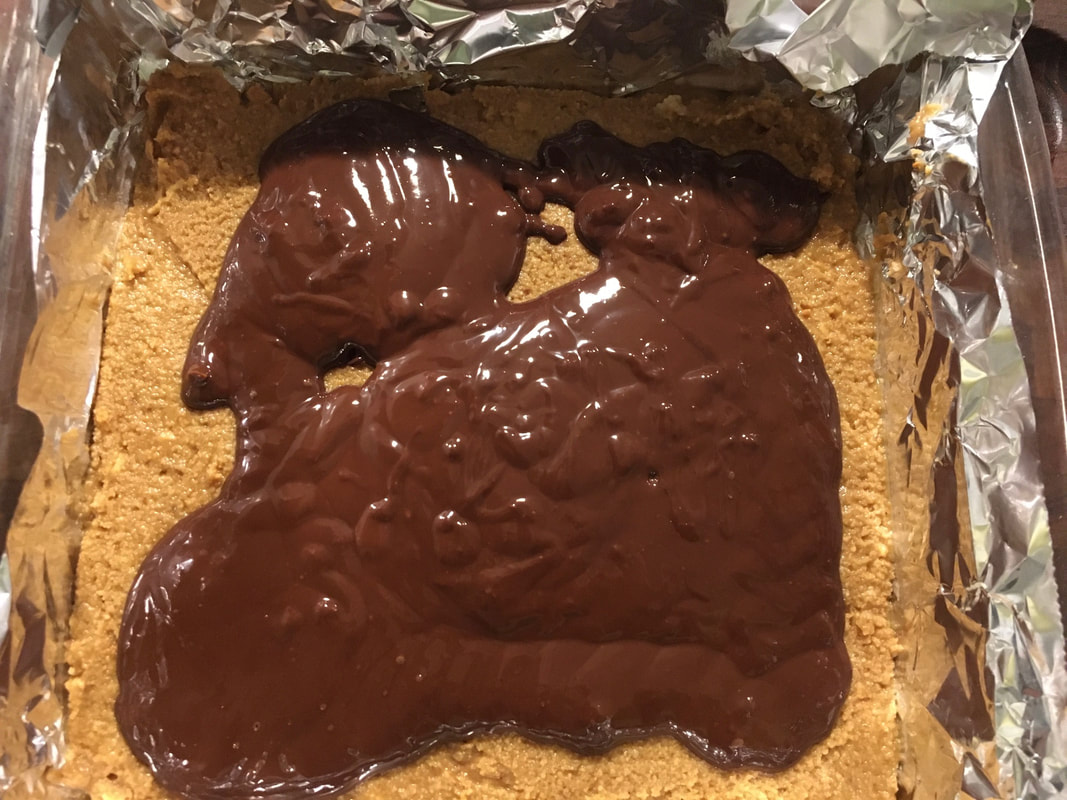 Spreading the chocolate layer atop the crust layer is a breeze. And once these babies are fully 'hardened' it's incredibly tough to stop at just one. Depending on how much indulgence you want in each serving. I also recommend cutting 18-24 squares.
ABOVE ALL, A VERY HAPPY THANKSGIVING TO EVERYONE!!
1 Comment
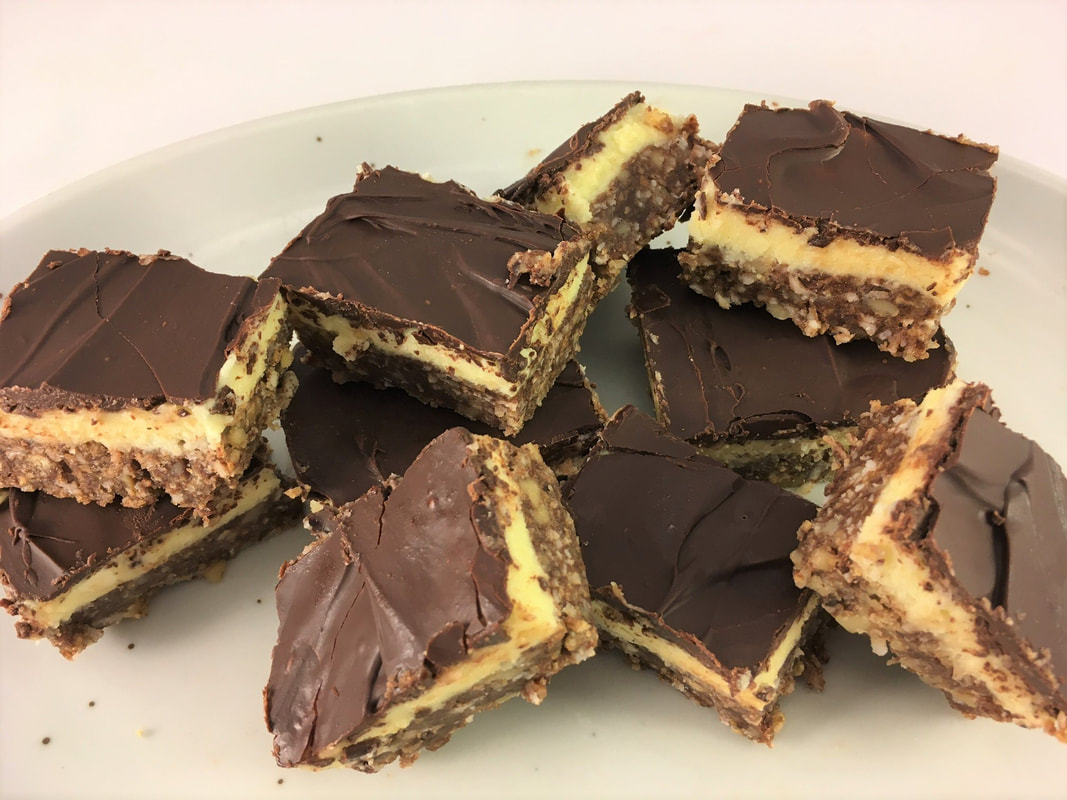 I hadn’t thought about Nanaimo Bars in many years. That is, until last week, as I shared lunch with other travel writers and public relations people at a sleek, contemporary *Nashville restaurant called Roze Pony. And there they were in the bakery case-those decadent, three-layer bars full of chocolate, nuts, coconut, and creamy richness. Each bar looked to be about 3 inches long, per side. That’s a big difference from the recommended size of a one-inch square per serving, in this recipe that Mom used decades ago. She’s still going strong, at 90, but doesn’t recall how she came upon this recipe. So, I did a little digging, myself. Turns out this decadent no-bake dessert was named after the city of Nanaimo (pronounced nuh-NYE-mo), in British Columbia, Canada, on the east side of Vancouver Island. And the bar has been a beloved staple of big celebrations there, for more than seven decades. Since I typically tinker with recipes, I’ve been trying to decide if a little less butter might work. I don’t want to change the custard texture (#2, below) so would keep the butter there. But I think the crust might also perform well with 4 tablespoons of butter and three tablespoons of mild extra virgin olive oil or safflower oil. See what you think of this time-honored recipe and enjoy!  Ingredients #1 ½ cup butter 1/8th package unsweetened chocolate 1 egg, beaten 2 cups graham cracker crumbs 1 cup grated coconut 1 cup chopped walnuts 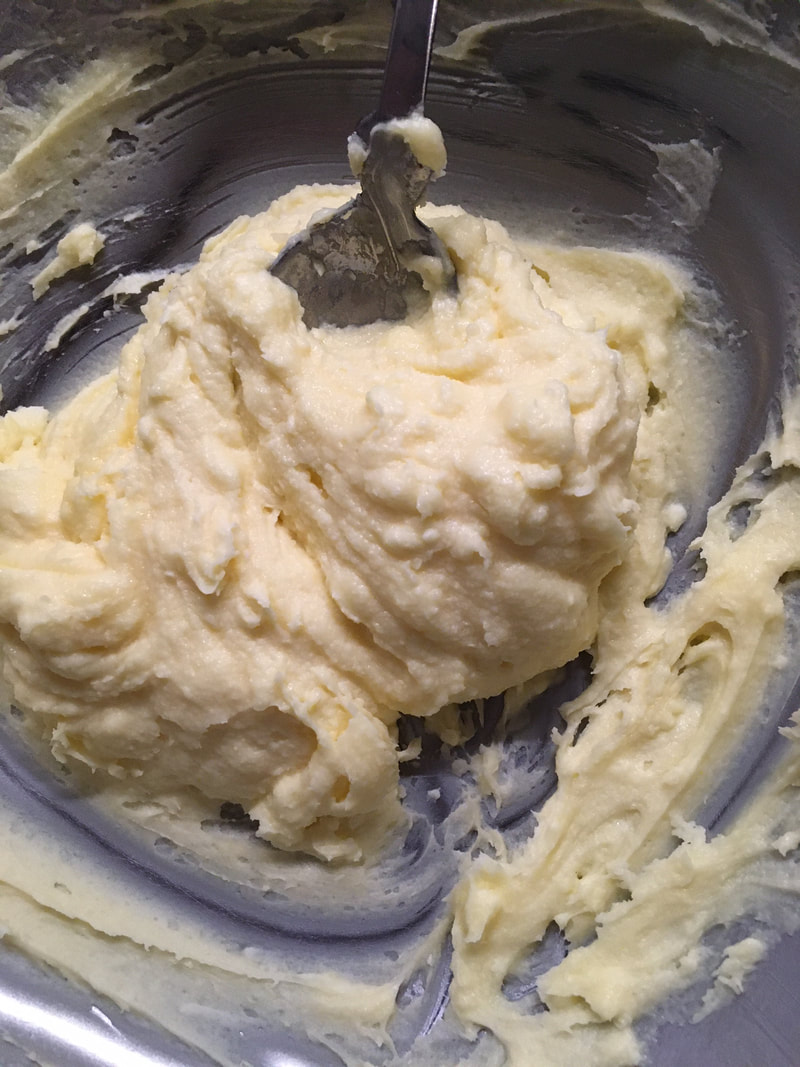 Ingredients #2 ½ cup butter 1 teaspoon vanilla 2 tablespoons instant vanilla pudding (many Canadians use custard powder, instead. It creates creamier texture & distinctive yellow color, but it’s hard to find in the U.S.) 2 cups confectioner’s sugar 3-5 tablespoons milk 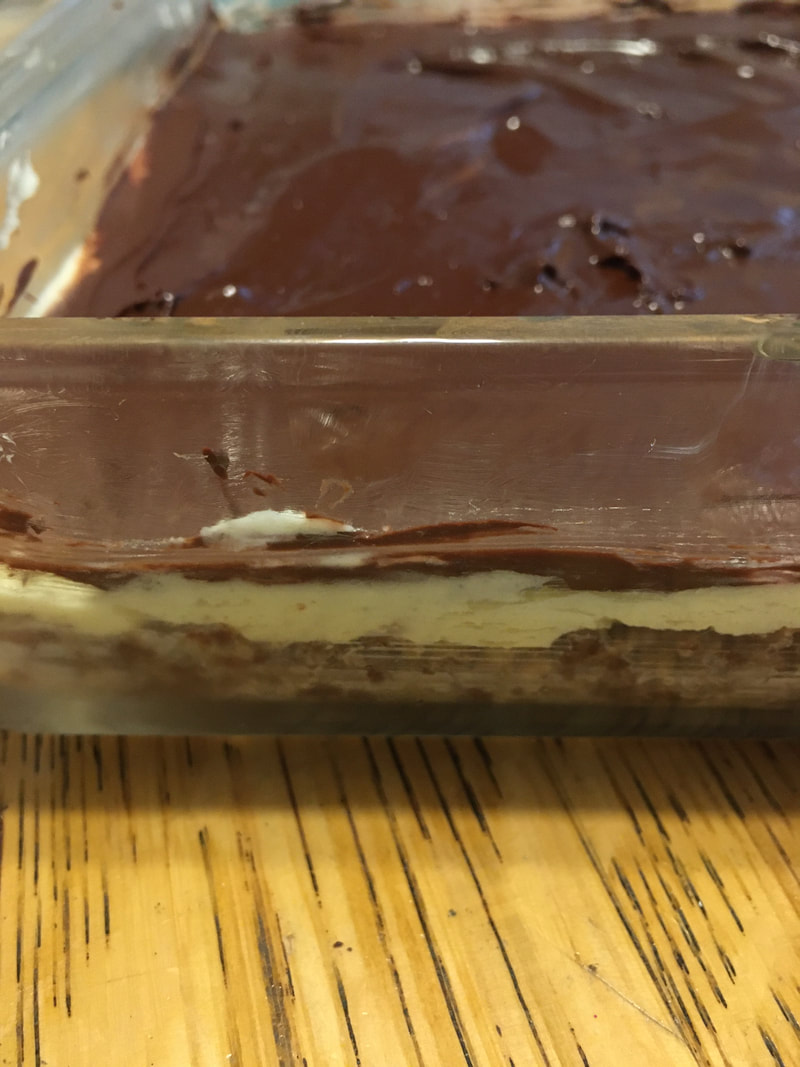 Ingredients #3
4 ounces bittersweet chocolate chips 1 tablespoon butter Directions #1 – Melt butter and chocolate in double boiler. Add egg slowly and stir in. Add remaining ingredients and fold together. Press mixture into buttered 9 x 9 pan. Let cool and harden in the refrigerator for 15-20 minutes before adding #2. #2 – Cream together butter, vanilla and pudding. Slowly add and incorporate confectioner’s sugar until well blended. Add milk slowly, as needed, to achieve thick, smooth consistency. Spread mixture on first layer. Allow to cool and harden in refrigerator for at least 30 minutes. #3 – Melt chocolate chips and butter in double boiler. Spread across first two cooled layers. Add more chopped nuts as garnish, if desired. Let cool for several hours before cutting. These bars are very rich so cut small - at least 24 bars per pan. They freeze well too. *Note: As is common in the travel industry, the writer received accommodations and other compensation for the purpose of review. While it has not influenced this review, the writer believes in full disclosure of all potential conflicts of interest. 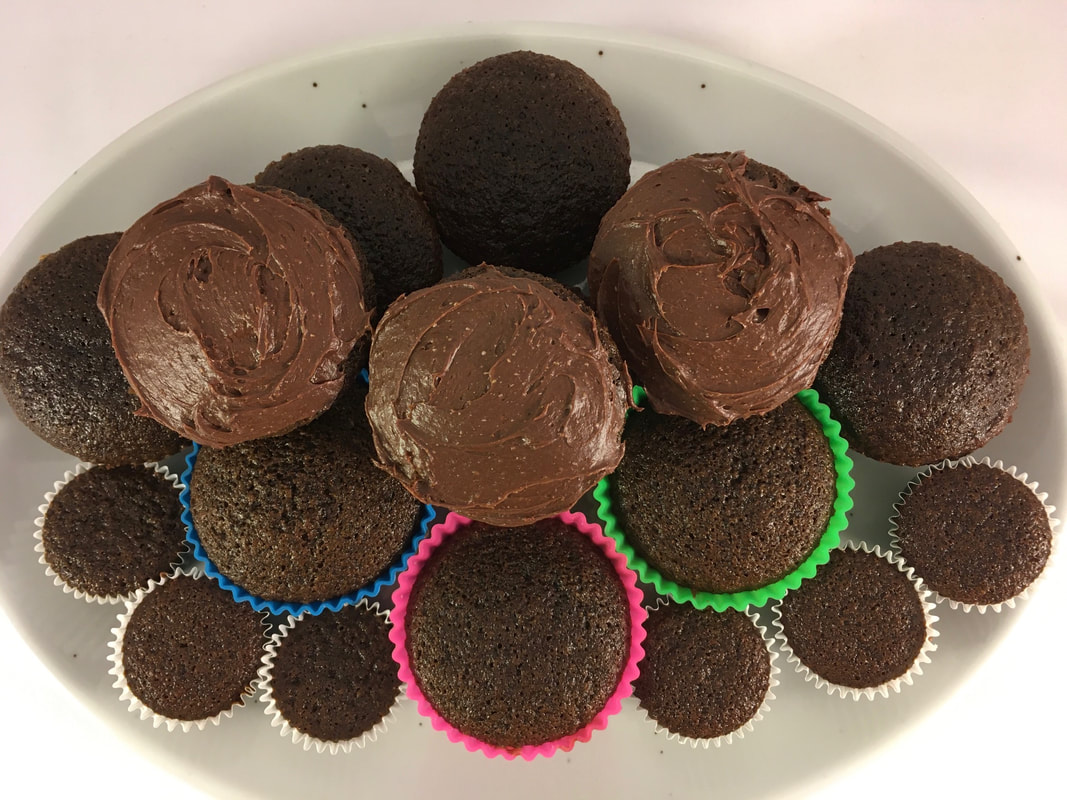 Greetings from Nashville! No, I’m not baking in somebody else’s kitchen today. I actually baked this recipe and then took photos, several days ago, before I headed out. I had big plans to create a chocolate recipe that includes many steps, plus it would be my first time using yeast in forever (stay tuned – that recipe is still on my list)! But after making 100+ brownies last week, for the No Kid Hungry Kansas City fall bake sale, this quick yet delicious chocolate recipe called my name, instead. Another great thing about this recipe? You can easily freeze some unfrosted muffins/cupcakes, for later use. It’s been a long time since I made these muffins/cupcakes, and this recipe does make an ENORMOUS number of treats. Call me a little impatient, but after I filled 24 regular-sized silicone baking cups with batter and still had plenty left over, I pulled out and filled my mini muffin pans. I didn't want to wait for the large ones to bake and cool before reloading. I also iced only about half of the large muffins/cupcakes, making freezing more viable for some of these goodies. Chocolate Muffins or Cupcakes Makes 24+ regular size cupcakes Batter 1 ¾ cups sugar ½ cup vegetable oil ½ cup cocoa 2 eggs 1/3 cup sour cream or Greek yogurt 2 cups (whole wheat pastry) flour 1 ½ teaspoons baking soda Pinch of salt 2 teaspoons vanilla 3/4 cup hot water Paper or silicone baking cups Preheat oven to 325 degrees. Line muffin tin with baking cups. In a mixing bowl beat together sugar, oil, and cocoa until smooth. 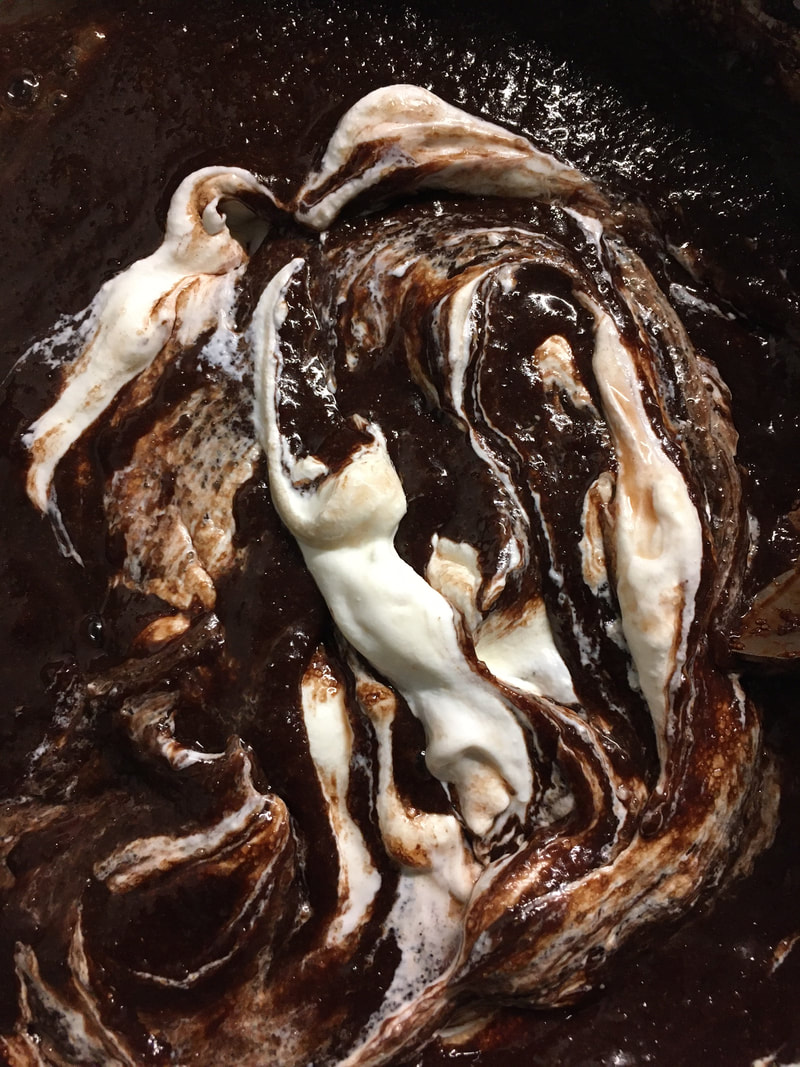 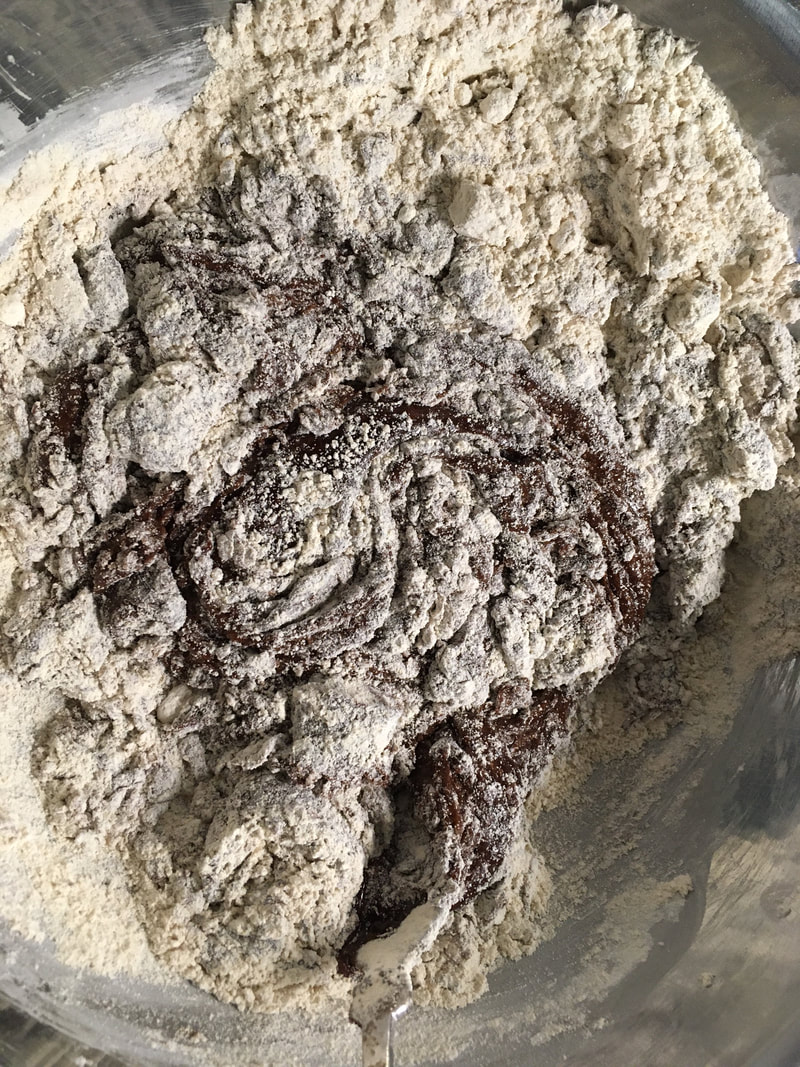 Add eggs, mixing well. Add sour cream, flour, baking soda and salt, beating to mix well. Add vanilla and hot water. Batter will be runny. Use a ladle to fill your baking cups. 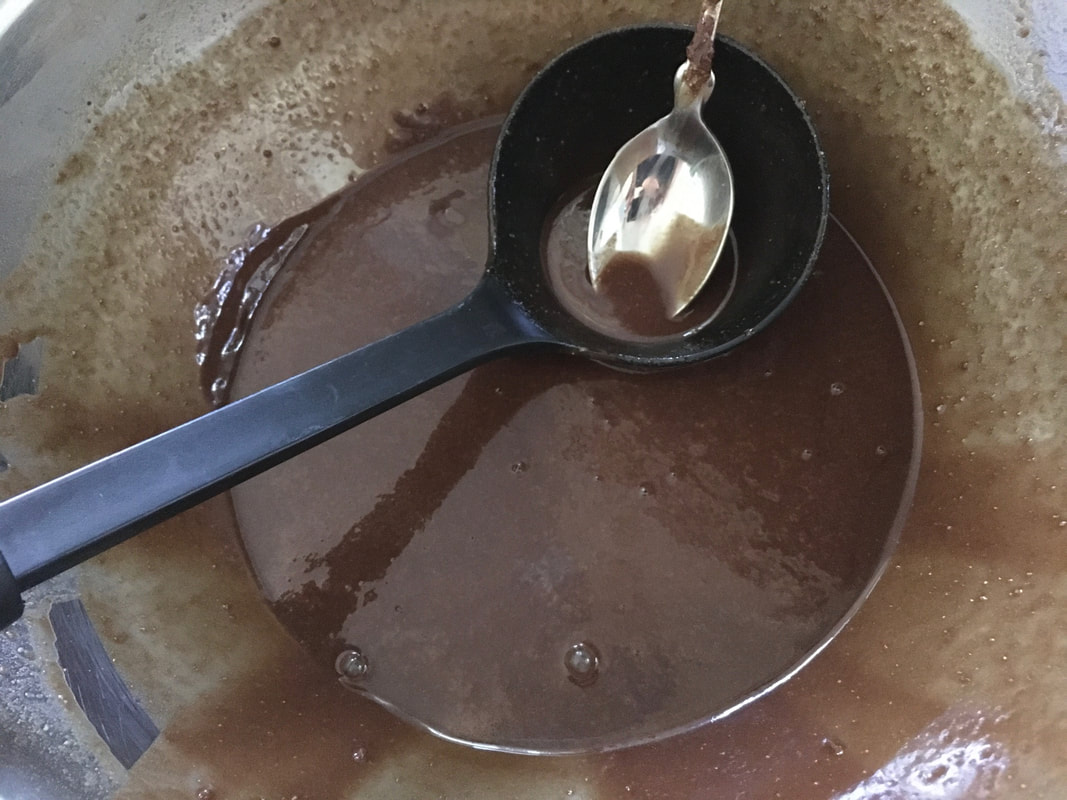 Fill baking cups half full. Bake 20-25 minutes or until toothpick comes out clean.
Icing 4 ounces cream cheese, softened 4 tablespoons butter, softened 1 cup powdered sugar ¼ cup cocoa 1 tablespoon chocolate balsamic vinegar or chocolate liqueur Cream together cream cheese and butter. Beat in sugar and cocoa to completely blend. Stir in balsamic and then spread on cupcakes. Refrigerate until ready to serve. |
Welcome to Visual Traveler.I love crafting stories about fantastic food & beverages, must-visit destinations & eco-friendly topics. I wrote a 350+ page book about Kansas. And I've worked with dozens of additional clients - from Fodors.com & AAA magazines to USA Today 10Best & WanderWithWonder. 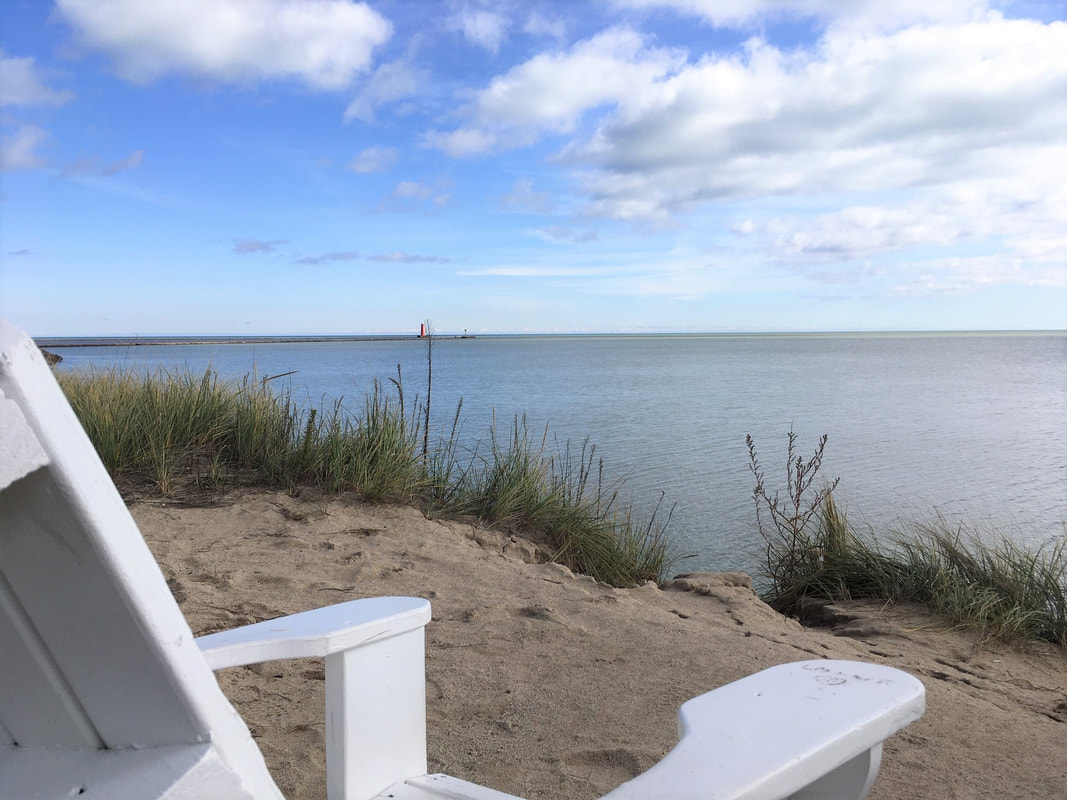
Grab a chair & join me as you explore photo-rich stories reflecting U.S. & international travels, plus home kitchen views.
Archived posts featuring Arizona, California, Kansas, New Mexico & chocolate
December 2023
|
 RSS Feed

|
|
Lisa Waterman Gray
Overland Park, KS, in the Kansas City metropolitan area ► E-mail Lisa | 816-805-8918 Copyright © 2021 by Lisa Waterman Gray Site Development by Limestone9Consulting |


