|
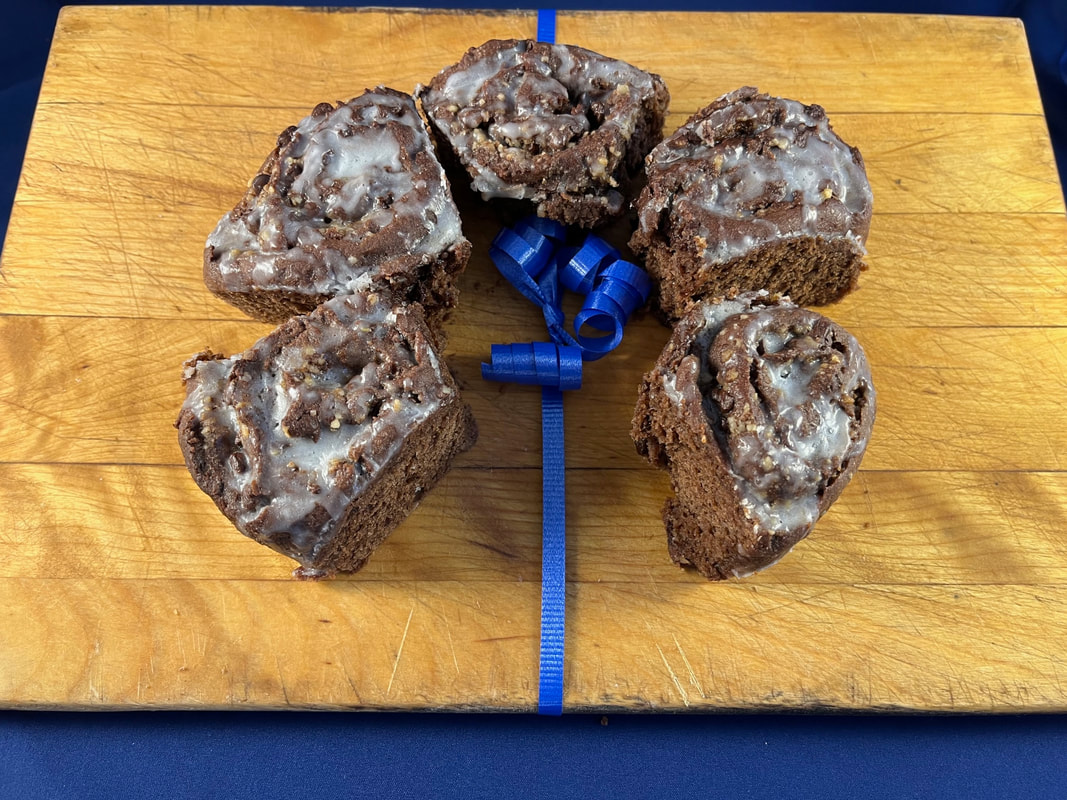
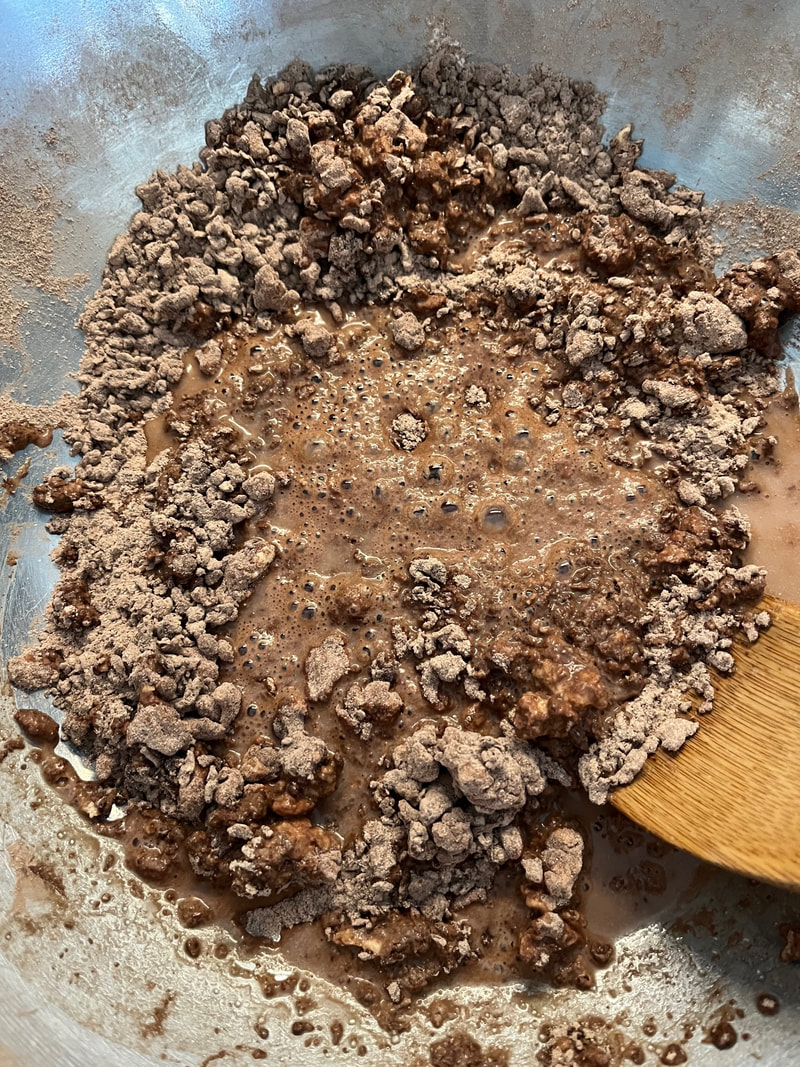
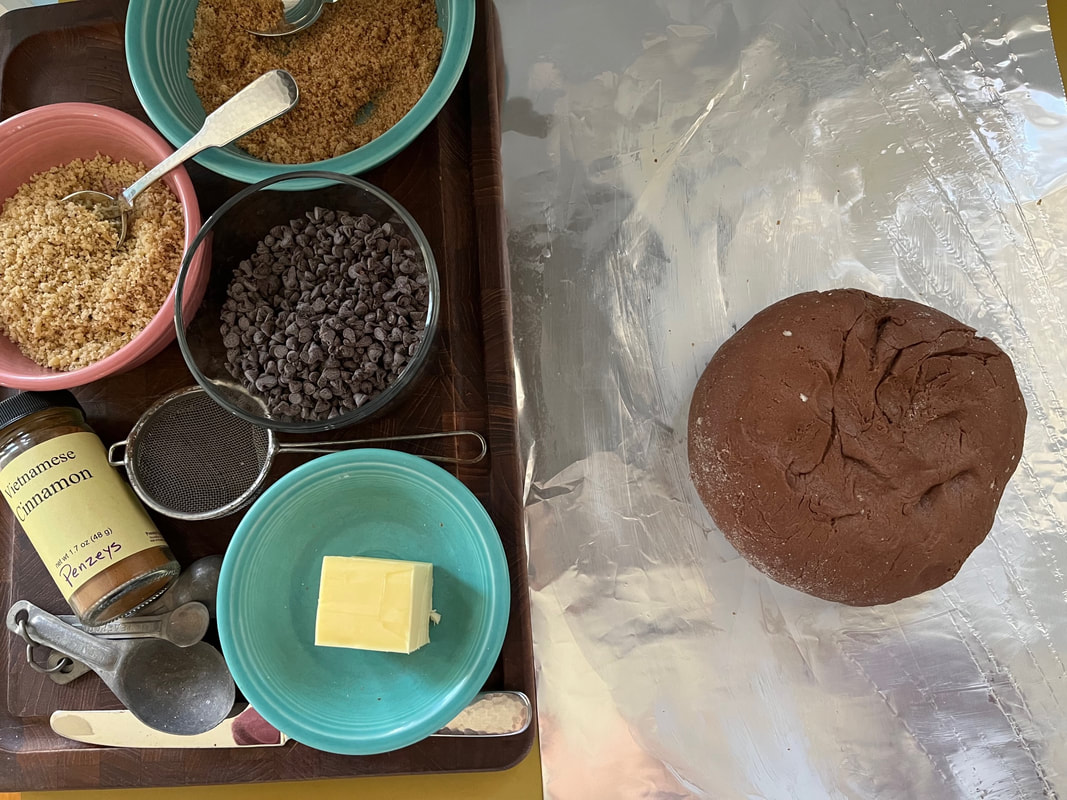
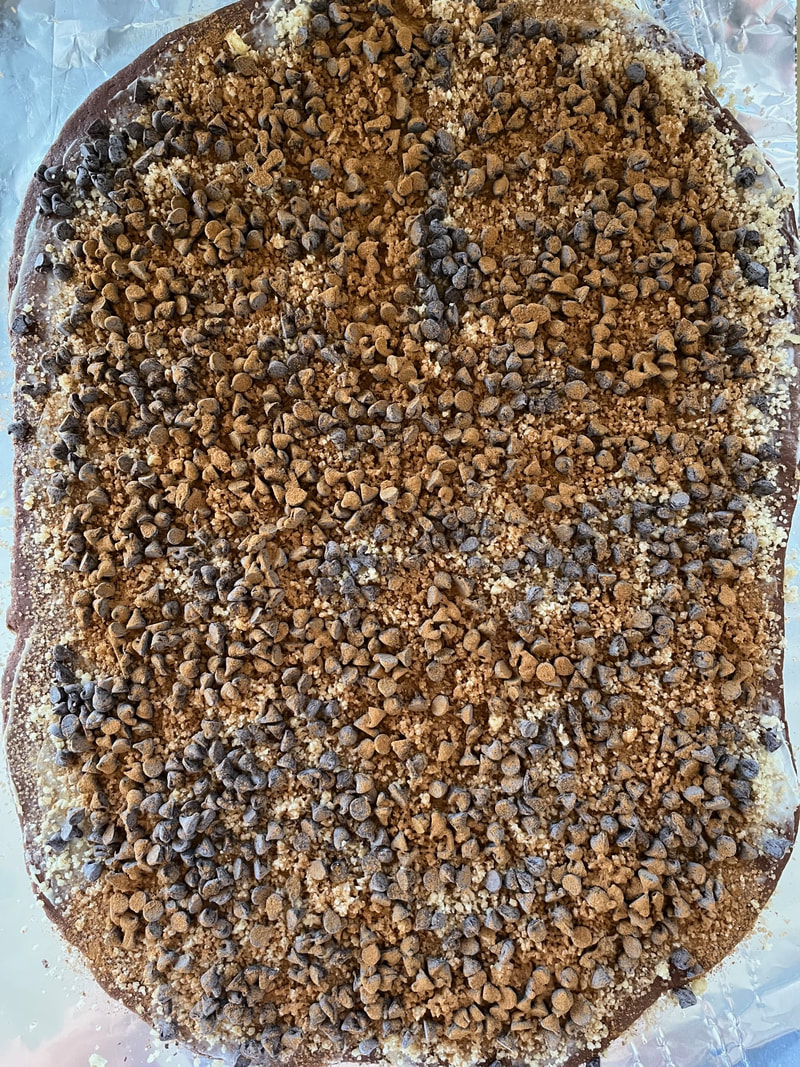
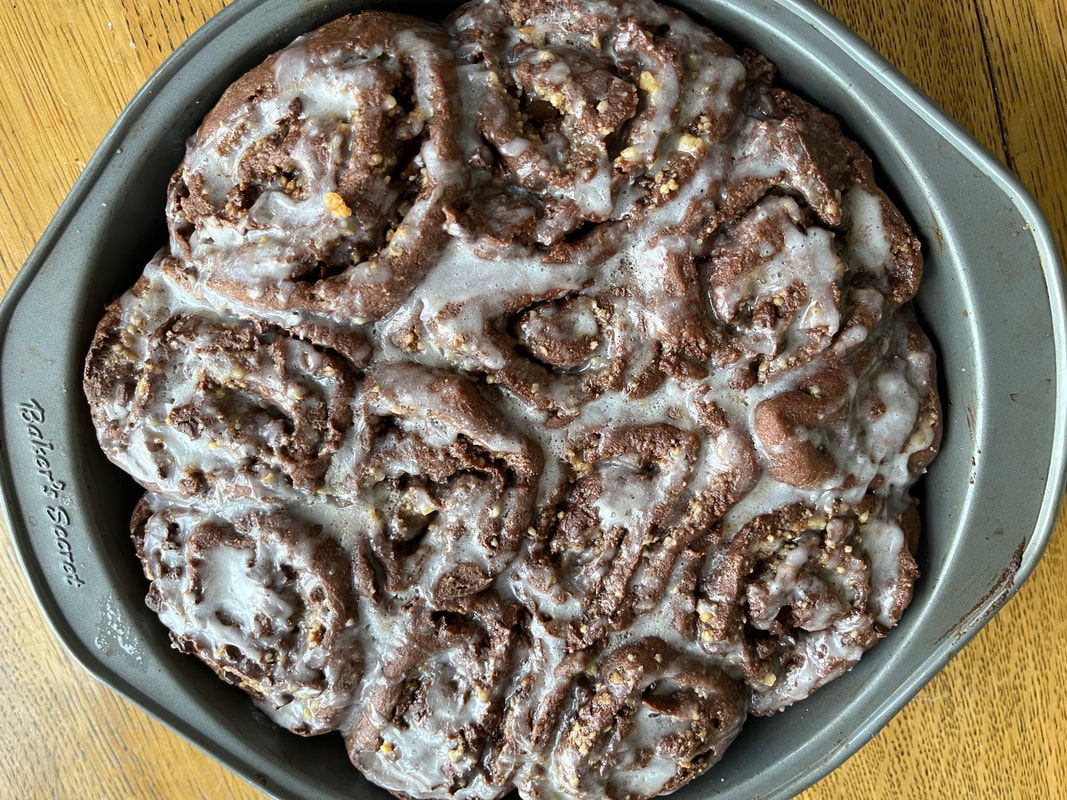
Here’s another early recipe with the holidays in mind – and the final post in this October-December series. I’ve had a blast making, photographing, and writing about chocolate and can’t wait to do it again next year. This luscious breakfast item languished in my files forever and I felt daunted-over and over again-by how much work was involved. But with fond memories of baking bread weekly for 2 ½ years after I moved to Kansas City (several decades ago), and the urge to make a chocolate recipe that isn’t about dessert (Hello, New Year's Day Breakfast!), I gave it a shot earlier today. Boy, was this recipe worth the effort! These rolls are surprisingly light in texture and chocolaty without being overpowering. The glaze doesn’t overpower the finished rolls, either. I fell right back into kneading the dough as I had in the 1980s and this dough responded well to my touch. Perhaps my only complaint with prep was when the buttered foil tried to skitter across the counter as I rolled out the risen dough. I had to anchor each end, to get the job done. One other thought. Because I generally prefer to use bittersweet chocolate chips and could only find semisweet minis, I might chop and use regular chips for a deeper flavor, next time. Wishing all of you a wonderful (remaining) holiday season and the very best for 2022! GRAM’S CHOCOLATE CINNAMON ROLLS Makes 10 rolls Dough 1 package active dry yeast 1 egg ½ stick butter ½ teaspoon salt ¼ cup cocoa powder 2 cups regular flour (or 1 ¾ cups whole wheat pastry flour) ¼ cup sugar Filling 3 tablespoons softened butter ¾ cup miniature chocolate chips 2 heaping tablespoons crumbled brown sugar 1/2 cup finely chopped walnuts 2-3 teaspoons cinnamon (because our family loves cinnamon I used more) Glaze 2 tablespoons soft butter ½ cup powdered sugar Cream or whole milk 1. Butter a 9-inch round cake pan. Stir the yeast into ¾ cup warm water and set aside. 2. In a large bowl and using an electric mixer, beat together butter, cocoa powder, sugar, egg, salt and 1 cup of flour. Stir in the yeast mixture and continue beating 2 minutes at medium speed. 3. Remove the beaters and mix in 1 ¼ cups more flour with a wooden spoon or your hands. Turn out onto a floured surface and knead for a few minutes until smooth. Return to bowl, cover with a damp towel, and let rise in a warm spot for 1 hour or until doubled in size. 4. Punch the air out of the dough and place on buttered foil. Roll into a 12x9 inch rectangle. Spread softened butter over the dough, sprinkle with brown sugar, cinnamon, chocolate chips and nuts. 5. Roll up lengthwise. Cut into 10 equal slices and arrange, cut side down and sides touching, in prepared pan. Again, cover with a damp towel and allow to rise in a warm place for about 30 minutes until doubled in size again. In the meantime, preheat oven to 375 degrees. 6. Bake rolls for 25 minutes or until lightly browned. Remove from oven and spread tops with 2 tablespoons soft butter. Combine powdered sugar and enough cream or milk to make a glaze; spread over the rolls. Serve warm.
Adapted from Celebrations, A Menu Cookbook for Informal Entertaining, by Diana and Paul von Welanetz
1 Comment
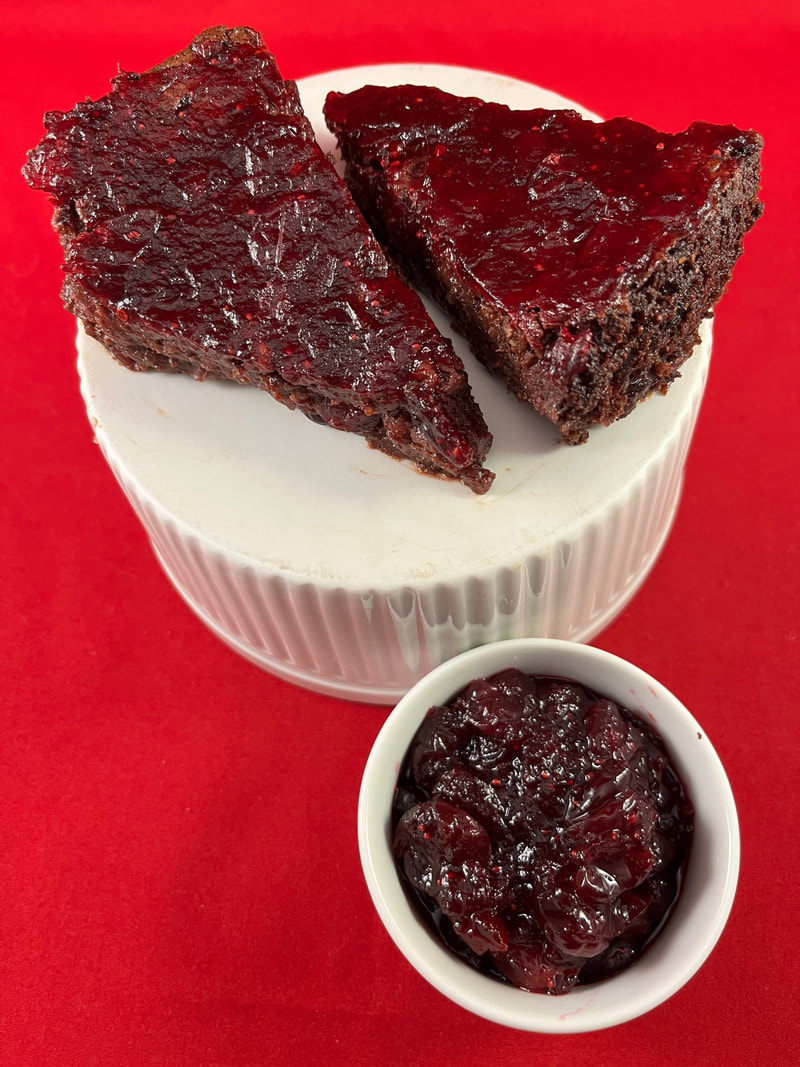
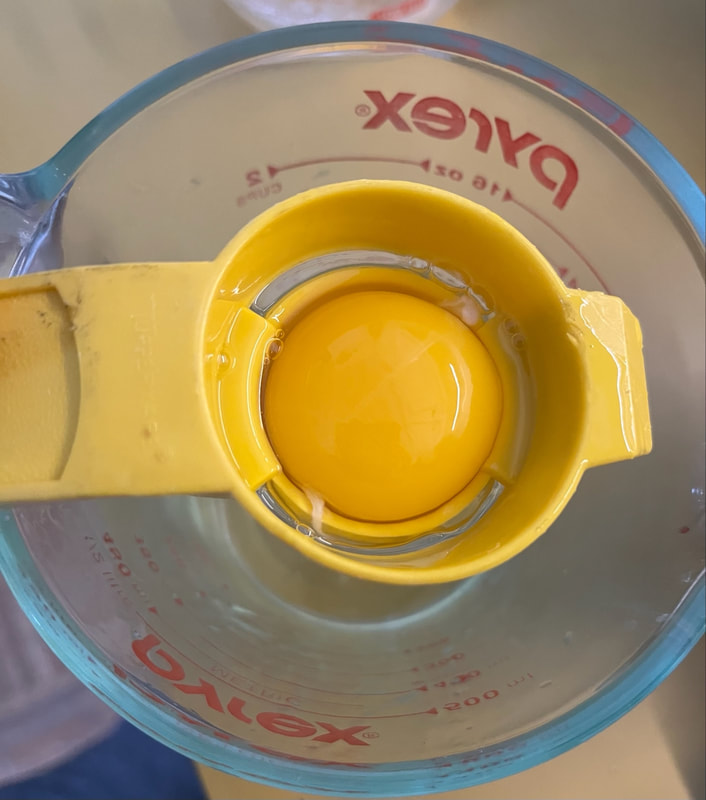
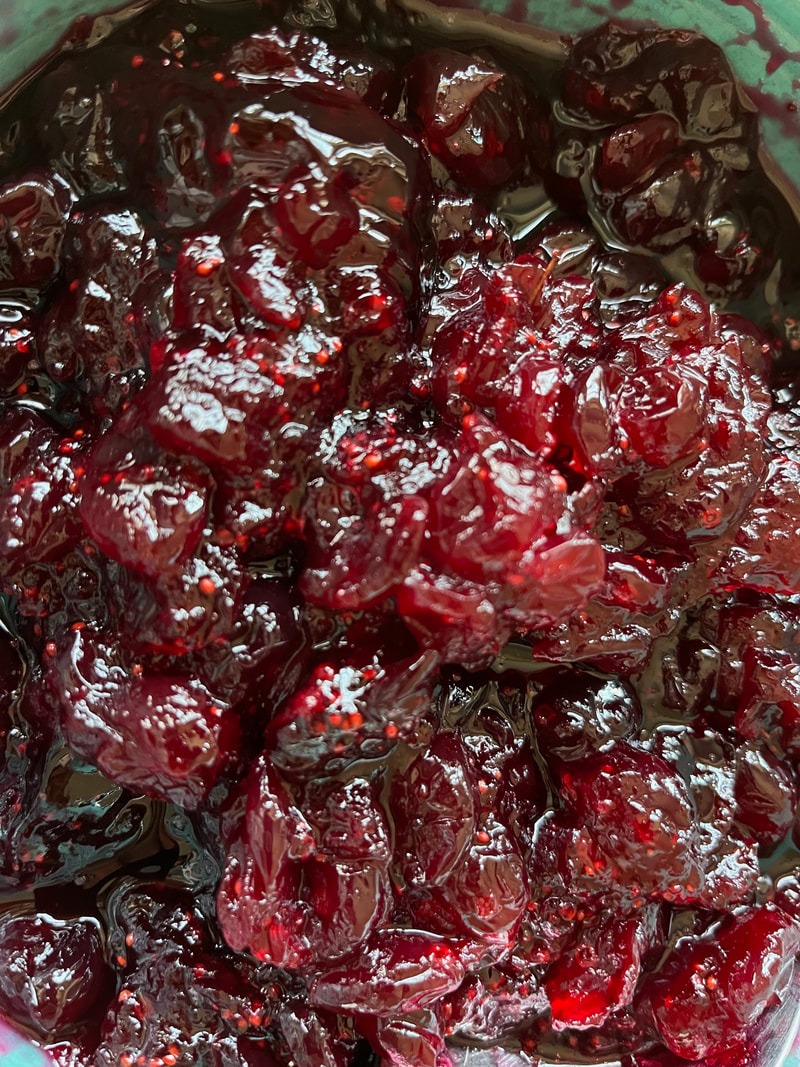
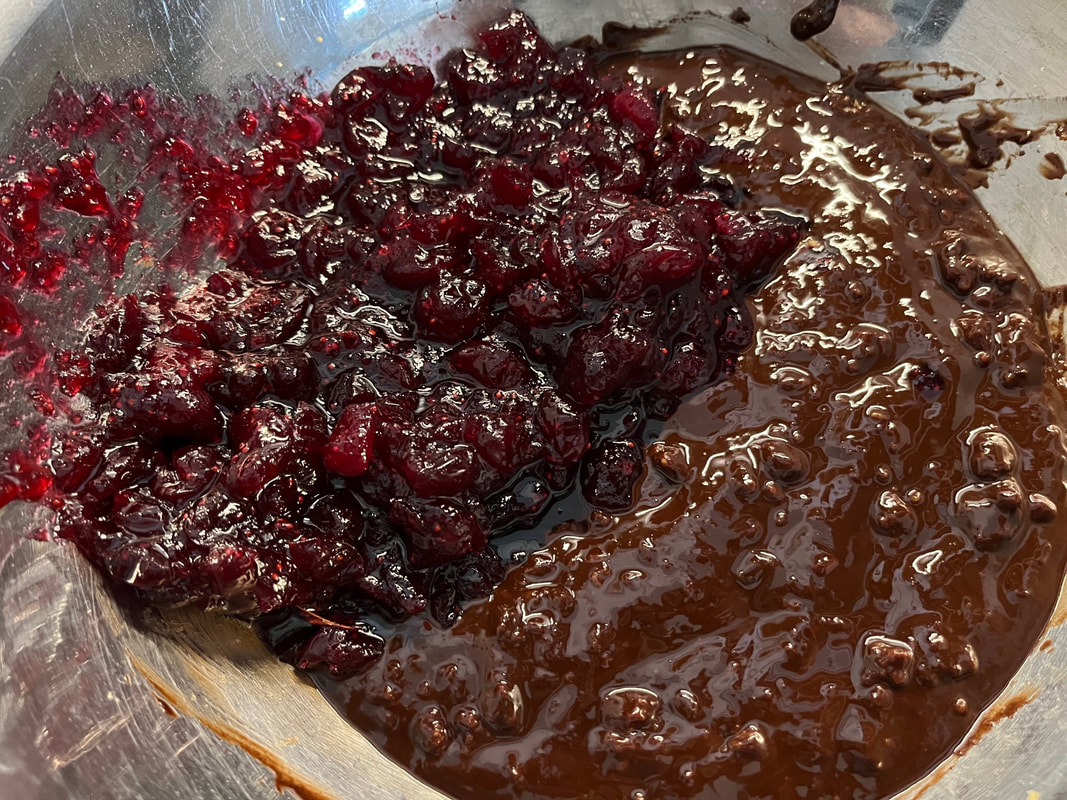
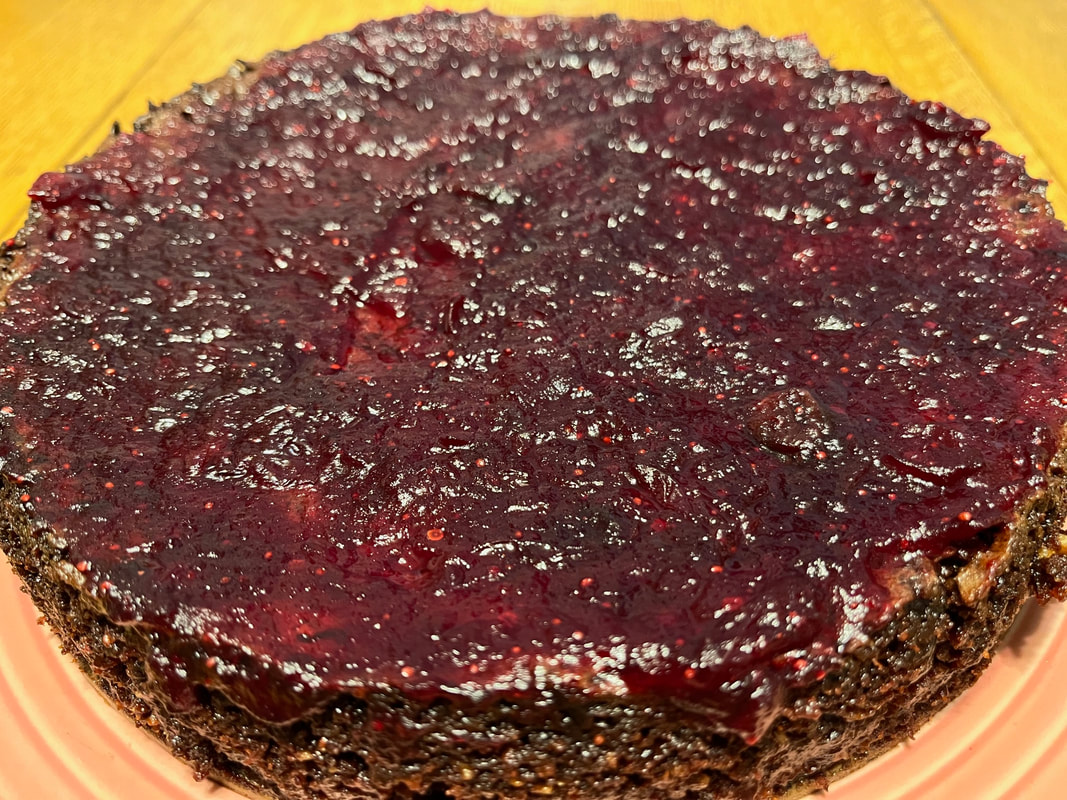
I decided to ‘run’ this post a little earlier than usual, so you have plenty of time to make the dessert for Christmas, if you like. My original recipe for Cranberry Chocolate Torte is another tried-and-true flavor sensation, printed on yellowed newsprint. The original recipe calls for whole cranberry sauce. But this year, supply chain issues resulted in no remaining cans on my favorite grocery store’s shelves. What I did have was two bags of fresh cranberries in my freezer and a dynamite Cranberry Orange Sauce recipe that has become a holiday staple for our family. But since the original torte recipe does not feature orange, I left out orange zest and substituted water for fresh-squeezed orange juice. The resulting torte flavor is very similar to the original, while my homemade cranberry sauce introduced extra texture to what is typically a smoother dessert. I also tinkered with the glaze this time. Using currant jelly results in a smooth and tasty glaze. However, I don’t otherwise use currant jelly so went a different route this time. Again, the results aren’t as smooth, but the taste is dynamite. Whichever versions of this torte and glaze you choose I think you’ll love this decadent dessert. And I hope it brings you much joy during the remaining holiday season. BTW, I absolutely love the convenience of this little device, when working with eggs. Mine is ancient, but you can find your own, easily, when you search for an egg separator. CRANBERRY CHOCOLATE TORTE Makes 10 servings INGREDIENTS 16-ounce can of cranberry sauce with whole cranberries OR make your own Homemade Cranberry Sauce (see below) 1/2 cup ground walnuts or almonds 1/4 cup sifted flour 7 ounces dark sweet chocolate, chopped 1/2 cup butter 3 large eggs, separated 1/2 to 3/4 cup sugar 1/4 teaspoon almond extract, optional GLAZE INGREDIENTS 1/2 cup currant jelly (if you can’t find this, you may substitute fruit jelly without seeds) 2 tablespoons cranberry juice cocktail or red wine Ground almonds, optional (OR use ½ cup of a second cranberry sauce recipe + 2 tablespoons red wine. To any leftover sauce add 3-4 tablespoons of orange zest and serve as a side for your holiday meal) 1. Place canned cranberries or homemade cranberry sauce in a small bowl and stir gently until slightly liquid. In another small bowl, combine almonds and flour. Melt chocolate and butter in a double boiler over simmering water, stirring occasionally to blend. Remove from heat and set aside. 2. In a large mixing bowl, beat egg yolks and sugar until thick and light. With mixer on low speed, add flour and nut mixture to egg yolks, beating until just mixed. Add chocolate-butter mixture and blend gently. Stir in cranberries and almond extract by hand. 3. Beat egg whites until they hold their shape but are not dry. Fold egg whites into cranberry batter. Pour into a greased and floured 9-inch springform pan and smooth the top with a rubber spatula.
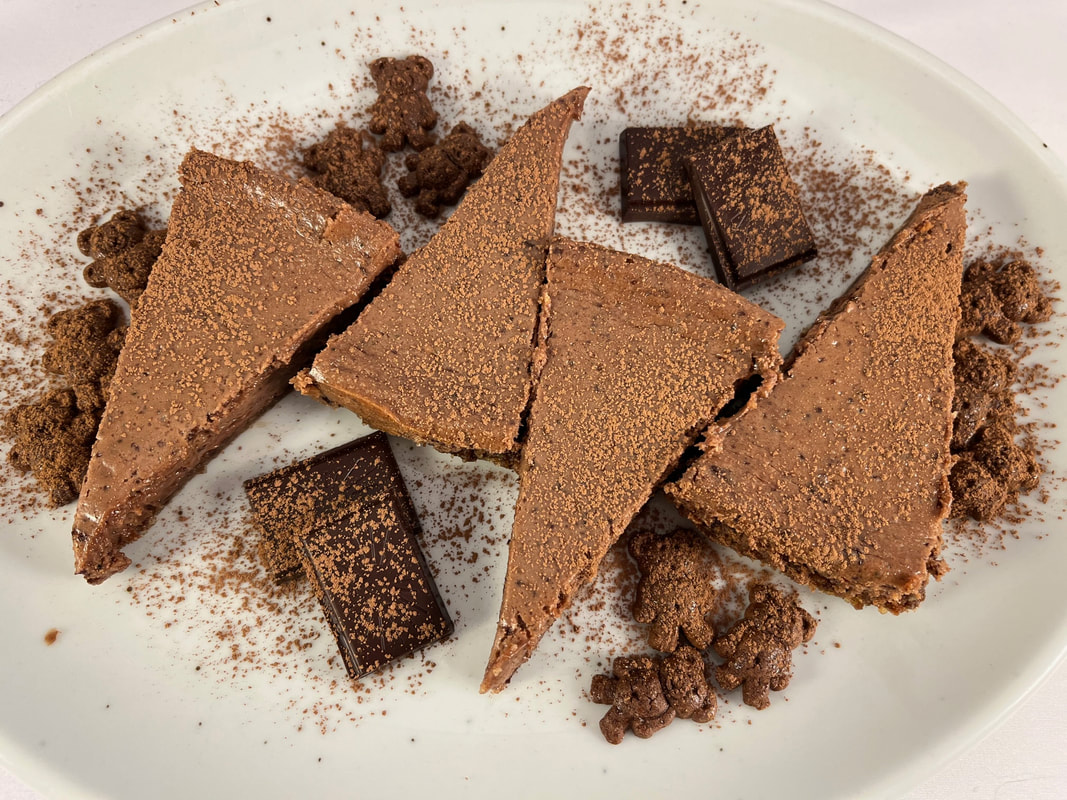
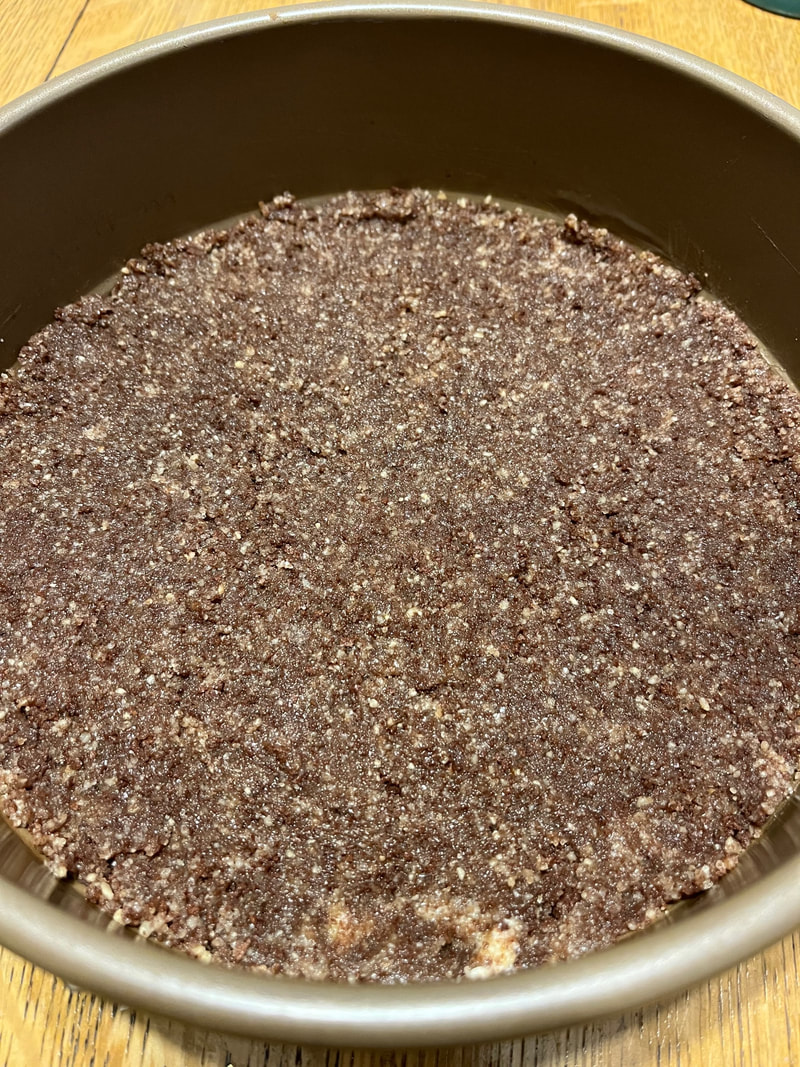
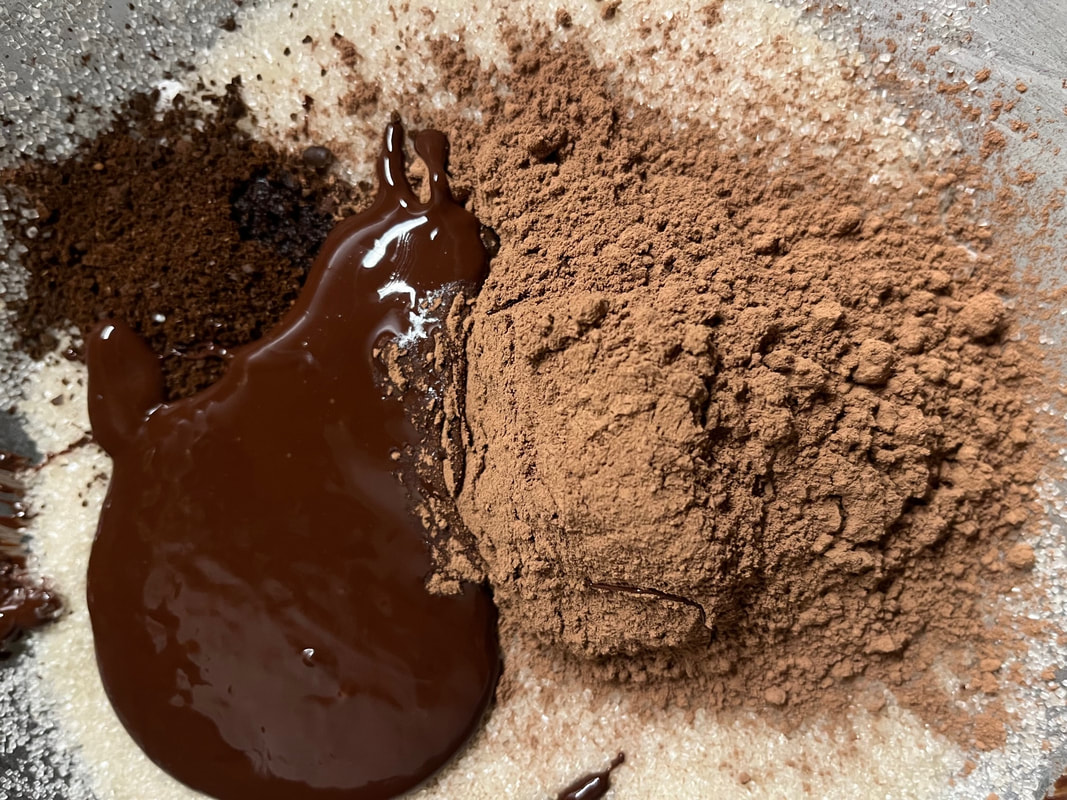
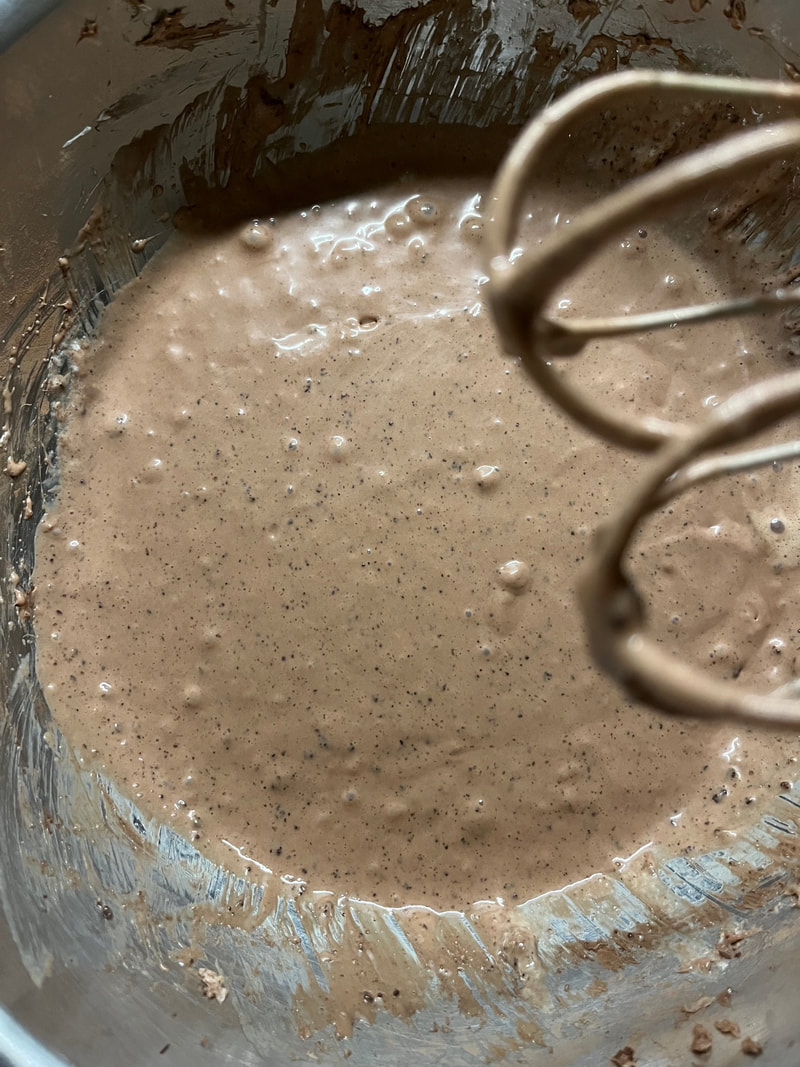
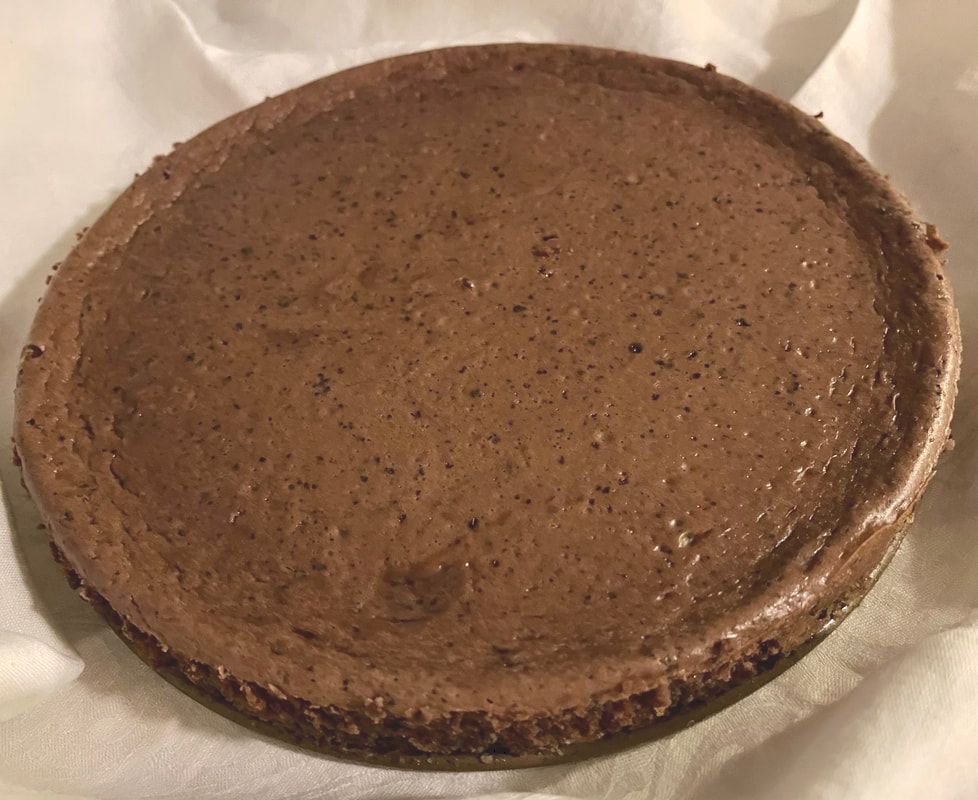
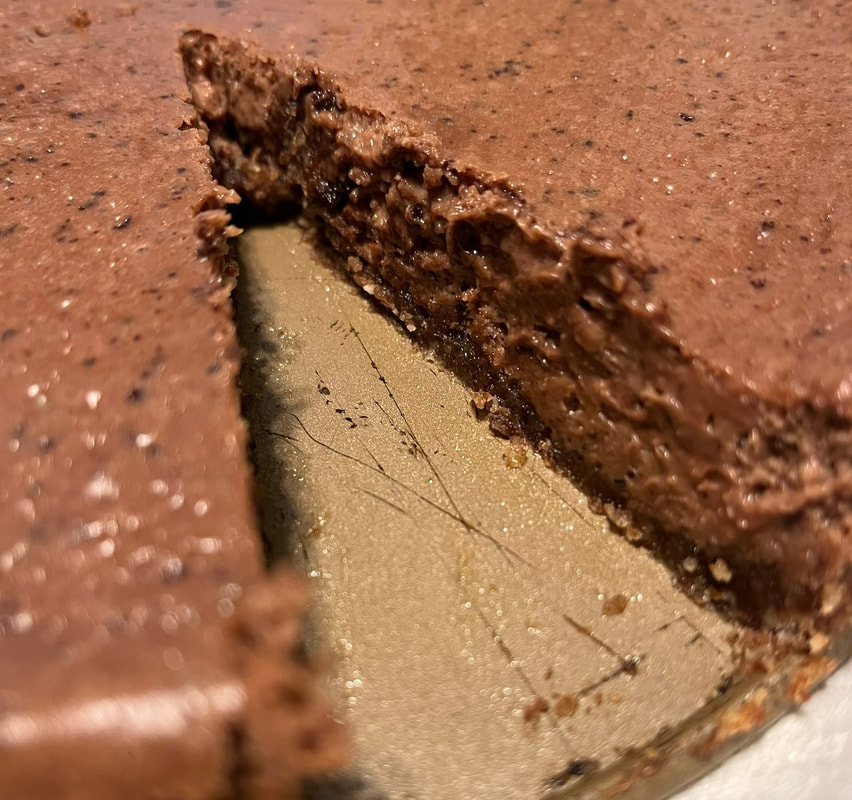
4. Bake in a 350-degree oven for about 50-55 minutes. Remove from oven and cool completely while still in pan. Place in refrigerator until chilled (about 1 hour). When ready to serve, use a knife to release the edge of the torte, and remove it from the springform pan. 5, As the torte cools, combine jelly and cranberry juice in a small saucepan, over medium heat. Brush the chilled torte with warm glaze and allow to set. Give the top of the torte a second coating. Sprinkle with ground walnuts or almonds if desired. HOMEMADE CRANBERRY SAUCE 1 ¼ cups sugar ¾ cup water 12-ounce bag of fresh cranberries 1. Combine all ingredients in a large saucepan, stir together, cover and bring to a boil. Leave on high heat until you hear berries popping open. 2. Reduce heat to simmer for approximately 20 minutes. Stir occasionally. 3. Remove lid and simmer for another 15 minutes, to reduce liquid. Cool to room temperature and then add to recipe according to directions. It’s been several years since I made this luscious cheesecake, which tastes just as rich and decadent as my ‘regular’ cheesecake. But egg whites and low-fat cream cheese make all the difference in the amount of fat. I don’t even remember when or where my original copy of this recipe came from. But, of course, I’ve tinkered with it quite a bit. And the original is old enough that it assumed easy availability of chocolate graham crackers. When my large grocery store didn’t have any, I felt fortunate to find a chocolate version of teddy bear graham crackers. A pleasant ‘side effect’ of using them was the touch of crunch they added to this cheesecake crust. Making this dessert requires much more kitchen equipment than I remembered. Two mixing bowls, my food processor, a double boiler bowl, two measuring cups, two mixer blades, a spatula, and measuring spoons helped me to pull everything together. Is it worth the cleanup involved? You bet. In fact, this is one of my favorite chocolate recipes. Let me know if you agree. Reduced Fat Dark Chocolate Cheesecake Makes 12 servings INGREDIENTS Safflower or mild olive oil Chocolate crust ½ cup walnuts ¾ cup chocolate graham crackers ¼ cup sugar 3 tablespoons melted butter Cheesecake filling 4 large egg whites, room temperature 1 ounce bittersweet or semi-sweet chocolate, melted and cooled ¾ cup sugar 12 ounces low-fat/Neufchatel cream cheese, softened ¼ cup Dutch process cocoa powder 1 teaspoon espresso or coffee powder 1 teaspoon vanilla DIRECTIONS 1. Preheat oven to 350 degrees. 2. Grease a 9-inch springform pan. To make the crust, combine walnuts, graham crackers, and sugar in a food processor until chopped ultrafine. Add melted butter and combine thoroughly. Press onto the pan bottom to just cover the ‘seam’ at the side. 3. Melt chocolate and set aside to cool. Beat together cream cheese and sugar. Add the melted chocolate, cocoa powder, espresso powder, and vanilla. Beat thoroughly. 4. In a grease-free medium bowl, using an electric mixer, beat egg whites until foamy. Continue beating until stiff peaks form. Add egg whites to other batter ingredients and beat together, without overmixing. 5. Turn into the prepared pan and smooth the top. 6. Bake until the edges of the cheesecake are slightly puffy and browned, about 25 minutes. A toothpick should come out clean. Cool on a rack until it reaches room temperature. Using a knife, carefully separate the filling from the side of the cheesecake pan. Gently remove the pan side and then chill until ready to serve.
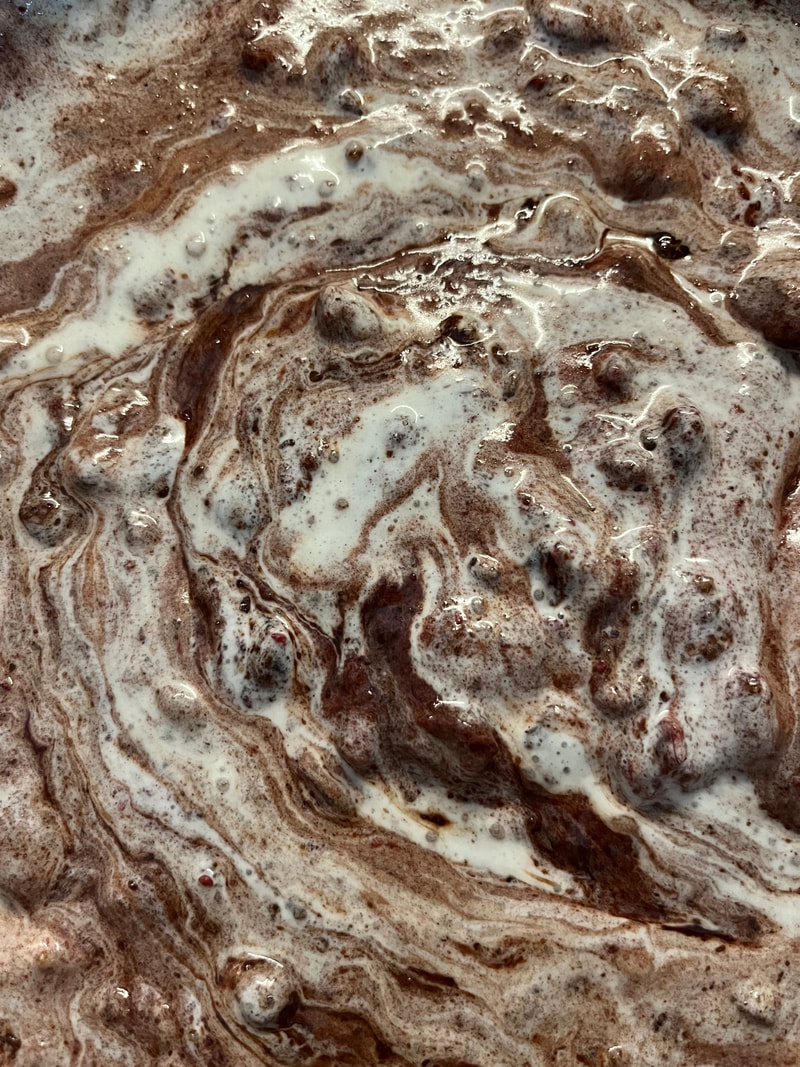
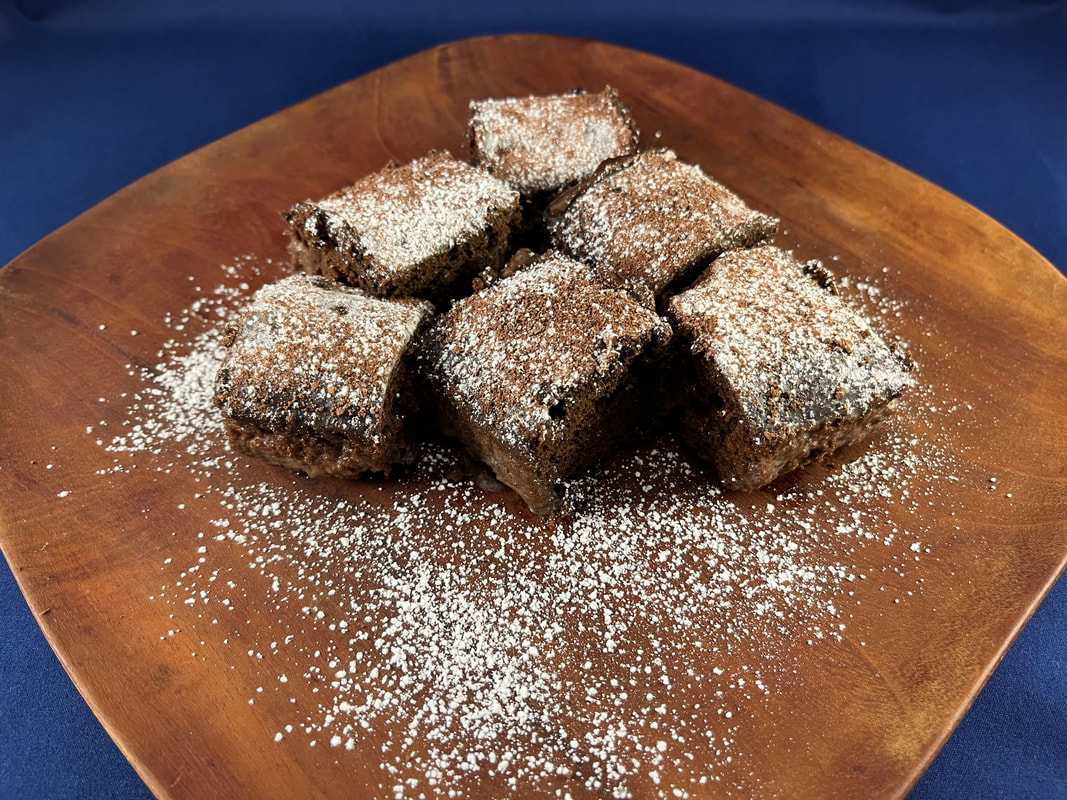
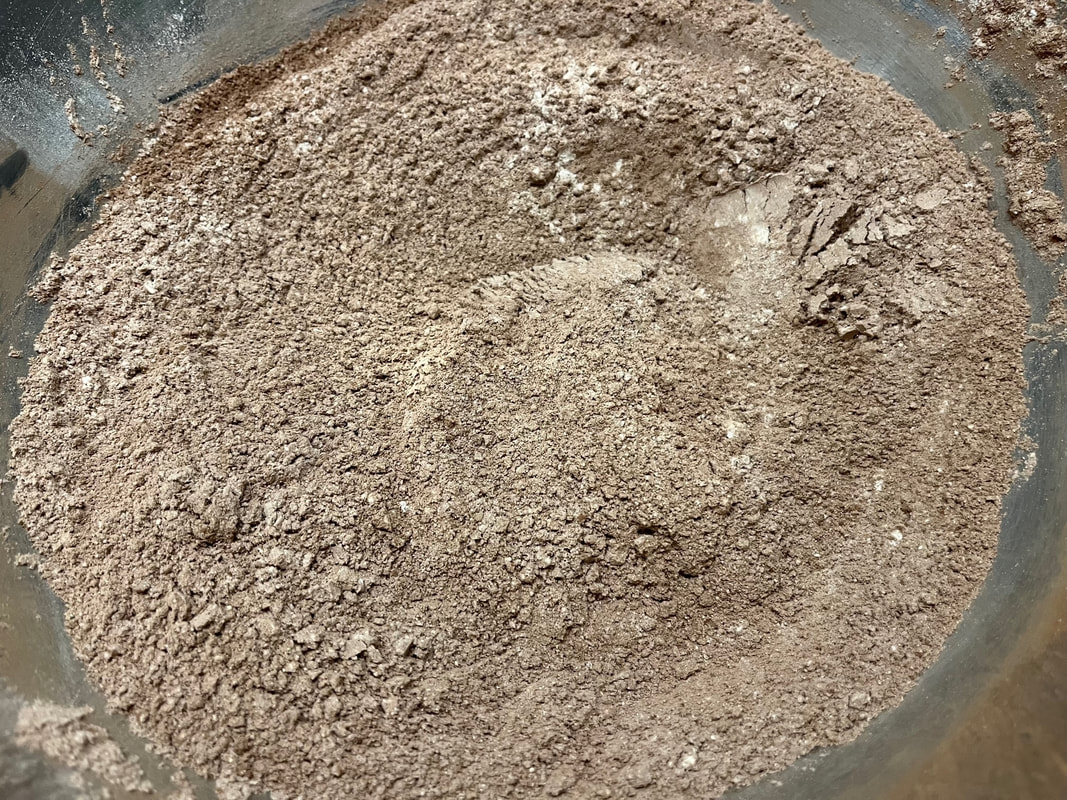
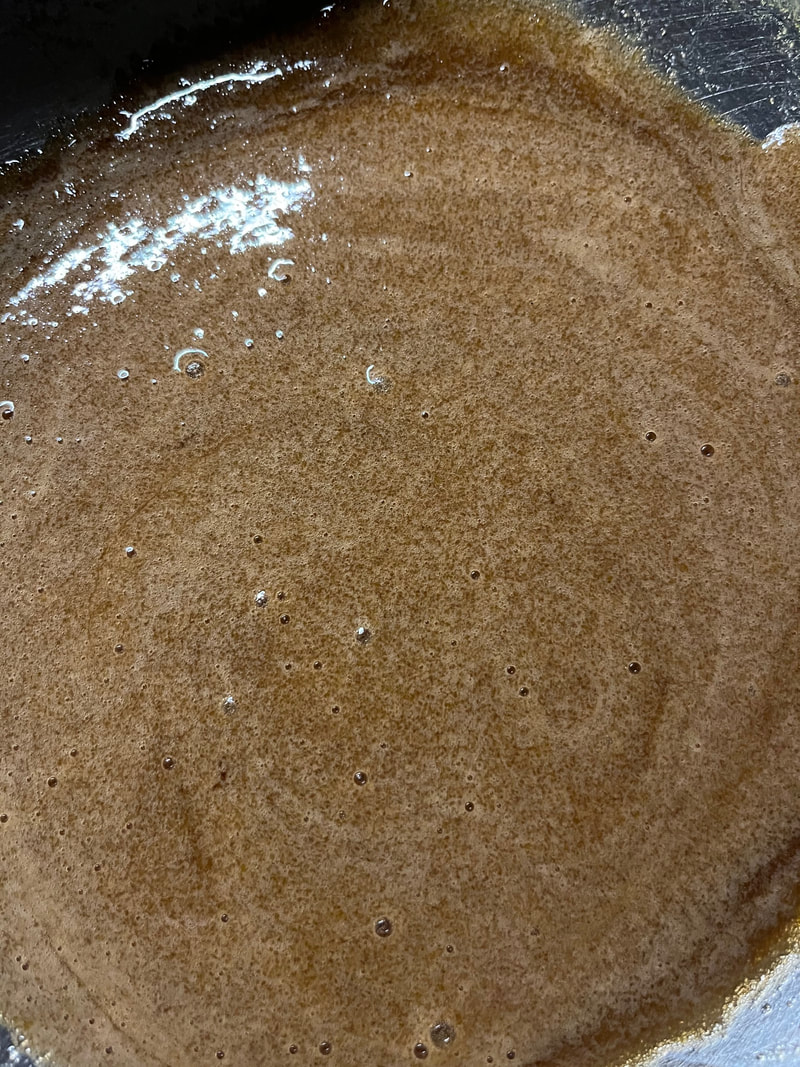
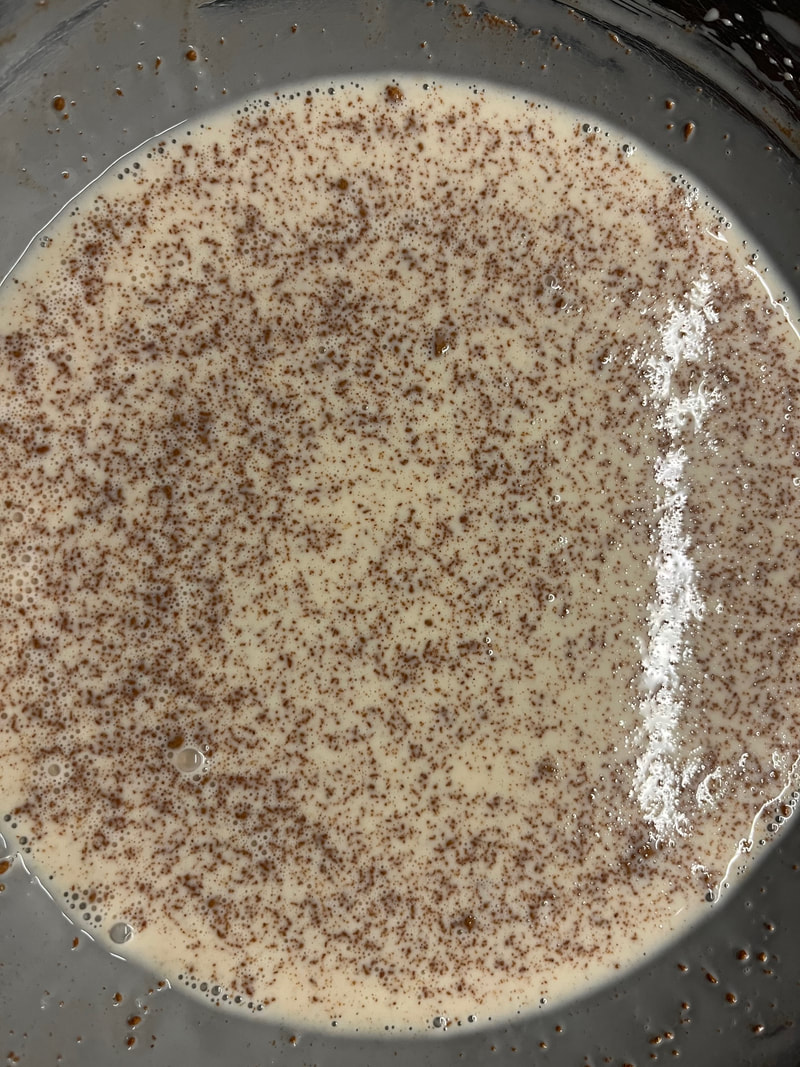
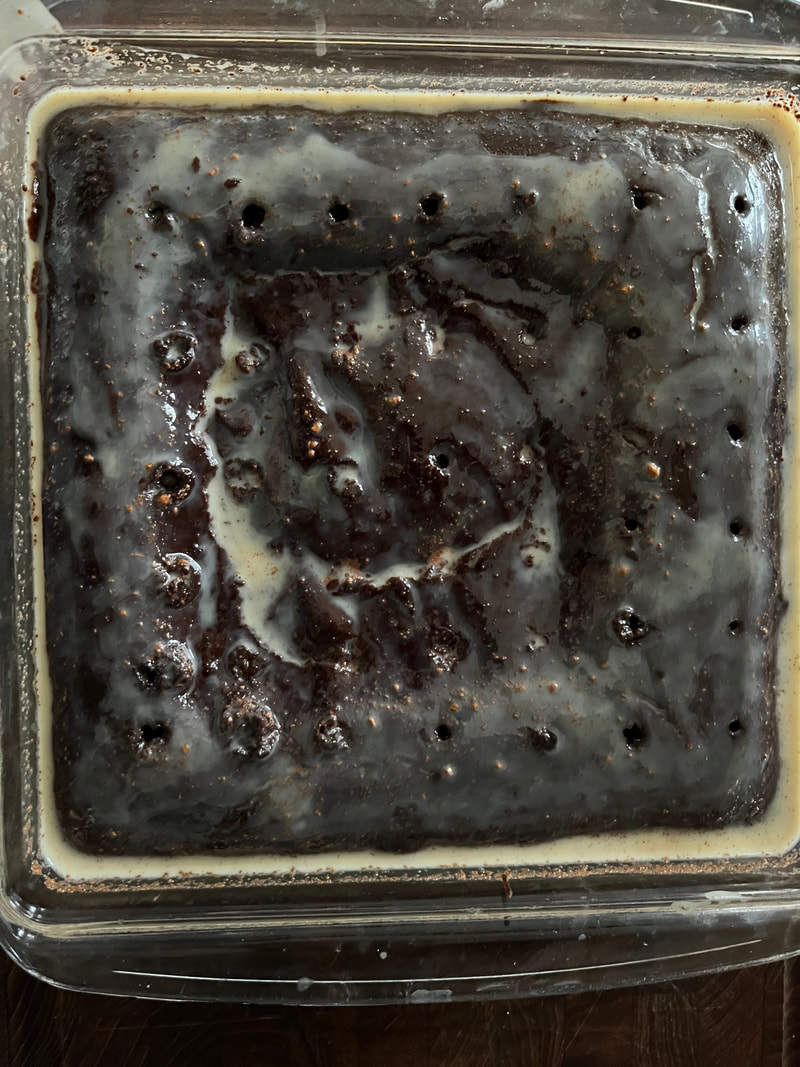
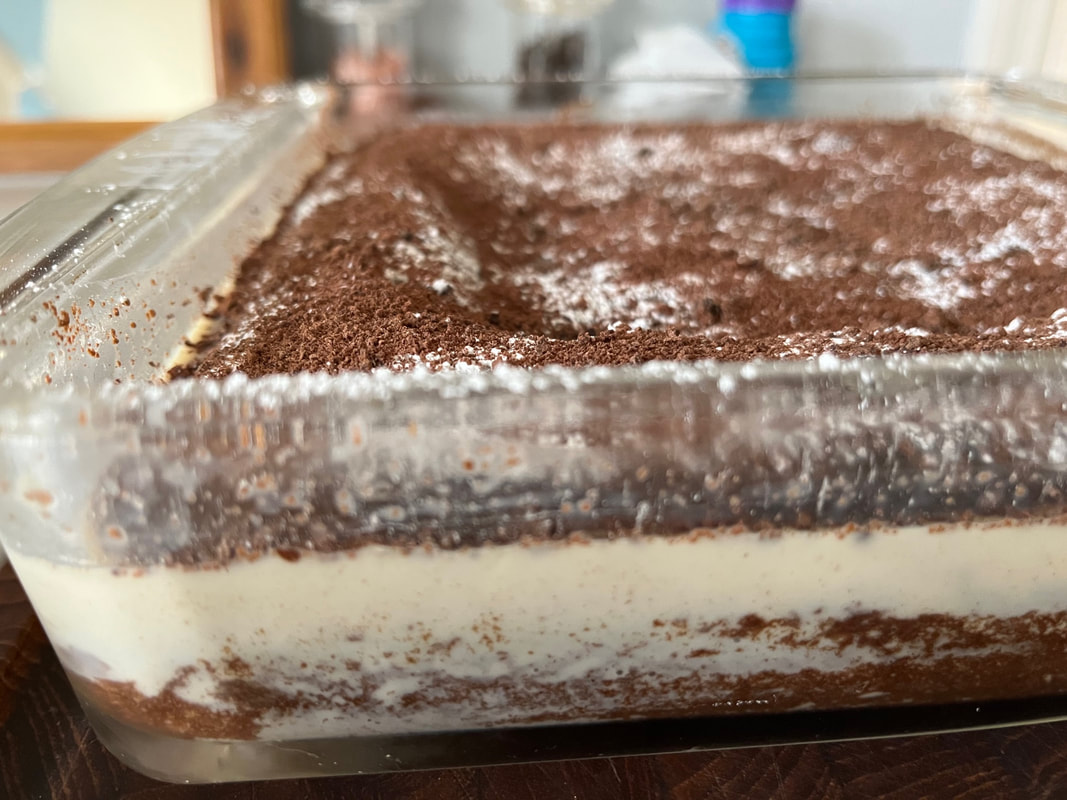
From the moment when I first tasted Tres Leches (three milks) Cake, I was smitten. So as I 'collected' recipes to include in this chocolate blog, I couldn't resist trying out a new-to-me recipe for Chocolate Tres Leches Cake. It's important to know this isn't a typical cake in terms of texture. In fact, even after refrigeration, it remains VERY moist and even a bit like bread pudding. As with last week's post this one got its start when I found a link: https://www.countryliving.com/food-drinks/a36319250/chocolate-tres-leches-cake-recipe/ But those who know me personally and/or through this blog know that I rarely use a recipe the way I found it. The same holds true here. Take a look at how I made this decadent cake but found ways to change it for our tastes. Most of all, enjoy! Here are the dry ingredients, for which I made no changes in quantities. Although I didn't change anything about the wet batter ingredients this time around, I would reduce the amount of coffee from 3/4 cup to 1/2 cup, the next time that I make it. When I combined the milks I also added about 1 1/2 teaspoons of cinnamon - a favorite family flavor. Although I didn't reduce the amount of milks when I made this recipe a few days ago, I found myself 'pouring off' what appeared to be excess milk from the cooling cake. I believe I will reduce the quantity of milks by 1/3 to 1/2, in the future. Here's the cooling cake. You'll notice some 'sprinkles' on my version of this dessert. As ultra-rich as this recipe is, I decided to skip a top layer of whipped cream. Instead, I lightly sprinkled confectioner's sugar immediately on top. After that, I pulverized a small handful of bittersweet chocolate chips and then sprinkled some across the sugar. The results were still decadent and delicious!!
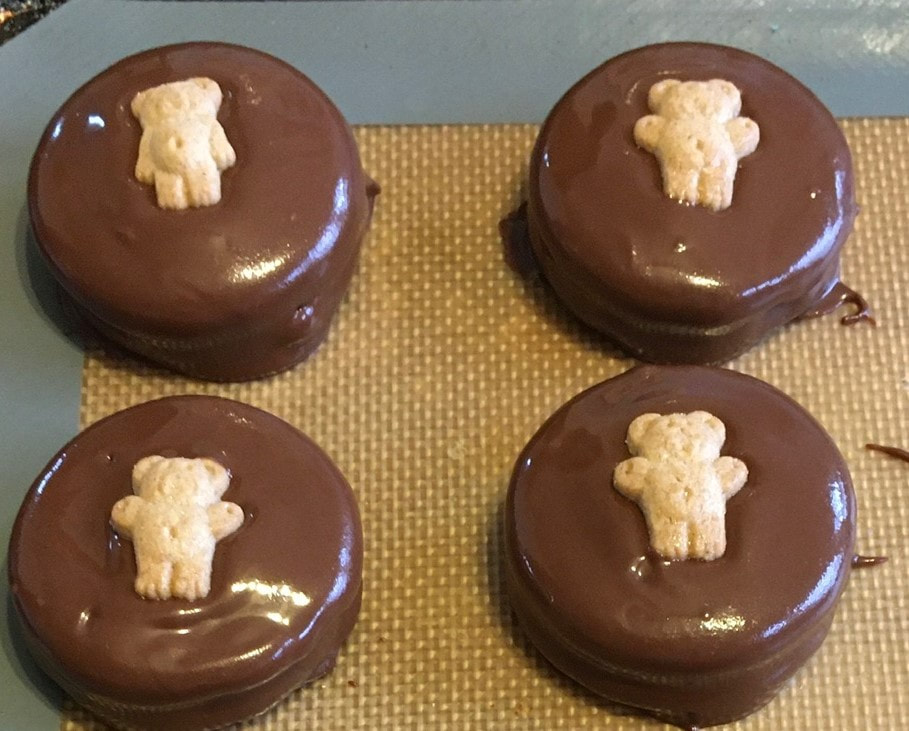
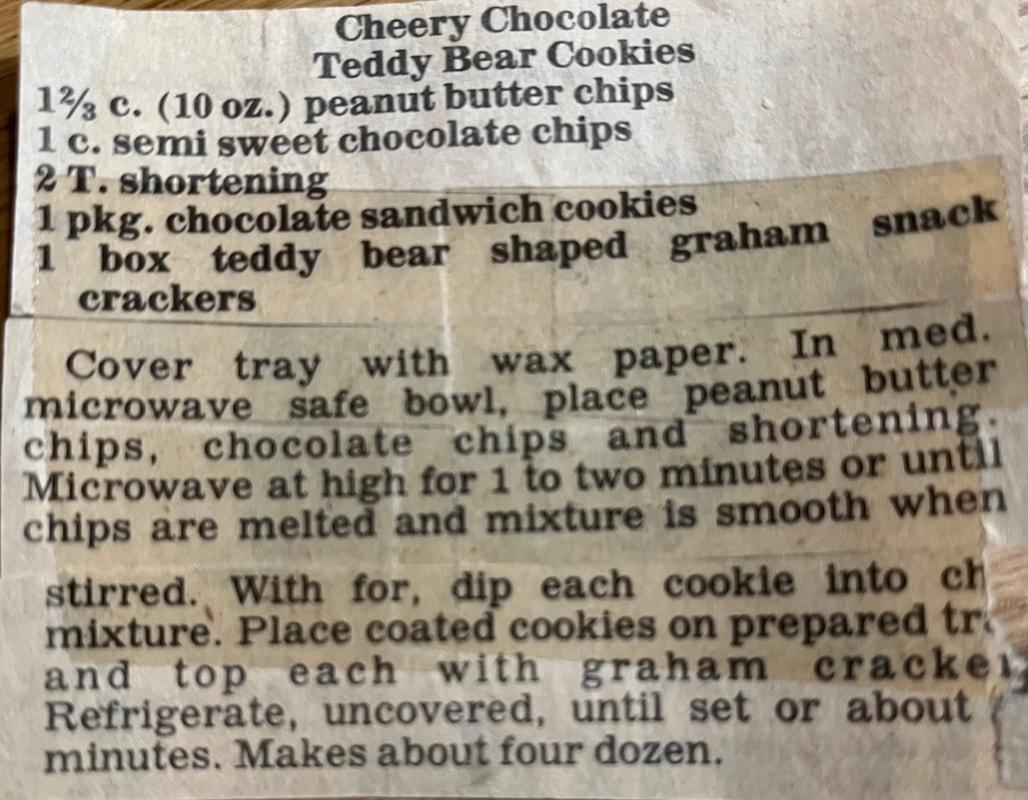
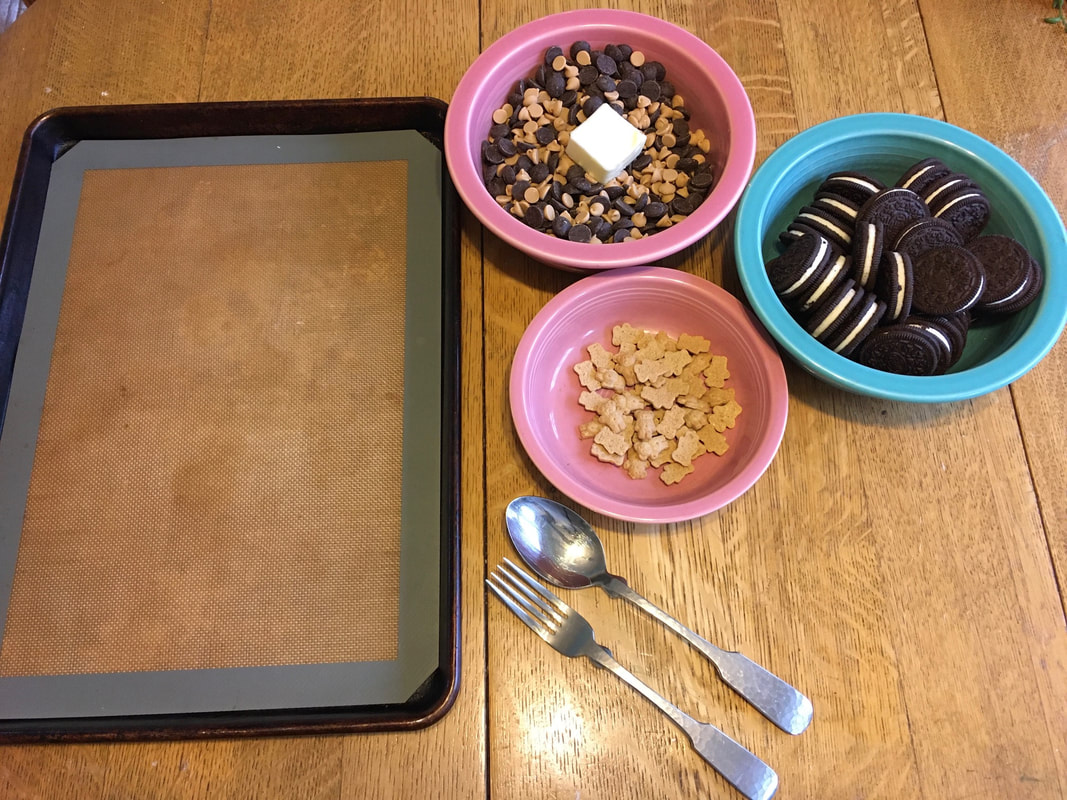
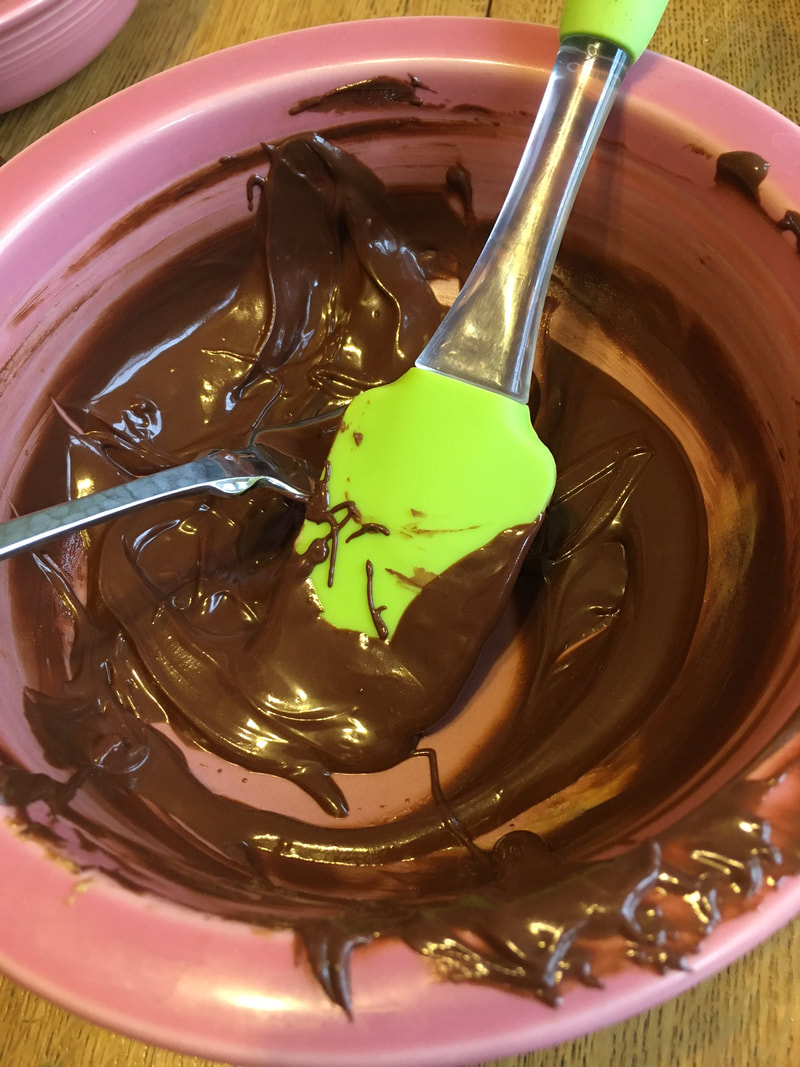
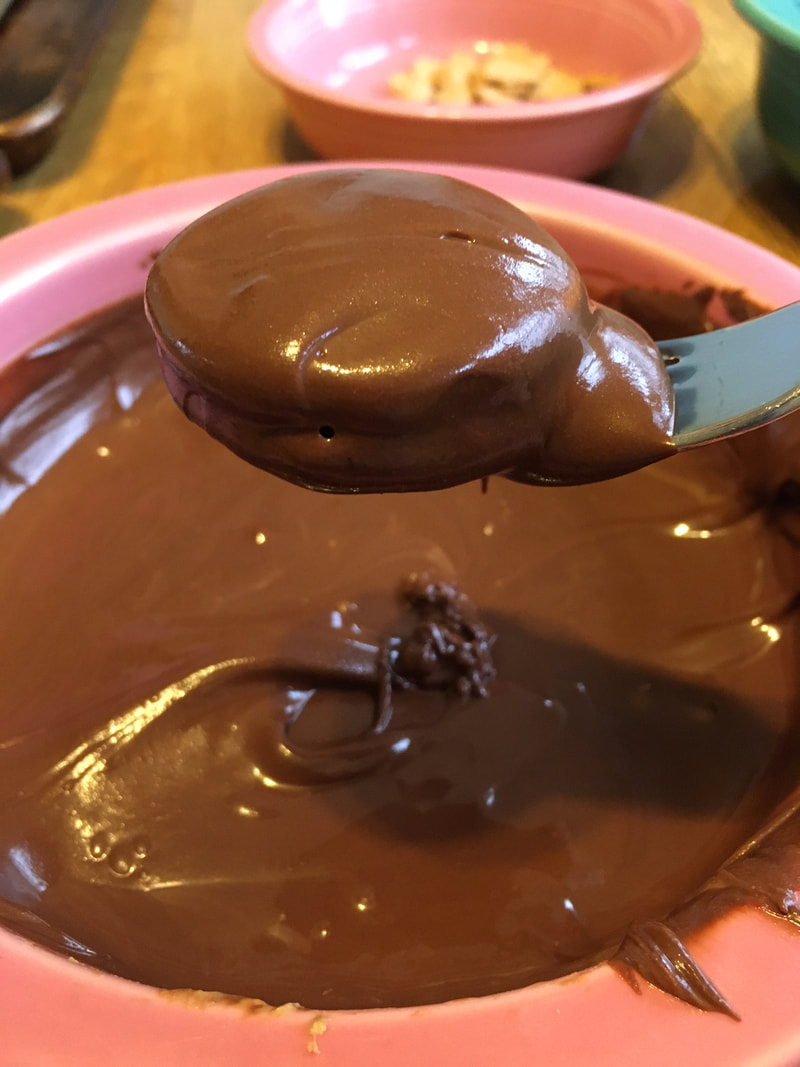
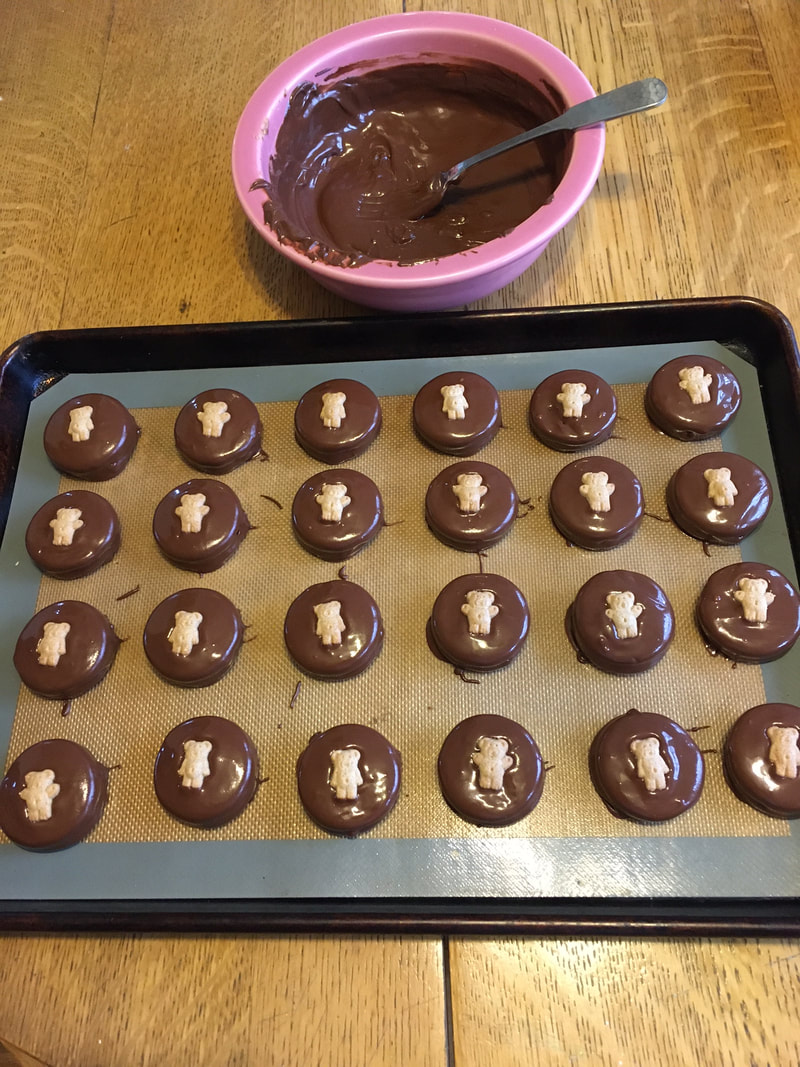
A great recipe is always worth making again and again. But a great recipe with a great history to match MUST be made again and again. Such is the case with Teddy Bear Cookies. I discovered this no-bake recipe in the 1990s, as our daughters, Stephanie and Jessica attended elementary school. It included chocolate sandwich cookies, completely covered in melted chocolate and peanut butter chips. A cute teddy bear graham cracker topped each coated cookie. In a few short years, the cookies became a holiday staple for our daughters and all of their friends. Despite the fact Jess never really liked peanut butter, she made an exception for this seasonal treat. Decades later, our grown daughters weren't the only ones looking for Teddy Bear Cookies during the holiday season. Five or six years ago Steph arrived from the Kansas City airport two days before Christmas, thanks to a ride from her childhood friend, Kalissa. After a quick hug, Kalissa headed to the kitchen. Inside a refrigerated tin she found Teddy Bear Cookies, grabbed one and smiled broadly. The next day, Natalie and Skylar picked up Jess at the airport. After a flurry of hugs in our front hall, the girls found the Teddy Bear Cookies and devoured them with the delight of small children. The original recipe gradually evolved from semi-sweet to bittersweet chocolate chips. The cookies also showed up at a Chicago baby shower for Jessica. Then last year, our two-year-old grandson, Emmett, enjoyed his first Teddy Bear Cookie in our home, after his family moved to Kansas City. Over many years of trial and error, I developed more efficient – and less frustrating – ways to make the cookies. Putting parchment paper atop foil (or using my newer silicone baking sheets) minimized the possibility of the warm coating sticking as it dried. And stirring the chips multiple times, as they melted together in the microwave, smoothed the texture. I piled sandwich and teddy crackers into separate bowls, rather than grabbing new ones from the box as I made each cookie. I also learned I could completely cover several cookies in the melted chips before the coating hardened too much for teddys to stick. And the more patient I was, the more cookies I could cover in chocolatey, peanut buttery decadence. I still occasionally refer to my fragile, yellowed recipe, but I've pretty much committed it to memory. Now, it's time to share this iconic family treat with you, too. Here's an easier way to read it: Teddy Bear Cookies Makes 3-4 dozen 1 1/3 cup peanut butter chips 1 1/3 cup semisweet or bittersweet chocolate chips 2 tablespoons butter 1 package chocolate sandwich cookies 1 box teddy bear shaped graham snack crackers Cover tray or cookie sheet with wax paper (or silicone baking sheet). In a medium microwave-safe bowl, place peanut butter and chocolate chips, and butter. Microwave at high for a total of 1-2 minutes or until chips are melted and mixture is smooth when stirred. Stir 2-3 times while microwaving the mixture. With a fork, dip each cookie into mixture until completely coated. Allow excess mixture to drizzle back into the bowl, through the fork. Place coated cookies on prepared tray and top each one with a graham cracker before the coating solidifies. Refrigerate, uncovered, until set; about 30 minutes. Keep stored in refrigerator until ready to eat. If possible, allow them to 'thaw' for 15-20 minutes before eating.
|
Welcome to Visual Traveler.I love crafting stories about fantastic food & beverages, must-visit destinations & eco-friendly topics. I wrote a 350+ page book about Kansas. And I've worked with dozens of additional clients - from Fodors.com & AAA magazines to USA Today 10Best & WanderWithWonder. Grab a chair & join me as you explore photo-rich stories reflecting U.S. & international travels, plus home kitchen views.
Archived posts featuring Arizona, California, Kansas, New Mexico & chocolate
December 2023
|
|
Lisa Waterman Gray
Overland Park, KS, in the Kansas City metropolitan area ► E-mail Lisa | 816-805-8918 Copyright © 2021 by Lisa Waterman Gray Site Development by Limestone9Consulting |


 RSS Feed


