|
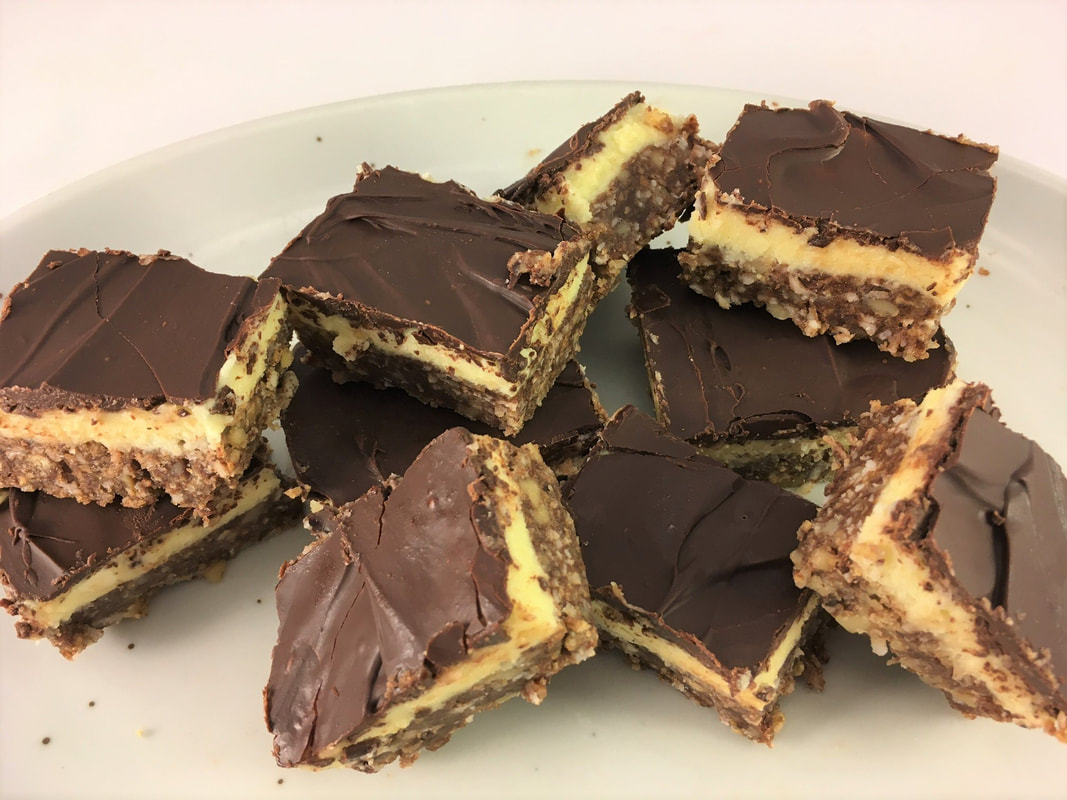
I hadn’t thought about Nanaimo Bars in many years. That is, until last week, as I shared lunch with other travel writers and public relations people at a sleek, contemporary *Nashville restaurant called Roze Pony. And there they were in the bakery case-those decadent, three-layer bars full of chocolate, nuts, coconut, and creamy richness. Each bar looked to be about 3 inches long, per side. That’s a big difference from the recommended size of a one-inch square per serving, in this recipe that Mom used decades ago. She’s still going strong, at 90, but doesn’t recall how she came upon this recipe. So, I did a little digging, myself. Turns out this decadent no-bake dessert was named after the city of Nanaimo (pronounced nuh-NYE-mo), in British Columbia, Canada, on the east side of Vancouver Island. And the bar has been a beloved staple of big celebrations there, for more than seven decades. Since I typically tinker with recipes, I’ve been trying to decide if a little less butter might work. I don’t want to change the custard texture (#2, below) so would keep the butter there. But I think the crust might also perform well with 4 tablespoons of butter and three tablespoons of mild extra virgin olive oil or safflower oil. See what you think of this time-honored recipe and enjoy! Ingredients #1 ½ cup butter 1/8th package unsweetened chocolate 1 egg, beaten 2 cups graham cracker crumbs 1 cup grated coconut 1 cup chopped walnuts Ingredients #2 ½ cup butter 1 teaspoon vanilla 2 tablespoons instant vanilla pudding (many Canadians use custard powder, instead. It creates creamier texture & distinctive yellow color, but it’s hard to find in the U.S.) 2 cups confectioner’s sugar 3-5 tablespoons milk Ingredients #3
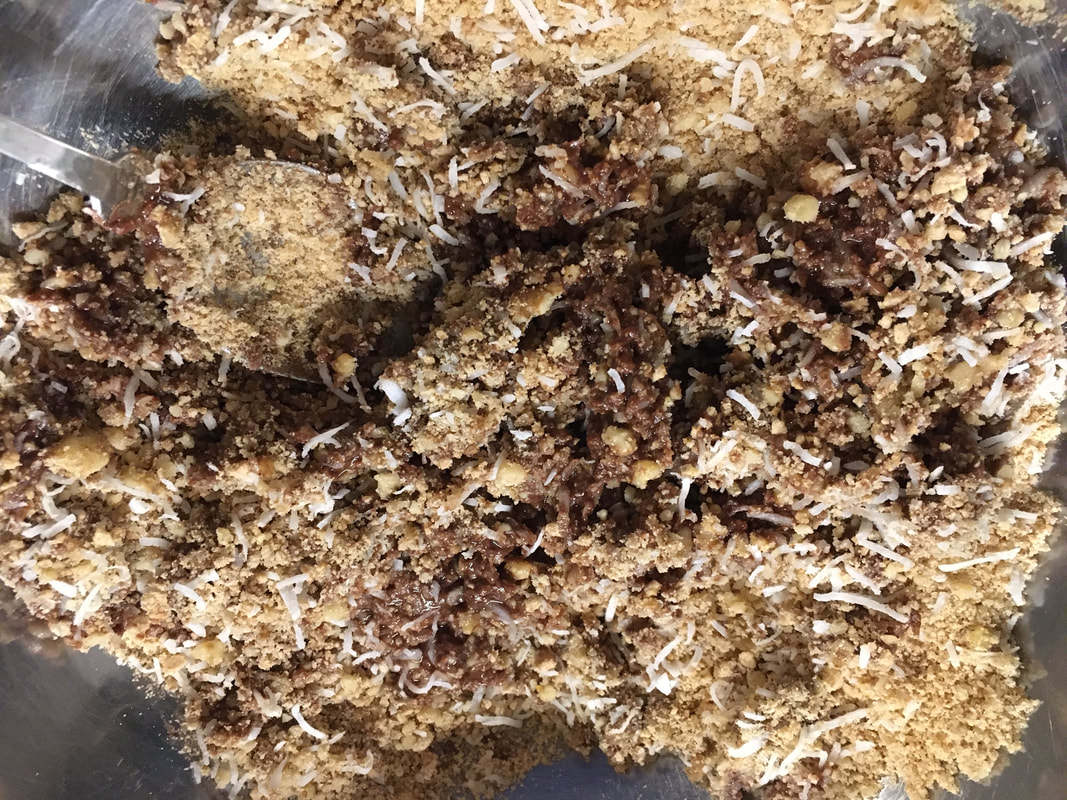
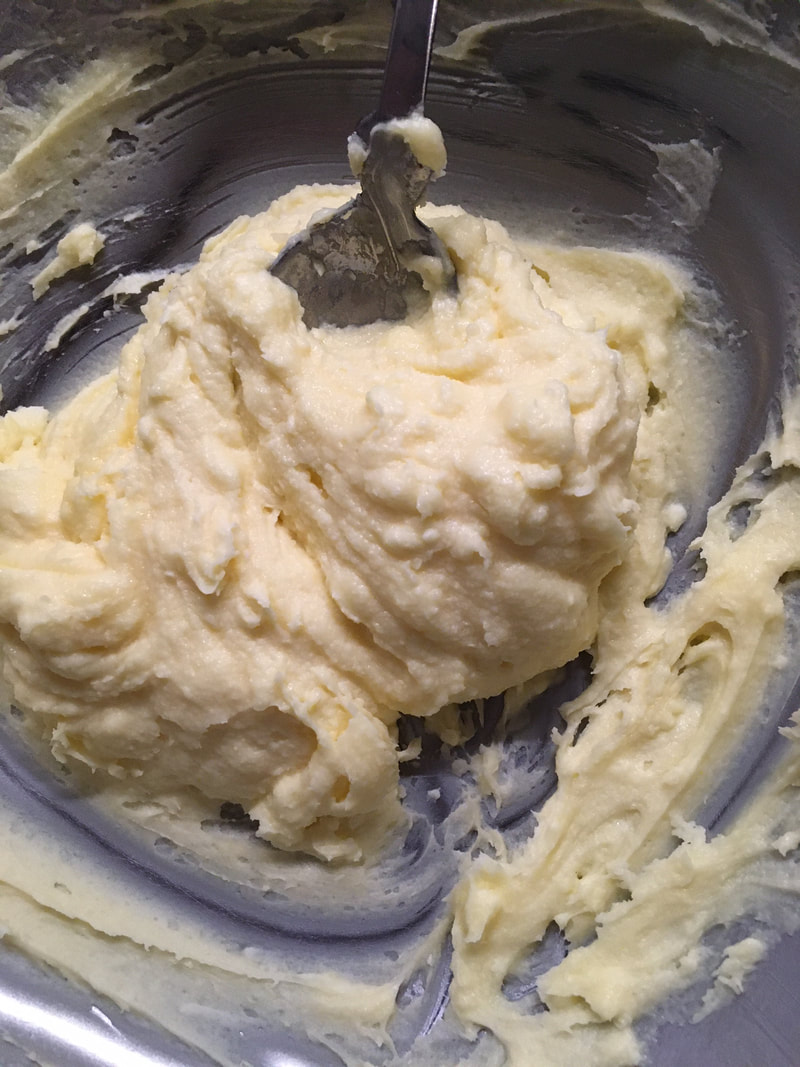
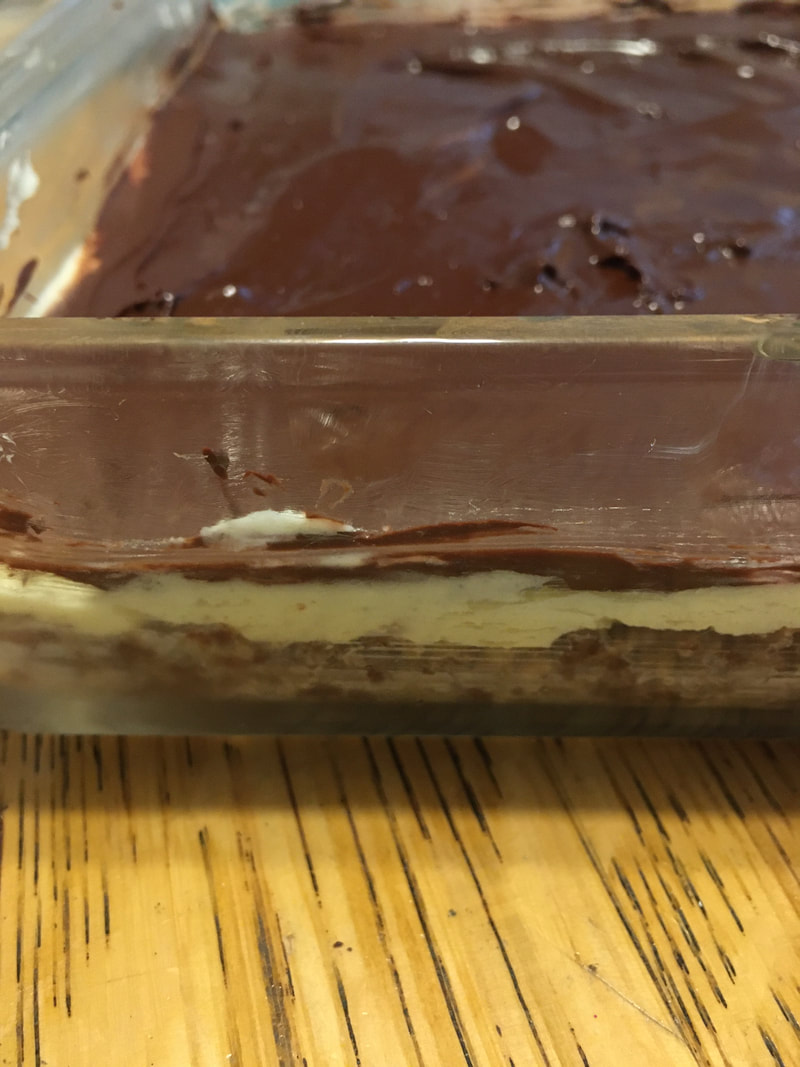
4 ounces bittersweet chocolate chips 1 tablespoon butter Directions #1 – Melt butter and chocolate in double boiler. Add egg slowly and stir in. Add remaining ingredients and fold together. Press mixture into buttered 9 x 9 pan. Let cool and harden in the refrigerator for 15-20 minutes before adding #2. #2 – Cream together butter, vanilla and pudding. Slowly add and incorporate confectioner’s sugar until well blended. Add milk slowly, as needed, to achieve thick, smooth consistency. Spread mixture on first layer. Allow to cool and harden in refrigerator for at least 30 minutes. #3 – Melt chocolate chips and butter in double boiler. Spread across first two cooled layers. Add more chopped nuts as garnish, if desired. Let cool for several hours before cutting. These bars are very rich so cut small - at least 24 bars per pan. They freeze well too. *Note: As is common in the travel industry, the writer received accommodations and other compensation for the purpose of review. While it has not influenced this review, the writer believes in full disclosure of all potential conflicts of interest.
0 Comments
Leave a Reply. |
Welcome to Visual Traveler.I love crafting stories about fantastic food & beverages, must-visit destinations & eco-friendly topics. I wrote a 350+ page book about Kansas. And I've worked with dozens of additional clients - from Fodors.com & AAA magazines to USA Today 10Best & WanderWithWonder. Grab a chair & join me as you explore photo-rich stories reflecting U.S. & international travels, plus home kitchen views.
Archived posts featuring Arizona, California, Kansas, New Mexico & chocolate
December 2023
|
|
Lisa Waterman Gray
Overland Park, KS, in the Kansas City metropolitan area ► E-mail Lisa | 816-805-8918 Copyright © 2021 by Lisa Waterman Gray Site Development by Limestone9Consulting |

 RSS Feed


