|
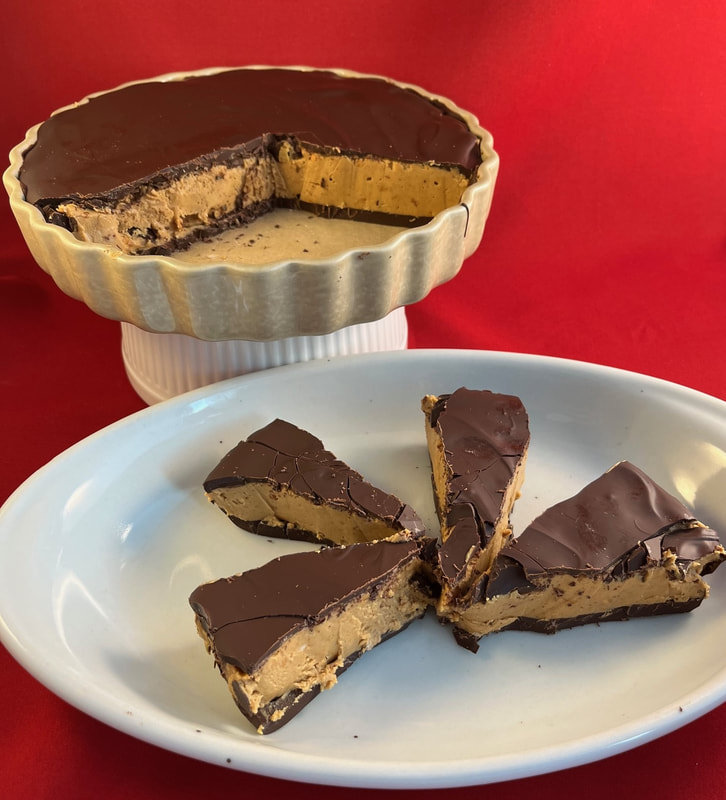
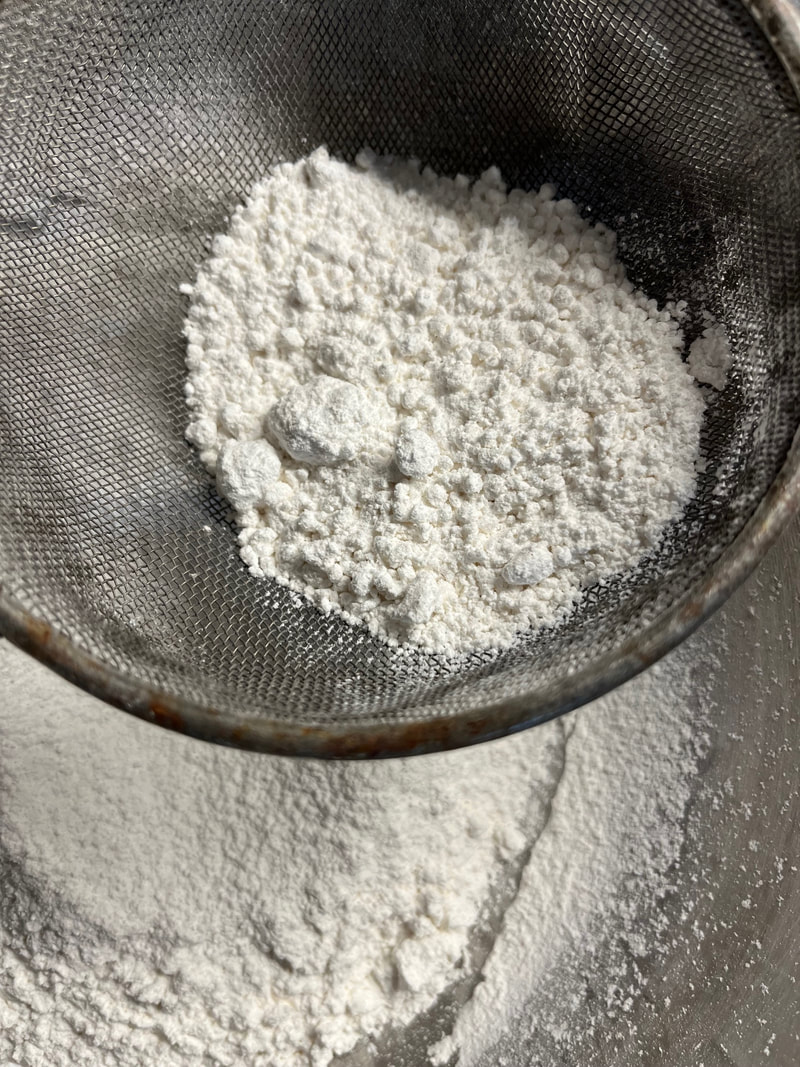
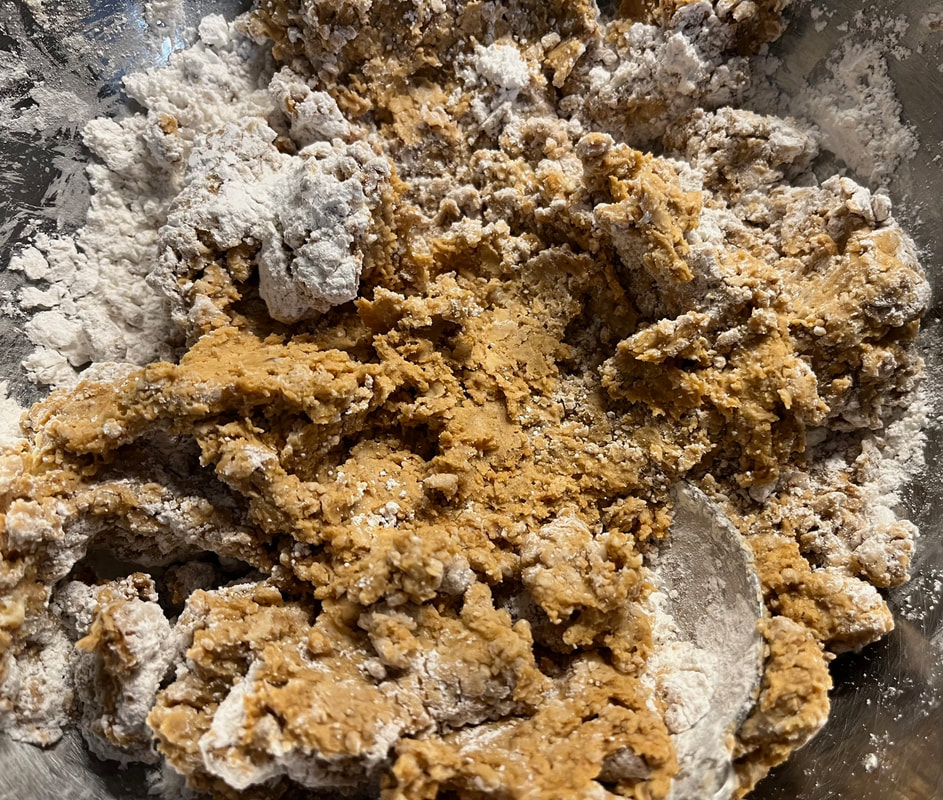
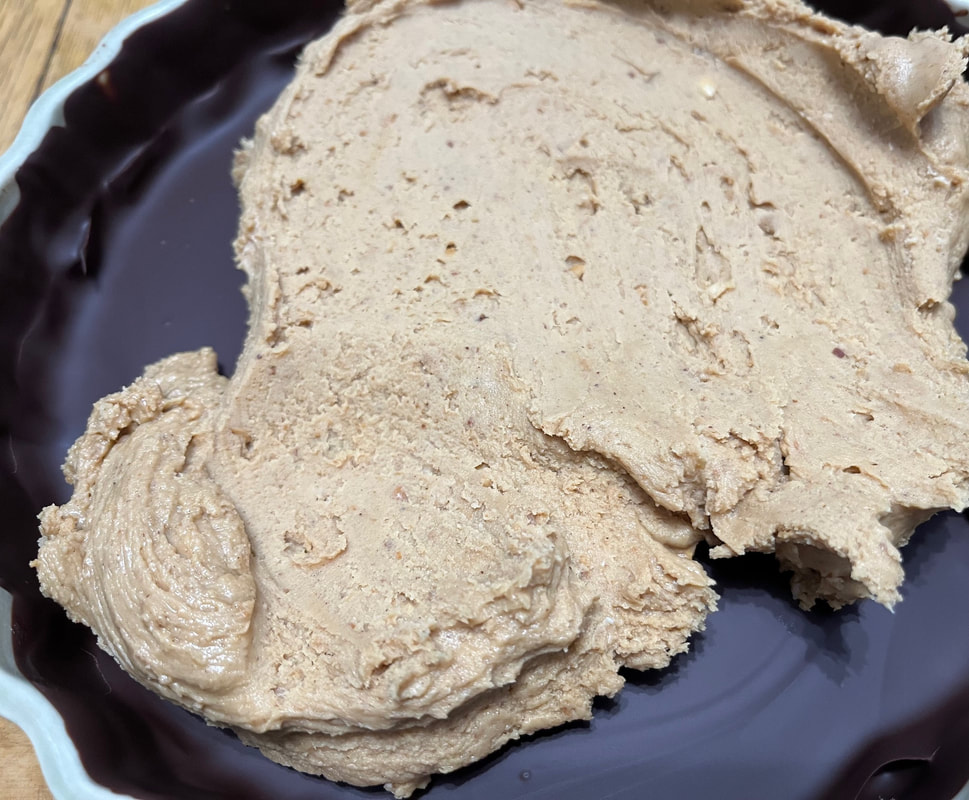
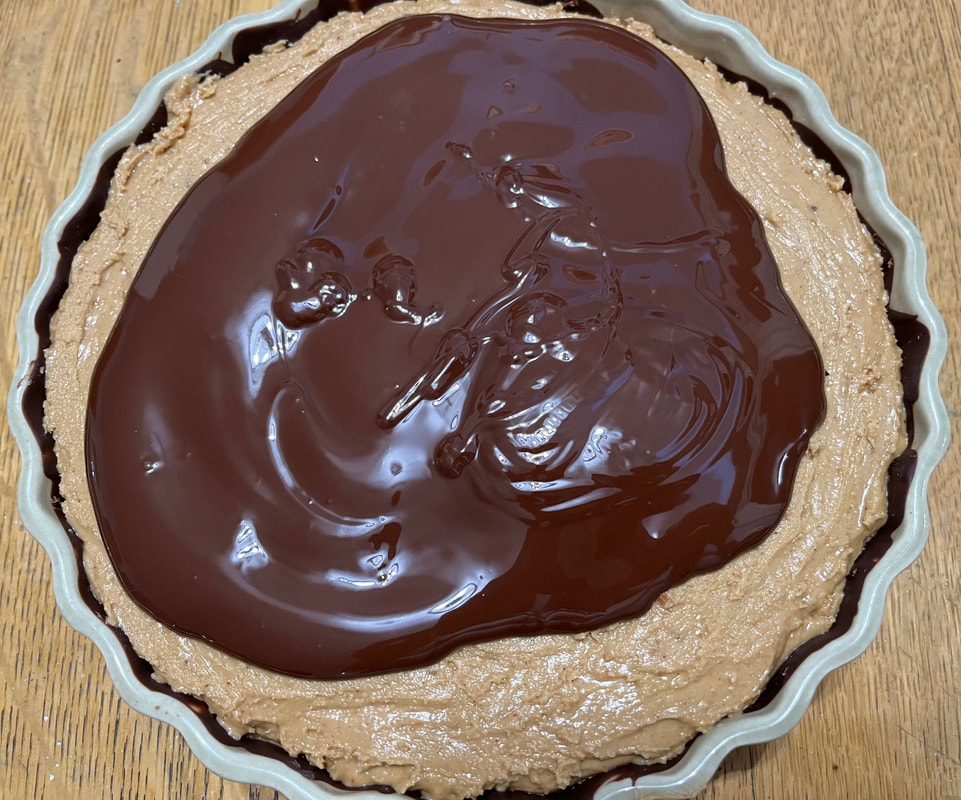
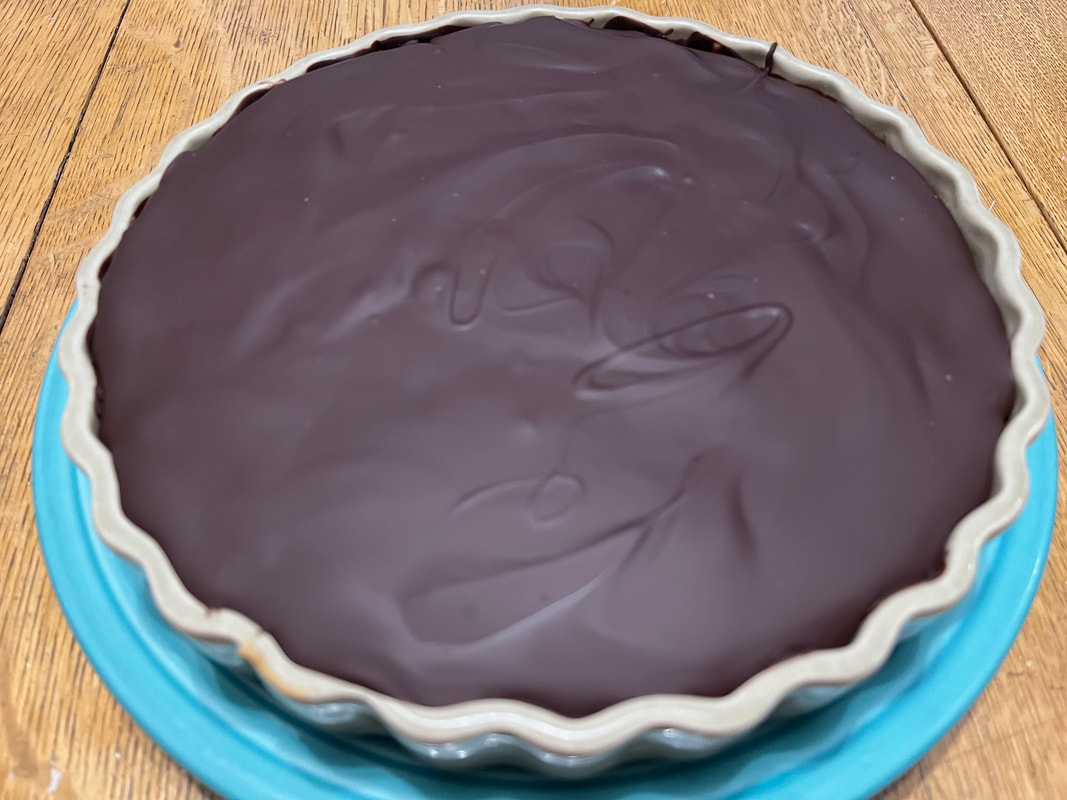
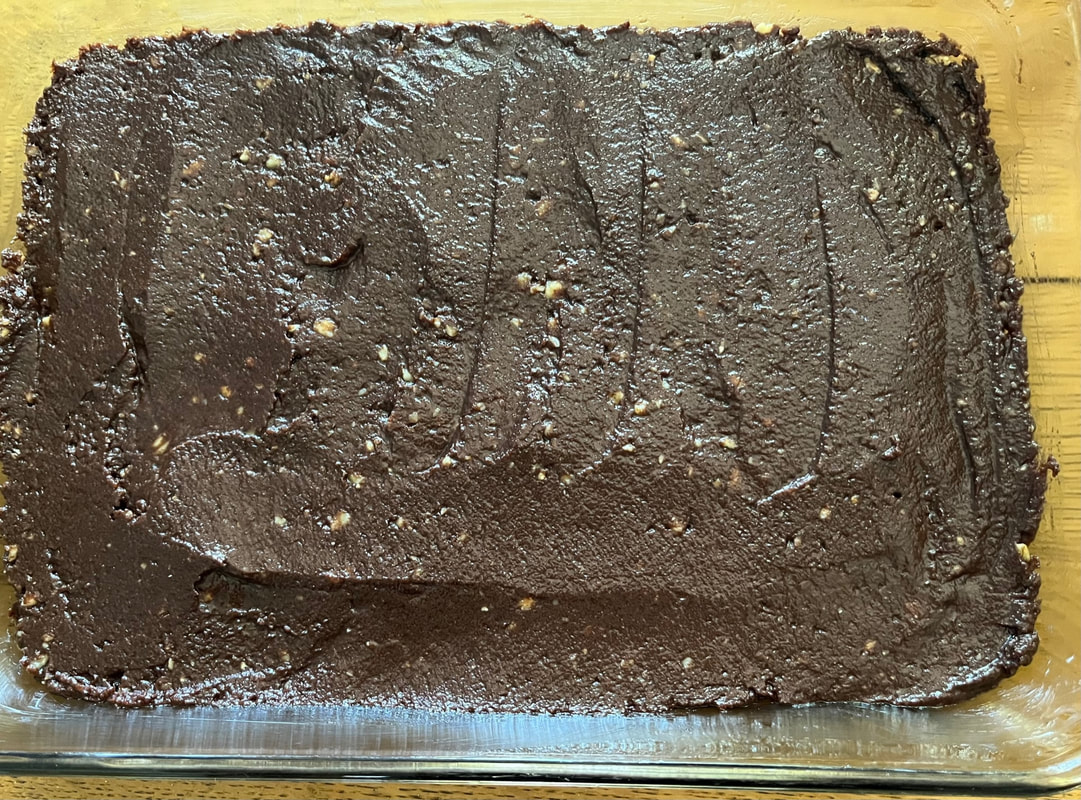
Thanks so much for sharing this year's chocolate blog journey with me and all best wishes for a wonderful New Year. In addition, please let me know some of your favorite chocolate recipes and perhaps they will find their way into next year's roundup. Now, on to this week's post: Quick - raise your hand if you like peanut butter cup candy. So do I, although the darker the chocolate the better. Which is why this Giant Peanut Butter Cup Recipe attracted me for my final 2023 chocolate blog entry. That said, this is an incredibly rich dessert, even for a chocoholic. And there's no way I would cut only four portions when serving. Instead, I'm thinking a minimum of 10-12 servings. Perhaps that will make it the perfect size for your New Year gathering (s) ! Equipment Tart pan Waxed paper (V.O.E.; see below: I used parchment paper.) Sifter (V.O.E. : I don't own a sifter so substituted a sieve and spoon) Double boiler, or microwave safe bowl, to melt chocolate Large mixing bowl Large measuring cup Large mixing spoon Rubber spatula Above: A sieve and spoon stood in for a sifter as I made this recipe. Above: Mixing the peanut butter, butter and confectioners sugar was surprisingly easy. Above: V.O.E.: The recipe suggested lining the base of the pan with wax paper and then removing the initial chocolate layer from the tart pan after it solidified. I couldn't get a hold of the wax paper's upper edge to remove the initial chocolate layer so I 'fudged' this step by spreading the peanut butter mixture directly on top without removing it. Next time I will likely line the bottom AND sides of this tart pan with foil, instead, for better leverage. Above and below: Spreading and chilling the final chocolate layer. This thoroughly decadent dessert has a smooth, dark chocolate surface that is slightly crunchy when cut directly after removing it from the fridge. A good reason to let it reach room temperature before cutting and serving - if you can wait that long!!
2 Comments
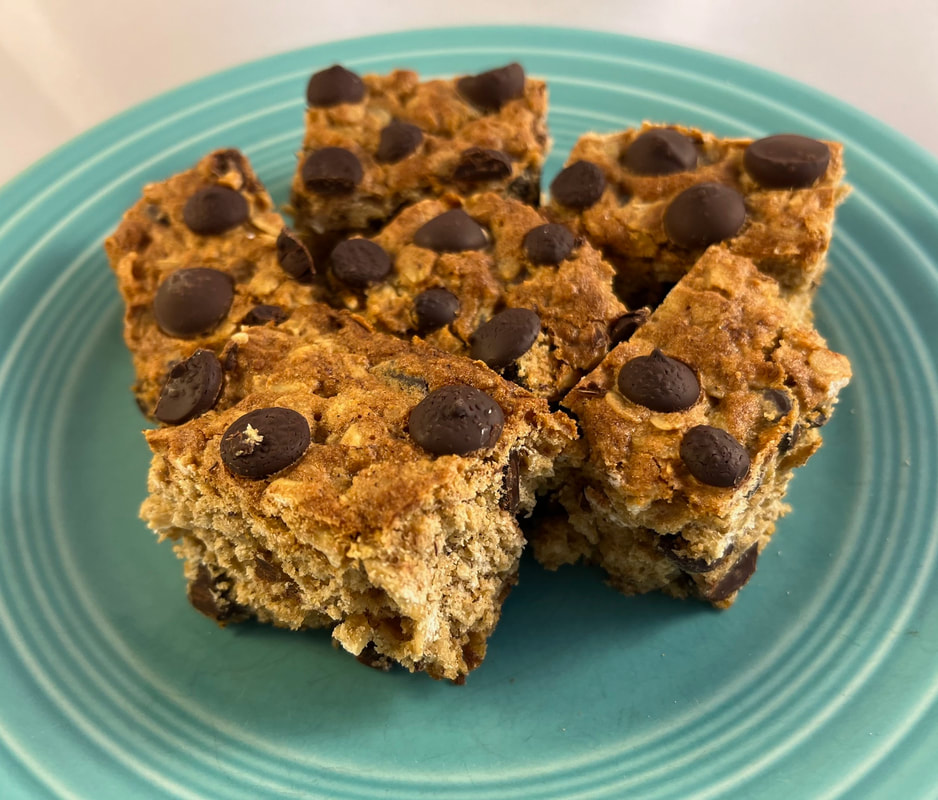
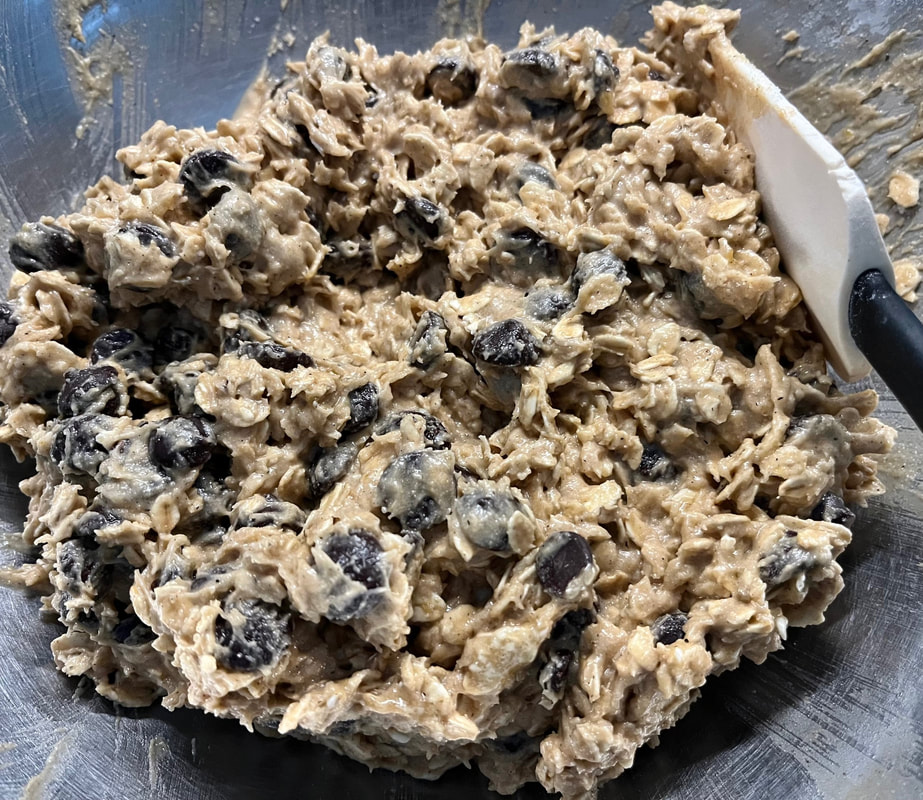
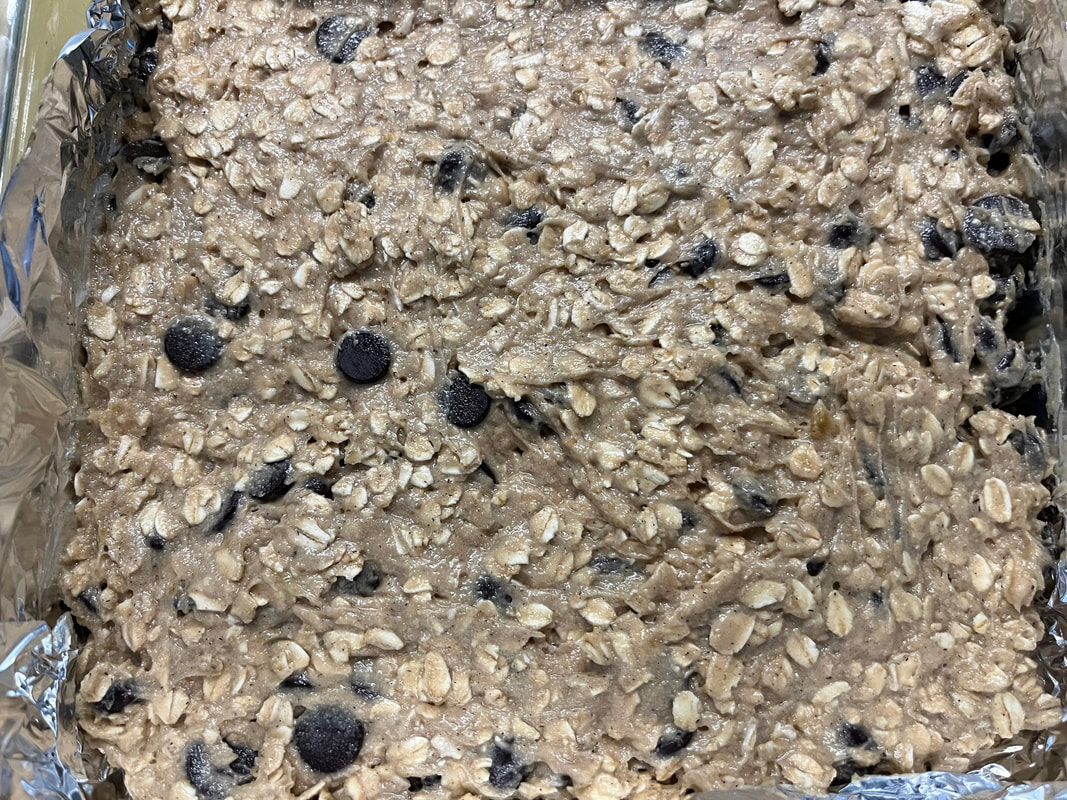
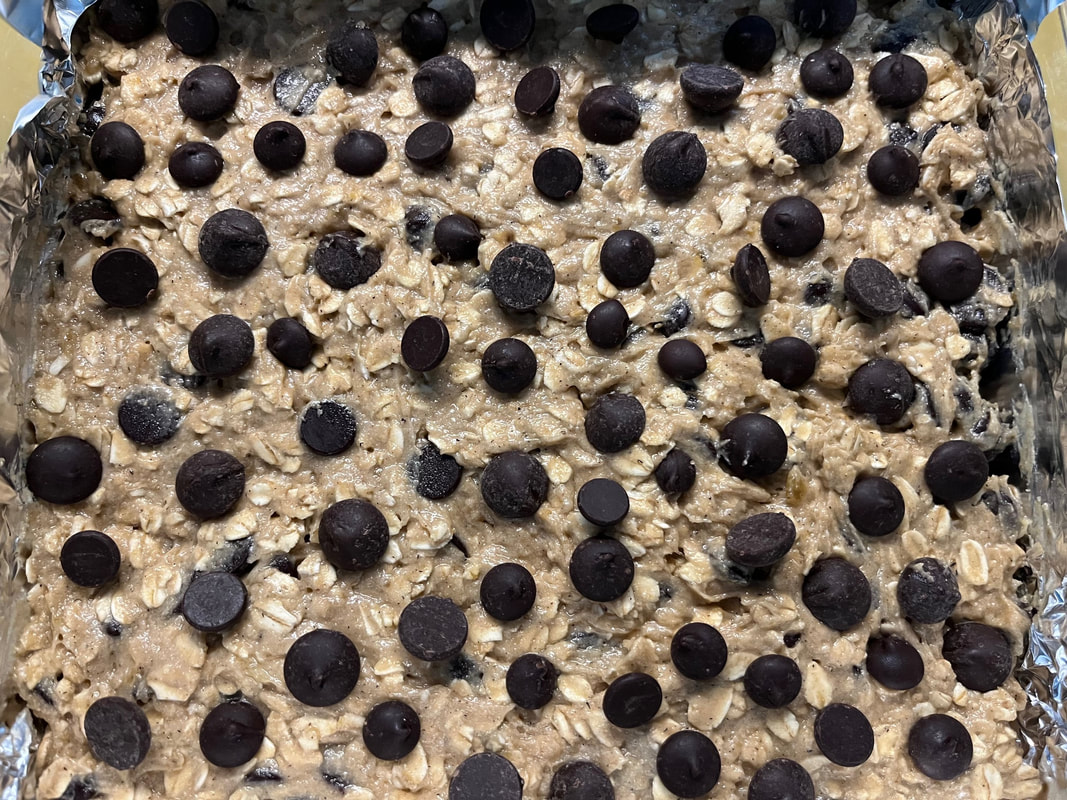
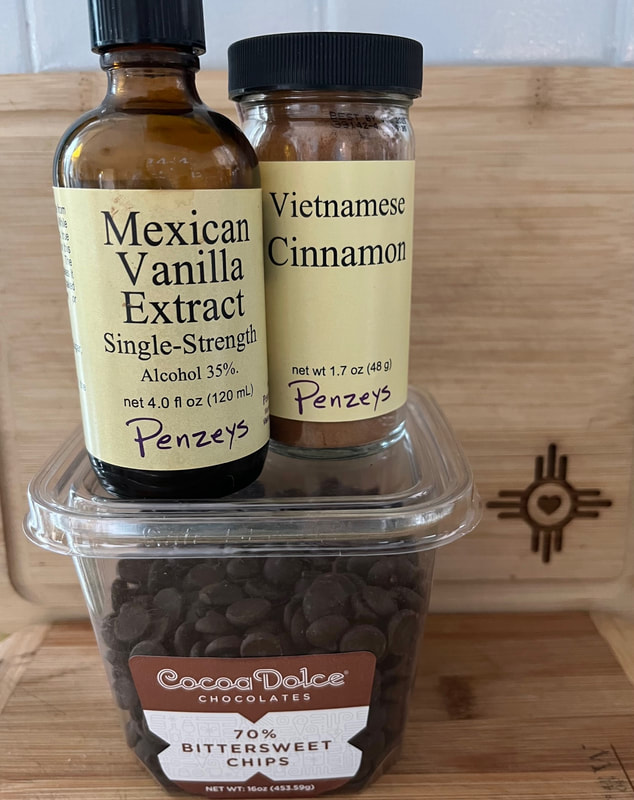
Have you ever had a day when you feel a little 'spacey' and distracted, because there is so much going on? That characterized my Wednesday, when I typically aim to share a new post. Hence I took fewer photos than usual during the time when I was pulling together this delicious recipe for Banana Oatmeal Chocolate Chip Cookie Bars. I love the fact these 'Bars will keep airtight at room temperature for up to 1 week or in the freezer for up to 6 months.' V.O.E.: I also appreciate the dense texture and subtle sweetness-although I would likely add a little more banana next time, to increase the moisture level slightly. As always, my chocolate chips were bittersweet rather than the suggested semisweet chips. I also skewed on the higher end for the amount of cinnamon used. My ever-dependable hand mixer replaced the suggested standup mixer and paddle attachment. Here is some other Equipment you'll need: 9 x 9 pan (I used glass) Foil Large mixing bowl Large mixing spoon Stand or hand mixer Rubber spatula Measuring spoons Above: Mixing in the chocolate chips. Below: Spreading the batter in a foil-lined pan. Above: The final step before baking. Wondering about the logo on that cutting board? It represents the city of Wichita, Kansas, where Cocoa Dolce operates. I've visited the company's flagship location and had the pleasure of writing about them for The Chocolate Professor. Then my Secret Santa (and Wichita resident), from Midwest Travel Journalists Association, sent bittersweet chips with my 2023 chocolate blog recipes in mind.
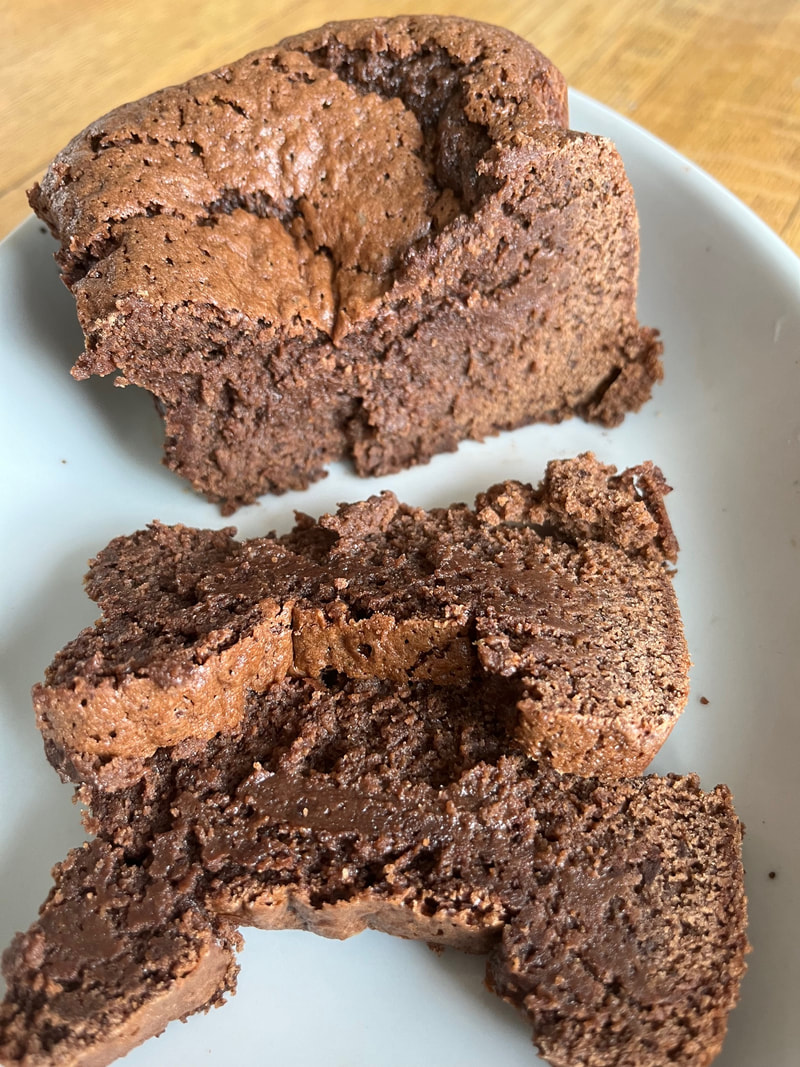
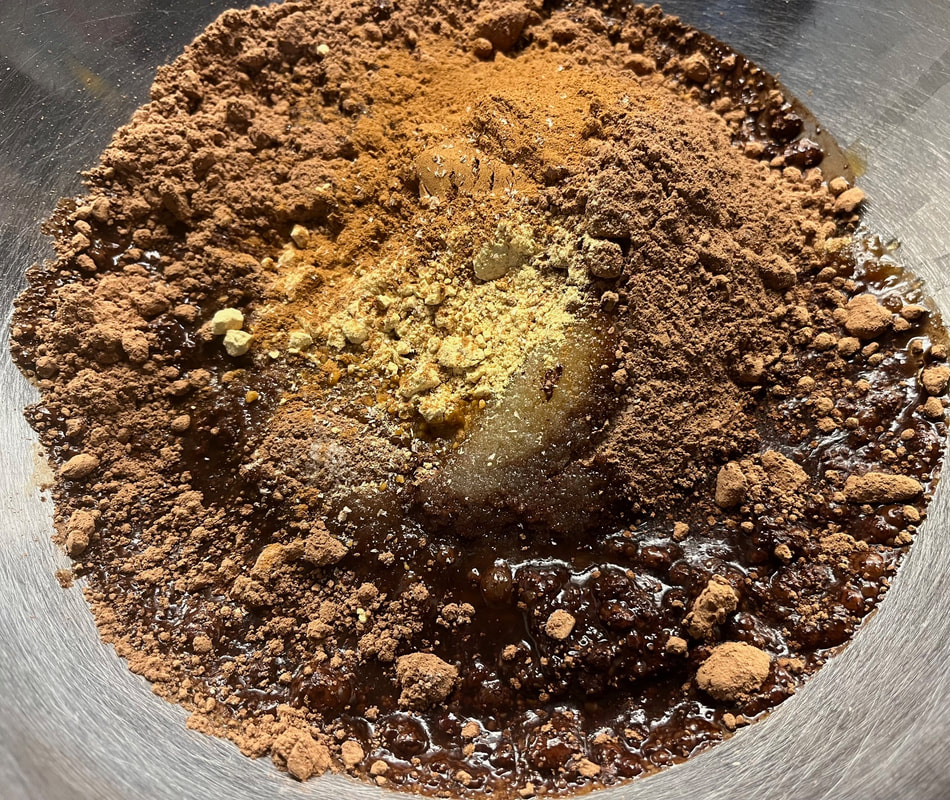
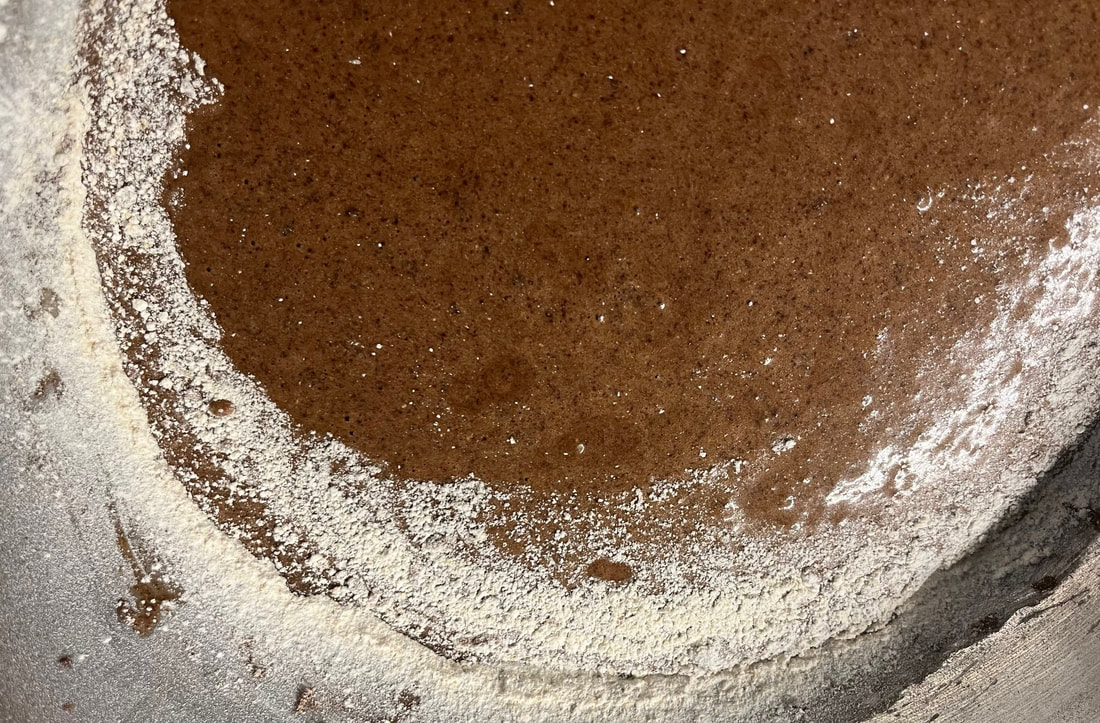
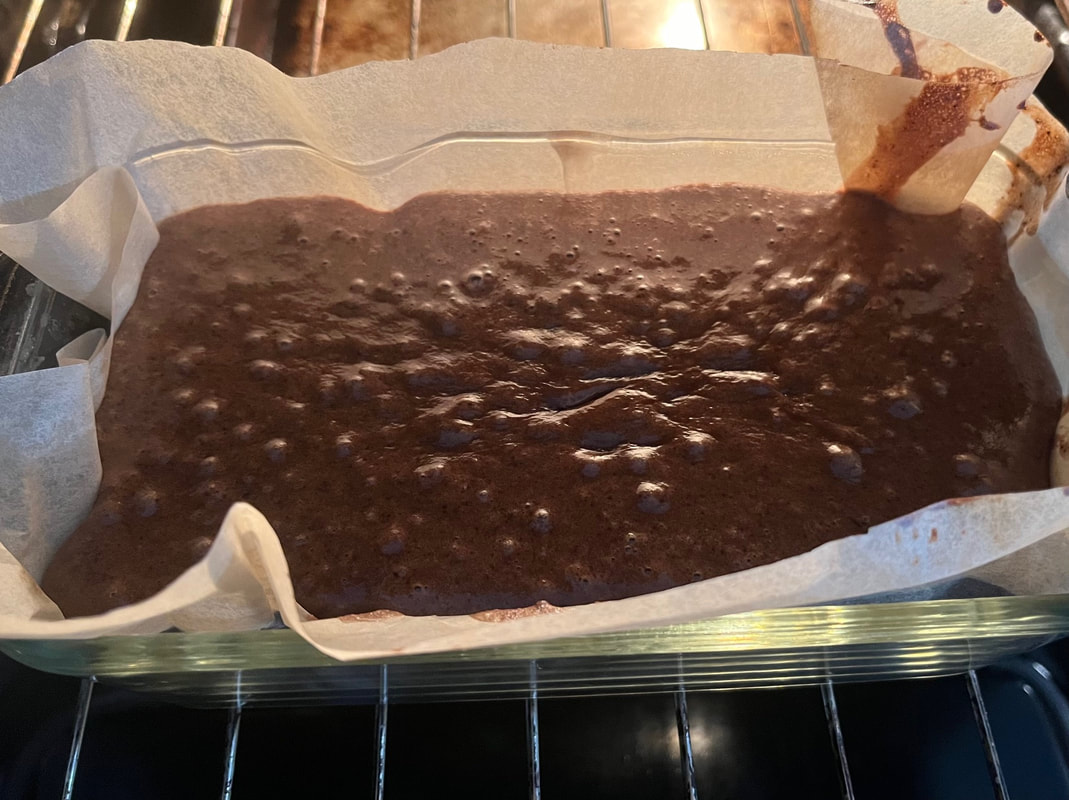
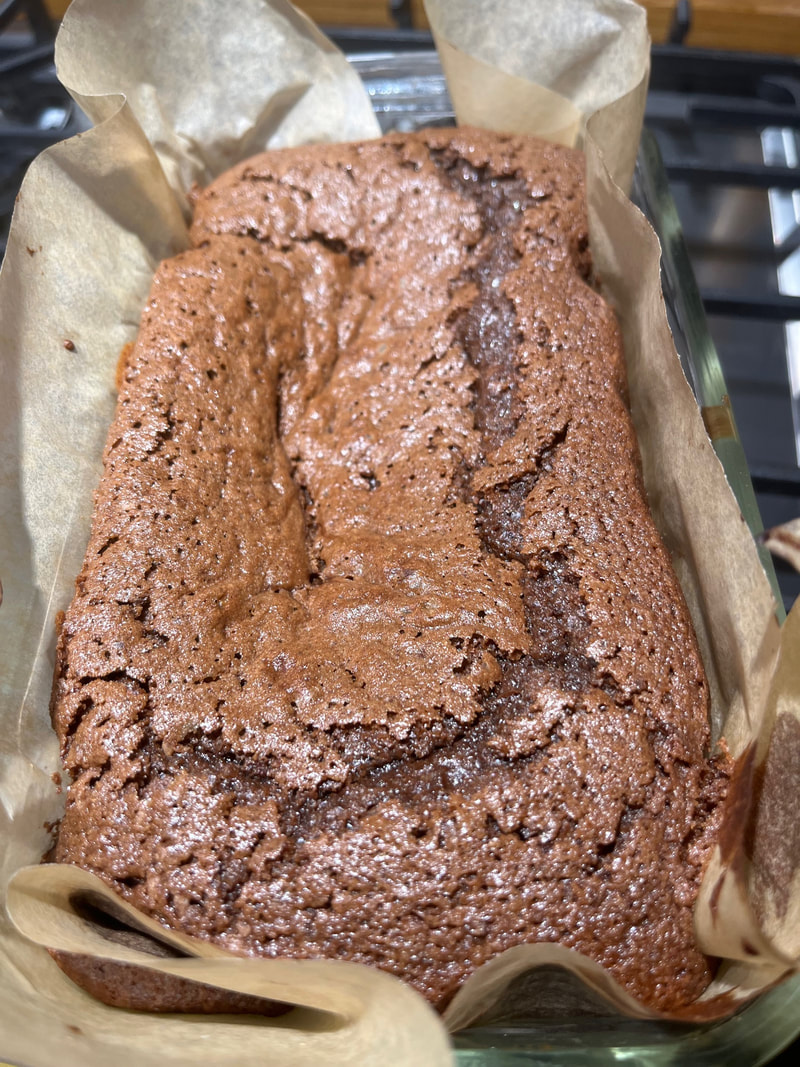
And what about that Mexican vanilla and Vietnamese Cinnamon from Penzey's? I frequently visit a Penzey's store less than 10 minutes from our house. But whether I purchase vanilla and cinnamon there - or elsewhere - I always buy Mexican and Vietnamese varieties. Why? I long ago heard the virtues of Mexican vanilla, including its mellow, smooth quality, and have never been disappointed. And Vietnamese/Saigon Cinnamon? It's also about the flavor for me. What are your favorite vanilla and cinnamon varieties? My latest chocolate adventure began with a recipe from Midwest Living. However, I decided not to make the frosting, early on. Chalk it up to my irrepressible tendency to tinker with even the best recipes and/or, perhaps, the fact that our family celebrated an early Christmas last weekend which incorporated loads of rich food. Either way, we were delighted with the flavor of this gingerbread (although I substituted a little ground nutmeg for clove, which I almost never use). The texture? Not so much. Despite lining my 9 x 5 pan with (unbleached) parchment paper as requested, my loaf baked unevenly and even 'fell' in the middle as it cooled. When I cut the loaf it began to break. Some portions of each slice had almost a thick pudding consistency while other areas more closely resembled cake. I refrigerated half of the loaf for several hours before cutting, in hopes it would solidify some and cut more easily, but I didn't notice much difference. V.O.E.: If I make this recipe in a loaf pan again, I might reduce the milk to 1/3 cup. I'm also tempted to bake this recipe in a 9 x 9 pan while obviously reducing the cooking time by keeping a close eye on it. And about the frosting? I'm sure it's delicious but I think we'll skip it in our house. Equipment: 9 x 5 loaf pan Two mixing bowls Hand or stand mixer Measuring cup Large mixing spoon Measuring spoons For melting butter: saucepan with water and small bowl OR you may microwave the butter Above & below: Combining wet and dry ingredients. Above: Filling the pan was challenging because the parchment didn't lie flat against the sides. Above: Fresh from the oven.
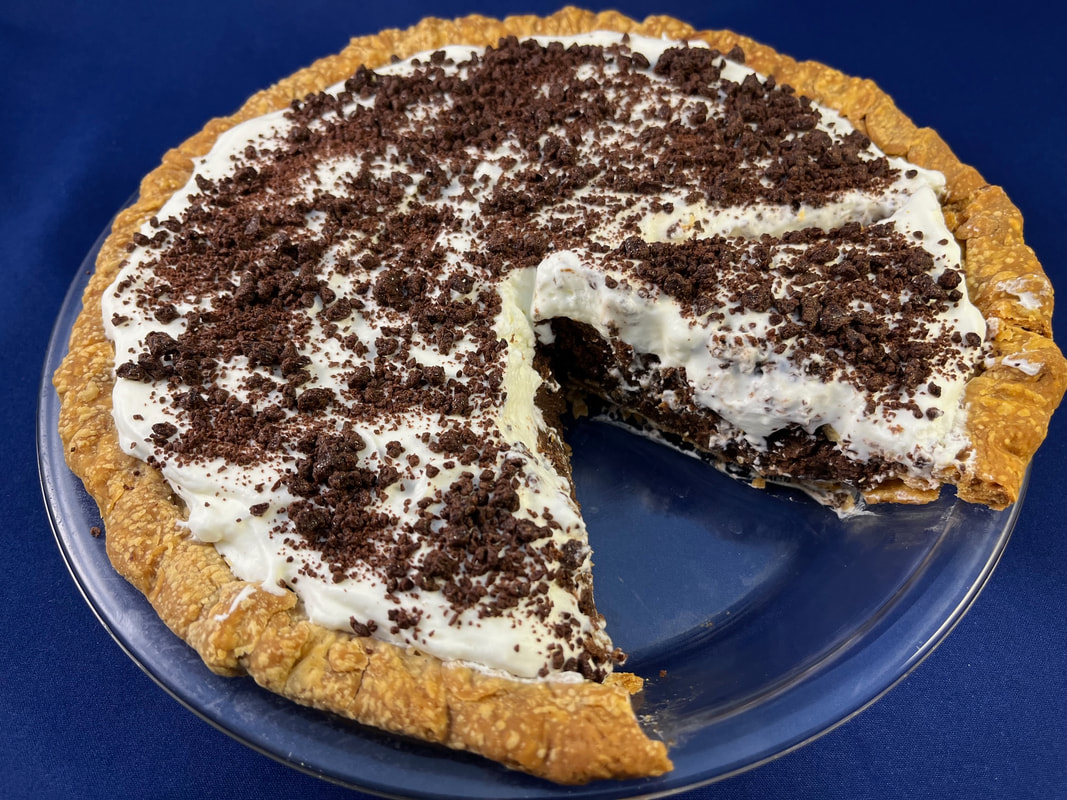
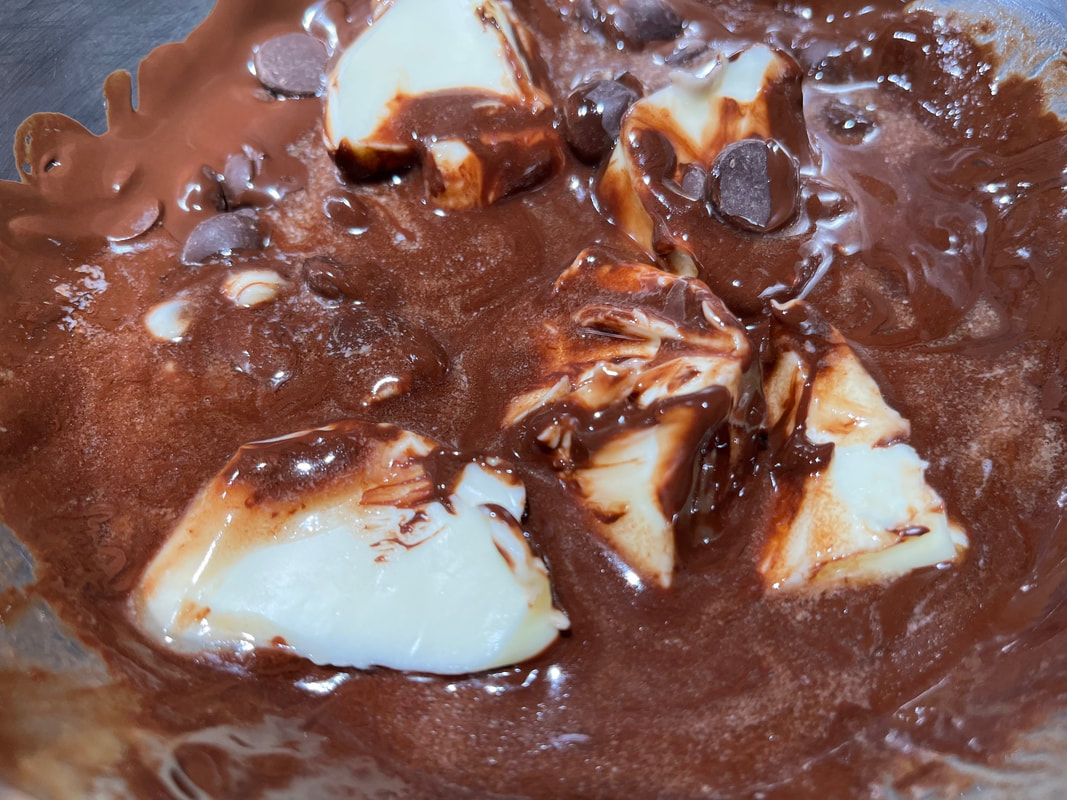
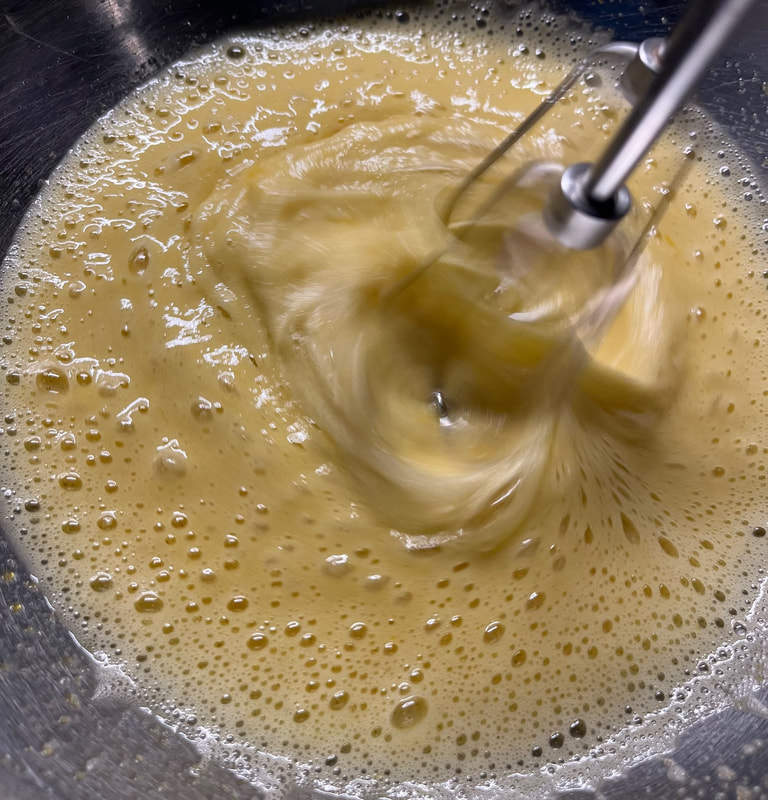
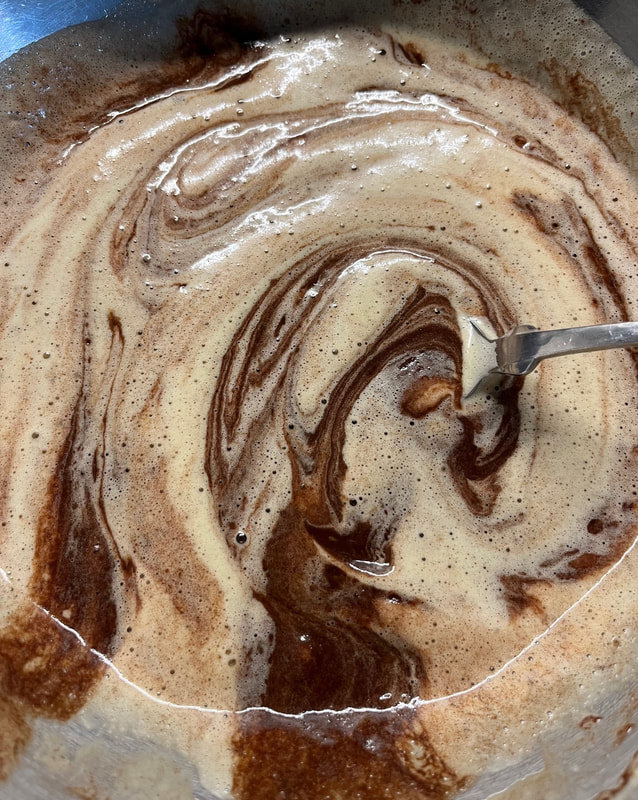
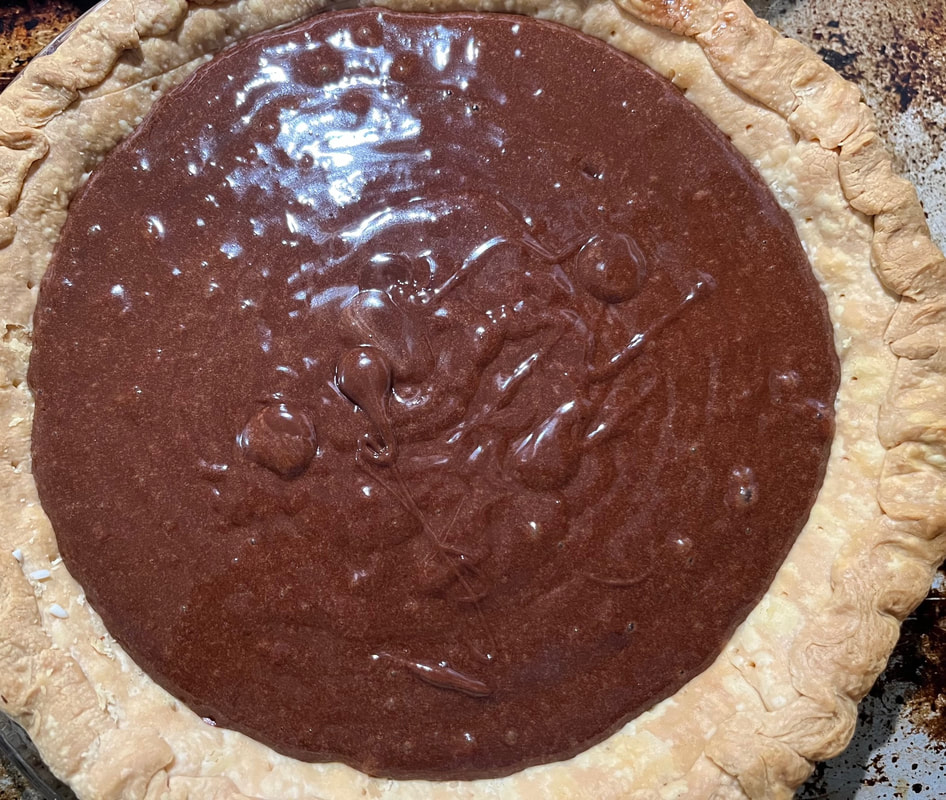
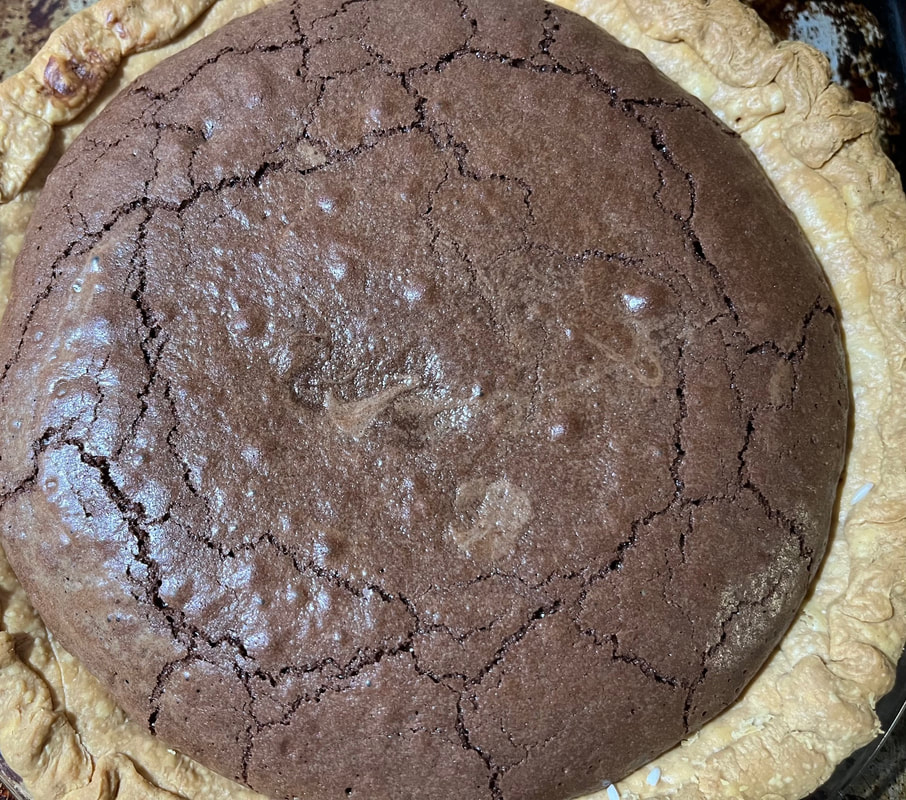
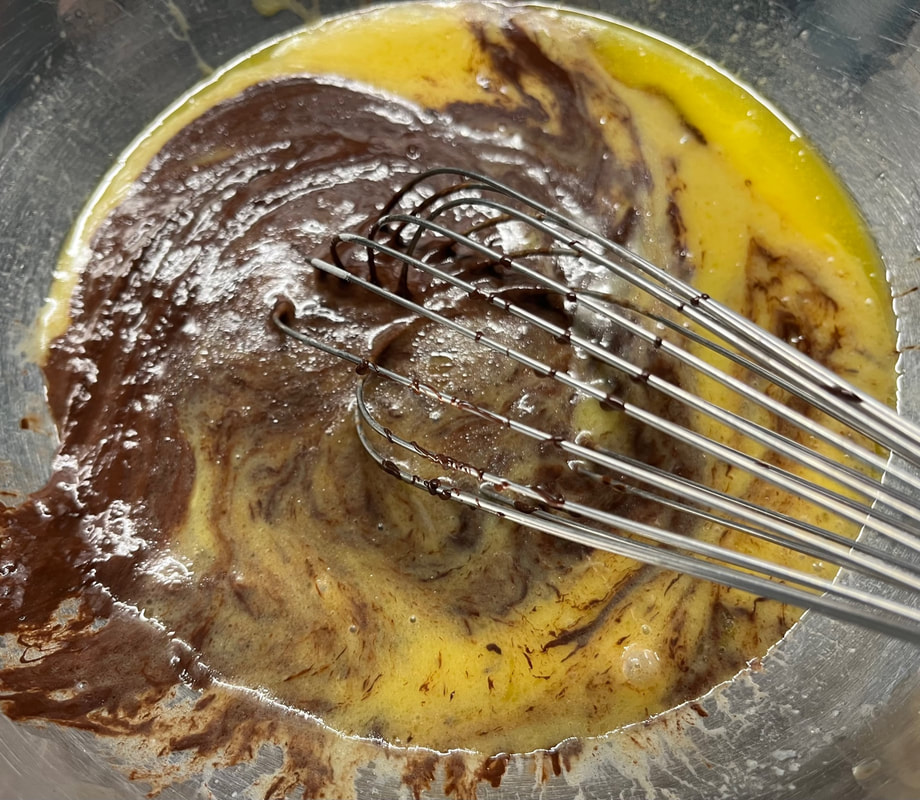
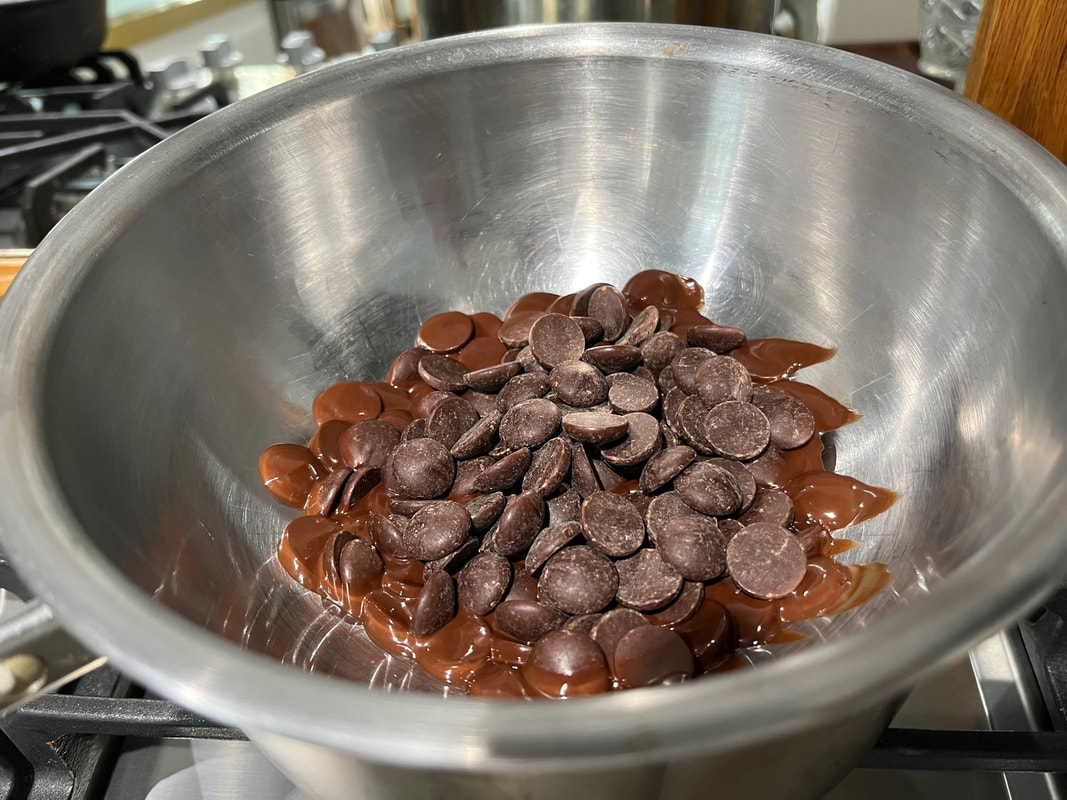
Posted by the Boston Herald, this Chocolate Fudge Pie recipe originates from “Real Simple (magazine's): Dinner Tonight Done!” I love the fact this recipe acknowledges using either a homemade OR a store-bought crust; I make pies so rarely that I generally prefer the store-bought option. Active time to create this totally decadent dessert is relatively short, but you'll have to resist the urge to taste a slice until after extensive cooling and-more importantly-applying a thick whipped cream layer + chocolate shavings. V.O.E.: Truth be told, I've never created chocolate shavings (perhaps a New Year's resolution?) so I 'zapped' chocolate chips in my food processor, instead. Though not as pretty as shaved accents, this method delivers the same great flavor. Equipment list: Double boiler (or small metal bowl seated in small saucepan) Large mixing spoon 9-inch pie pan Cookie sheet Pie weights (may substitute dry rice or beans) Measuring cup Large mixing bowl Hand or stand mixer Rubber spatula Above: As the butter and chocolate chips melt... Above: ...beat together the eggs, sugar and salt. Above: Combining the chocolate/butter & egg/sugar/salt mixtures. Above: Ready to bake, with plenty of space for whipped cream later on. Above: Clearly visible 'cracks' in the baked pie.
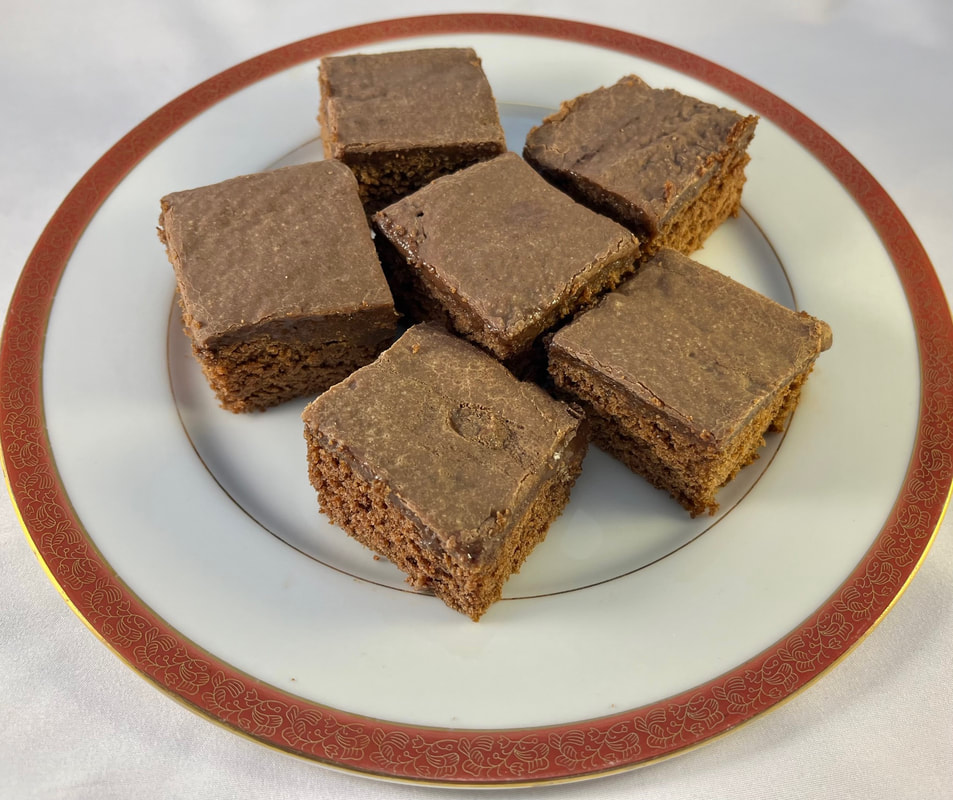
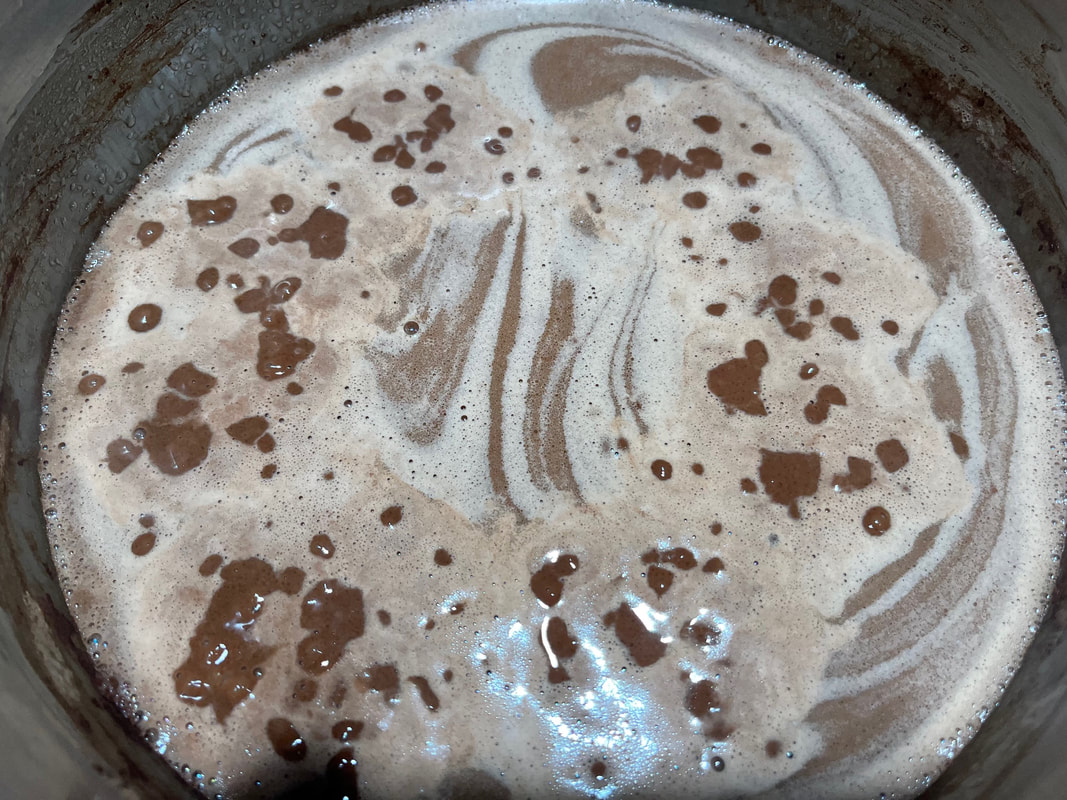
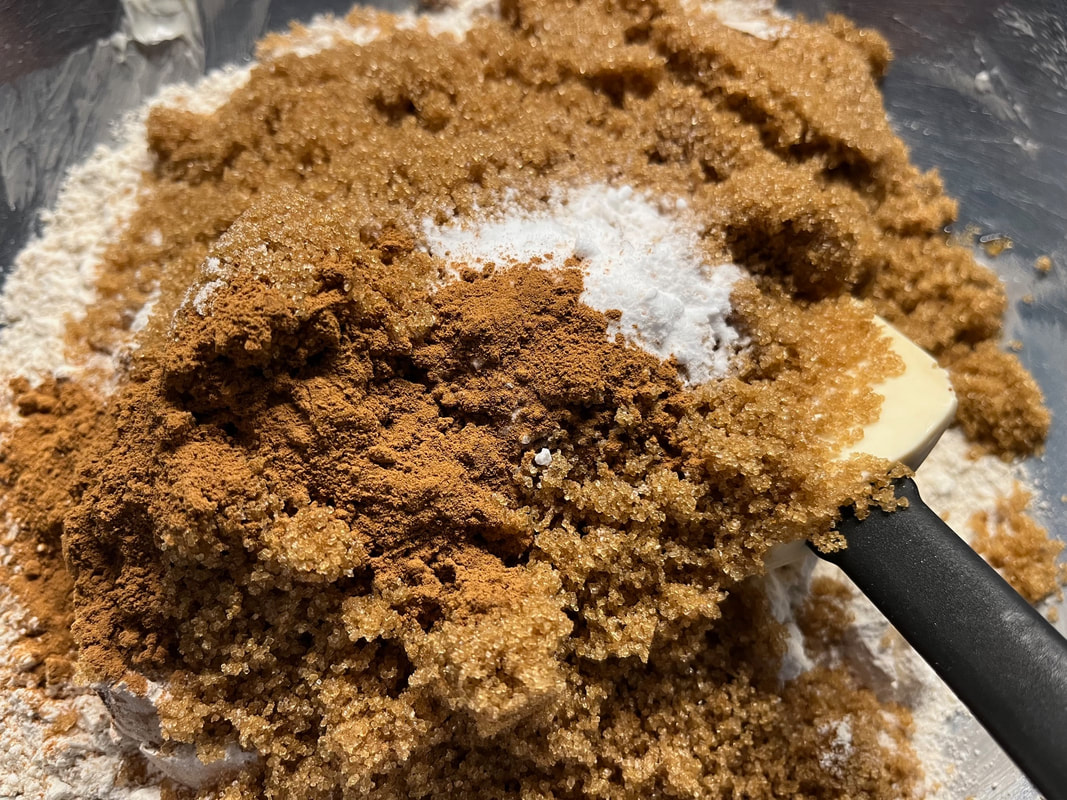
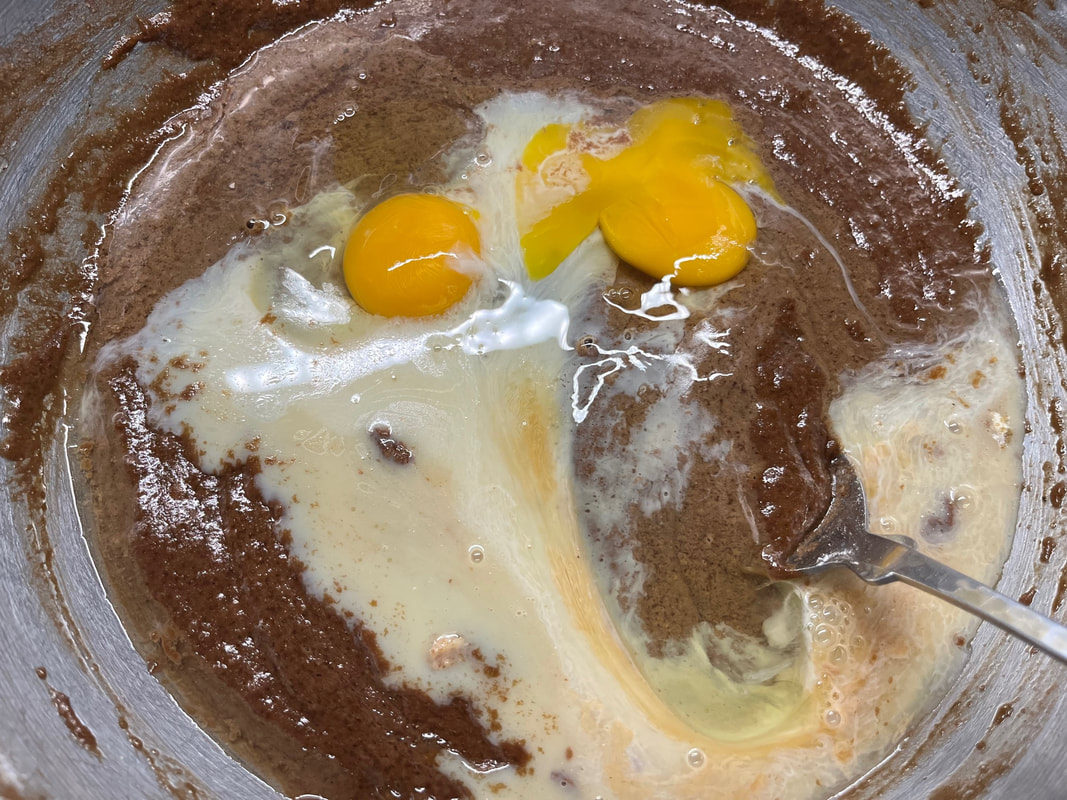
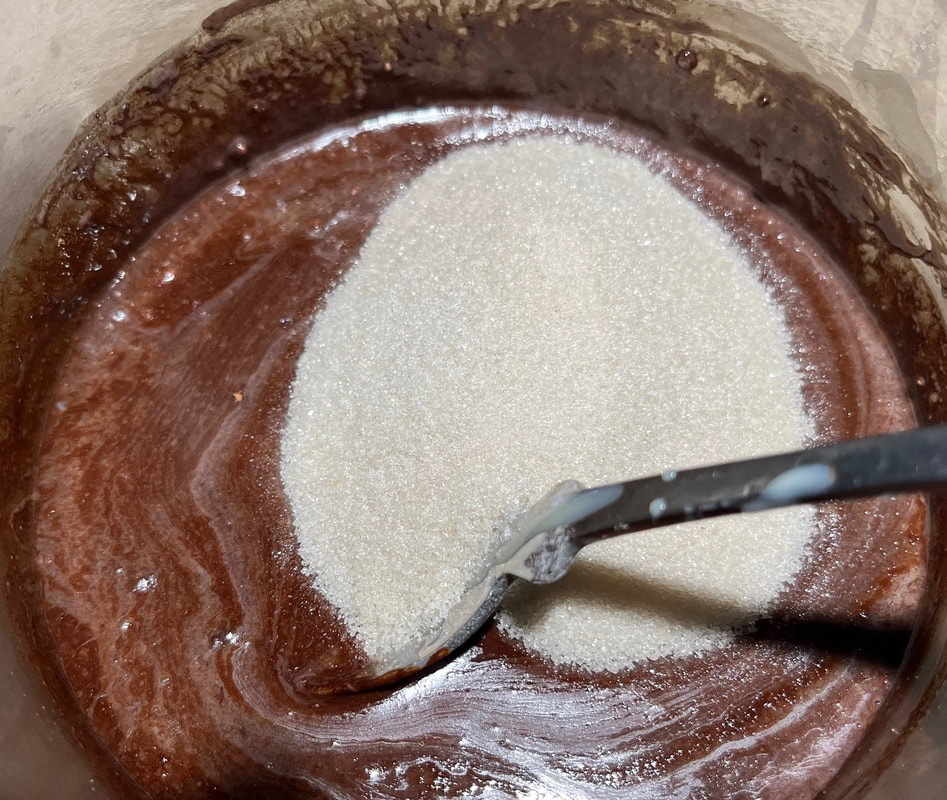
V.O.E.: About the amount of heavy cream suggested-even after spreading on a thick layer of this luscious stuff, I still had more than half a cup left. So I would likely reduce how much I use next time, to 1 cup. Re: sugar in your whipped cream, start with 3 tablespoons, but add more to taste. I added double the suggested amount, especially since I used bittersweet chocolate (as always!) in the primary filling. The results? Deep, rich flavor, with a slightly crunch crust and fluffy topping. Enjoy! Wondering about the title of this post? Turns out hummingbirds and old recipes (such as this one) have one big thing in common-they don't much like organic sugar, which tends to be a bit more granular. In fact, hummingbirds refused to drink from our backyard feeder until we switched to more traditional granulated sugar. I have no idea where-or when-I found this recipe but it was yellowed and slightly smudged with age, before I typed a new version into my computer files. And when I used organic sugar for this topping, the result had a touch of 'crunchiness,' that didn't complement the cake as well as anticipated. The moral of this story? Do not use organic sugar in this recipe. Equipment: 9 x 13 glass baking pan Large saucepan Large mixing bowl Large mixing spoon Measuring cup Measuring spoons Ingredients Serves 24+ 1 cup butter ¼ cup cocoa powder 1 cup water 2 cups flour 1 ½ cups brown sugar 1 teaspoon baking soda 1 teaspoon cinnamon ½ teaspoon salt 1/3 cup sweetened condensed milk 2 eggs 1 teaspoon vanilla ¼ cup butter ¼ cup cocoa powder 11 ounces sweetened condensed milk 1 cup sugar 1 cup chopped nuts (optional) Instructions 1. Melt 1 cup of butter, stir in ¼ cocoa and water. Bring to a boil, then remove from the heat. 2. In a large bowl combine the flour, brown sugar, baking soda, cinnamon, and salt. Add the cocoa mixture and beat together well. 3. Stir in 1/3 cup condensed milk, eggs, and vanilla. Pour into a greased pan. 4. Bake for 35-40 minutes or until the cake springs back to touch. 5. In a small saucepan, melt ¼ cup butter. Stir in remaining ¼ cup cocoa and condensed milk. Stir in sugar and (optional) nuts. Spread on warm cake.
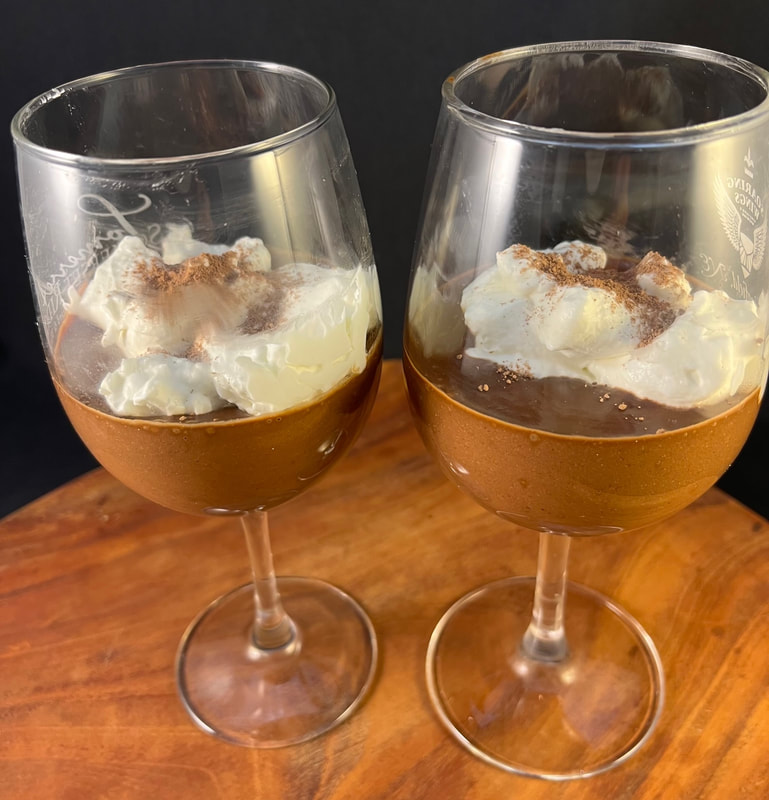
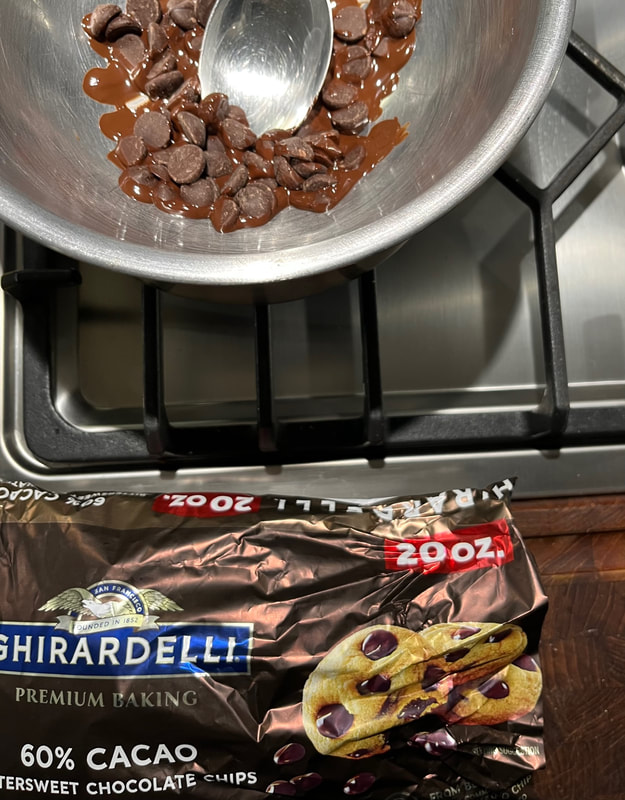
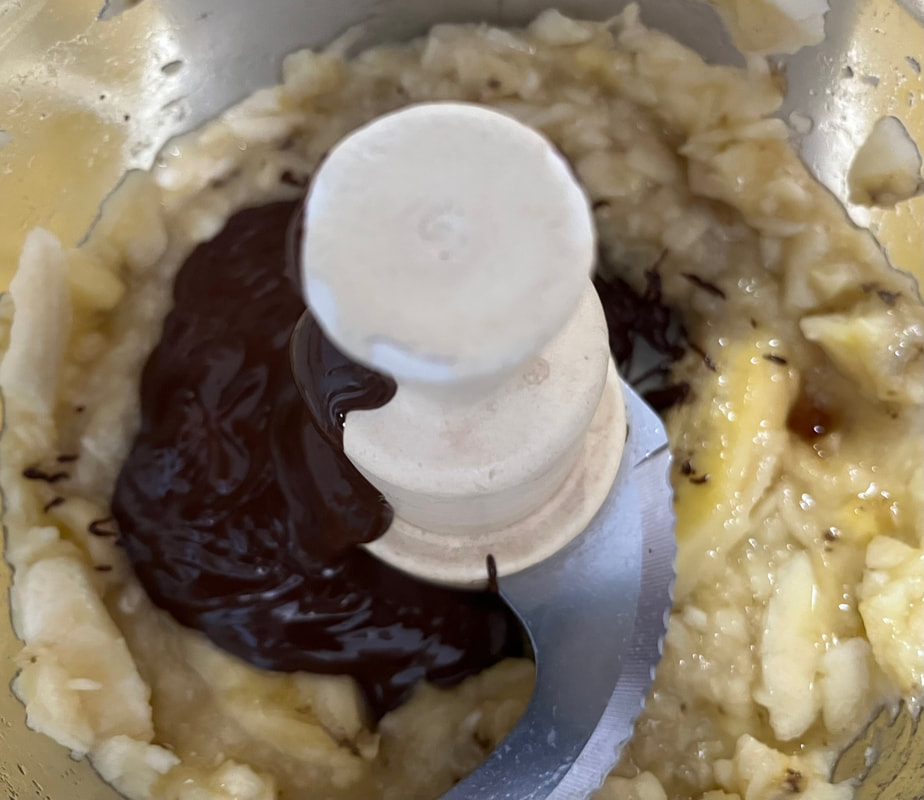
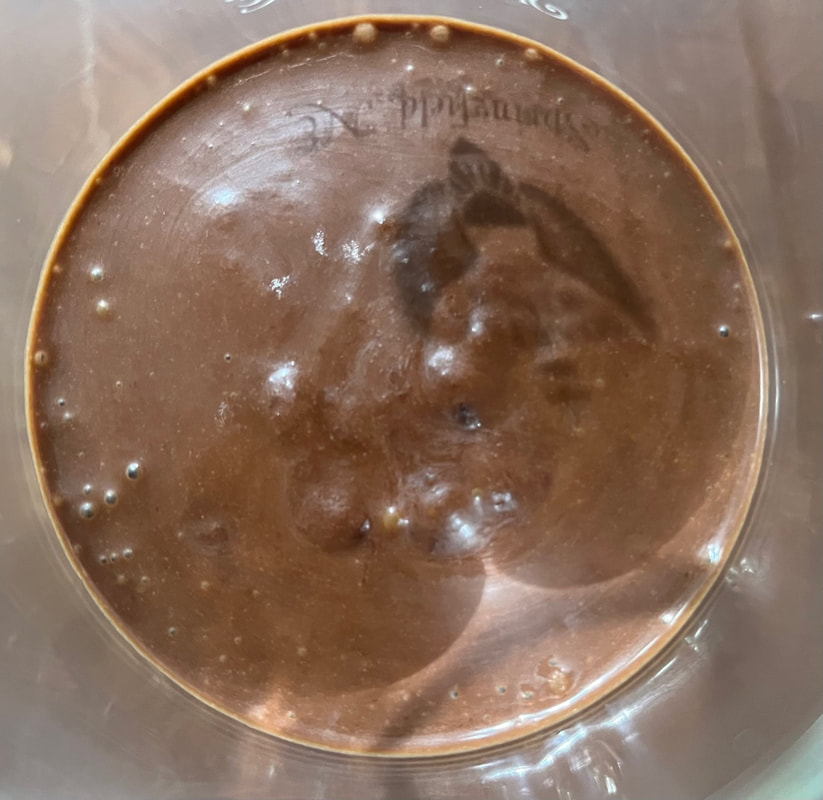
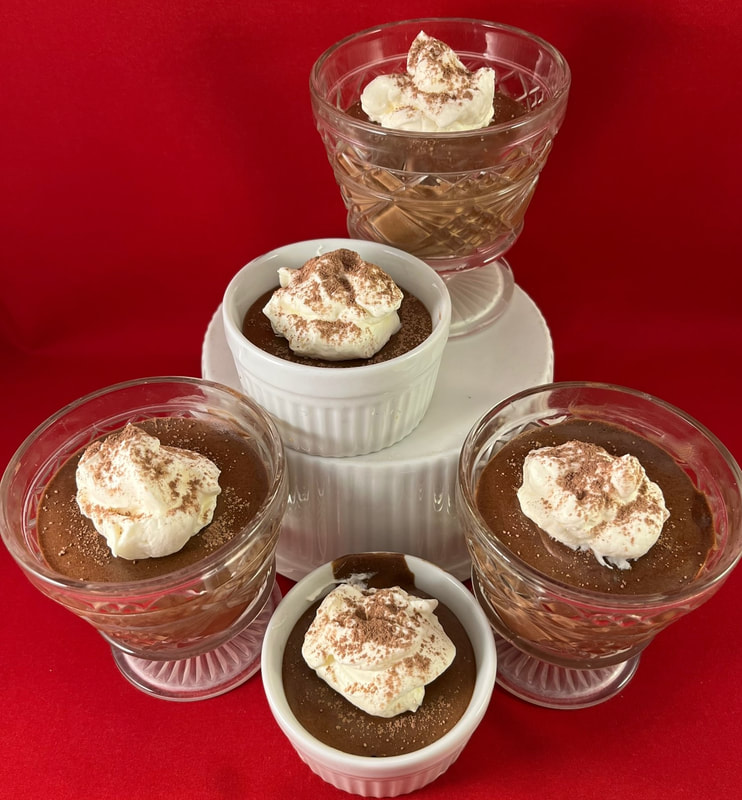
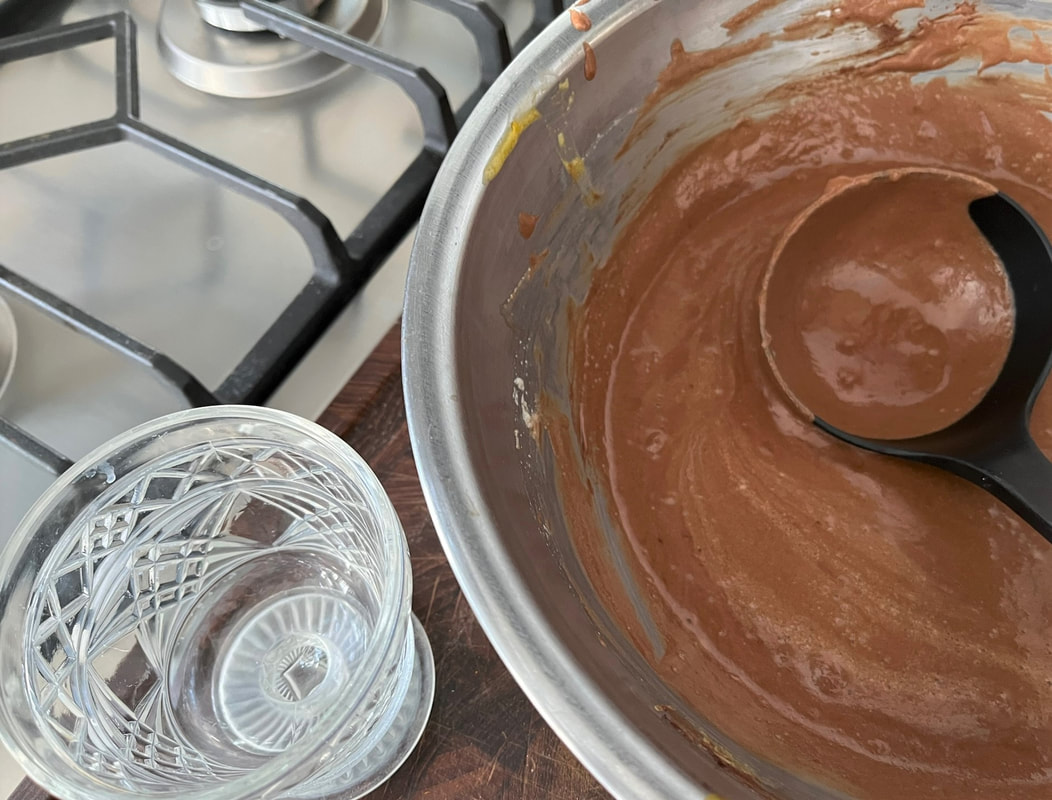
6. Once completely cooled, refrigerate the cake and topping. Serve at room temperature. This cake is very tasty and rich (how could it not be with all that butter and condensed milk? :) And you'll be able to treat dozens of friends and family with generous servings! When was the last time you swooned over a dessert? How about a relatively healthy dessert? This post began after a good friend provided a link to the original recipe, here. From a website called The Iron You, the recipe I started with carried the following labels: Comfort Food, Dairy-Free, Desserts, Easy, Gluten-Free, Grain Free, Low Carb, Paleo, Primal, Recipes, Simple, vegan, Vegetarian, Whole 30. My version became a bit more decadent (and dropped out of certain label categories) with the addition of dairy whipped cream, but the dusting of cocoa powder comes from the original recipe. And truth be told-now that I've tasted this mousse-I would probably be quite happy making it without whipped cream. Equipment: Food processor (or blender) Large saucepan with well fitting bowl to melt chocolate Large spoon Rubber spatula Serving bowls or wine glasses As always, I used Ghirardelli 60% Cacao bittersweet chocolate chips in my recipe, because of their exceptional flavor and the company's commitment to ethically sourced chocolate. As suggested by the author of the original recipe, I added vanilla-using 1 teaspoon for my mousse. I also tweaked the amount of chocolate, from approximately two ounces to 1/3 cup. I'm sure my mousse was a bit more 'liquid' than the original, but it still held together. My ancient food processor was a must-have as I crafted this dessert, from mashing bananas to blending in the melted chocolate. When the original recipe suggested putting the finished mousse into two 'bowls' I opted for two stem wine glasses, instead. As the mousse began to solidify, it also reflected some lettering from one glass.
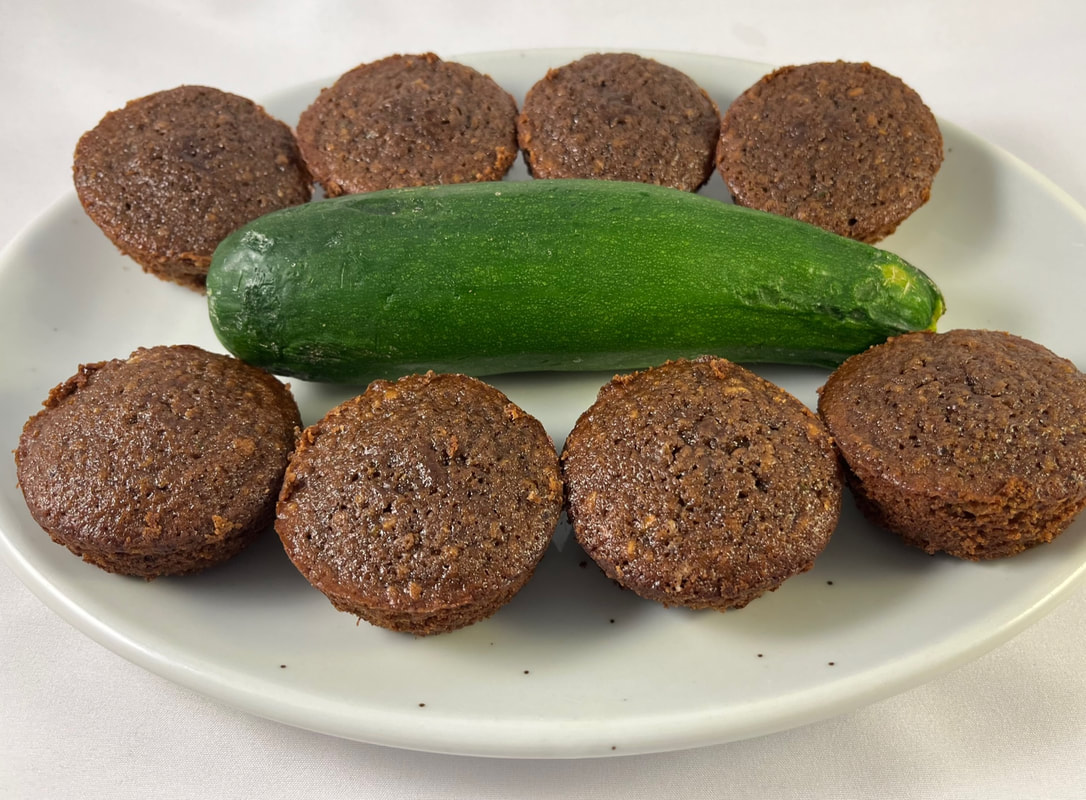
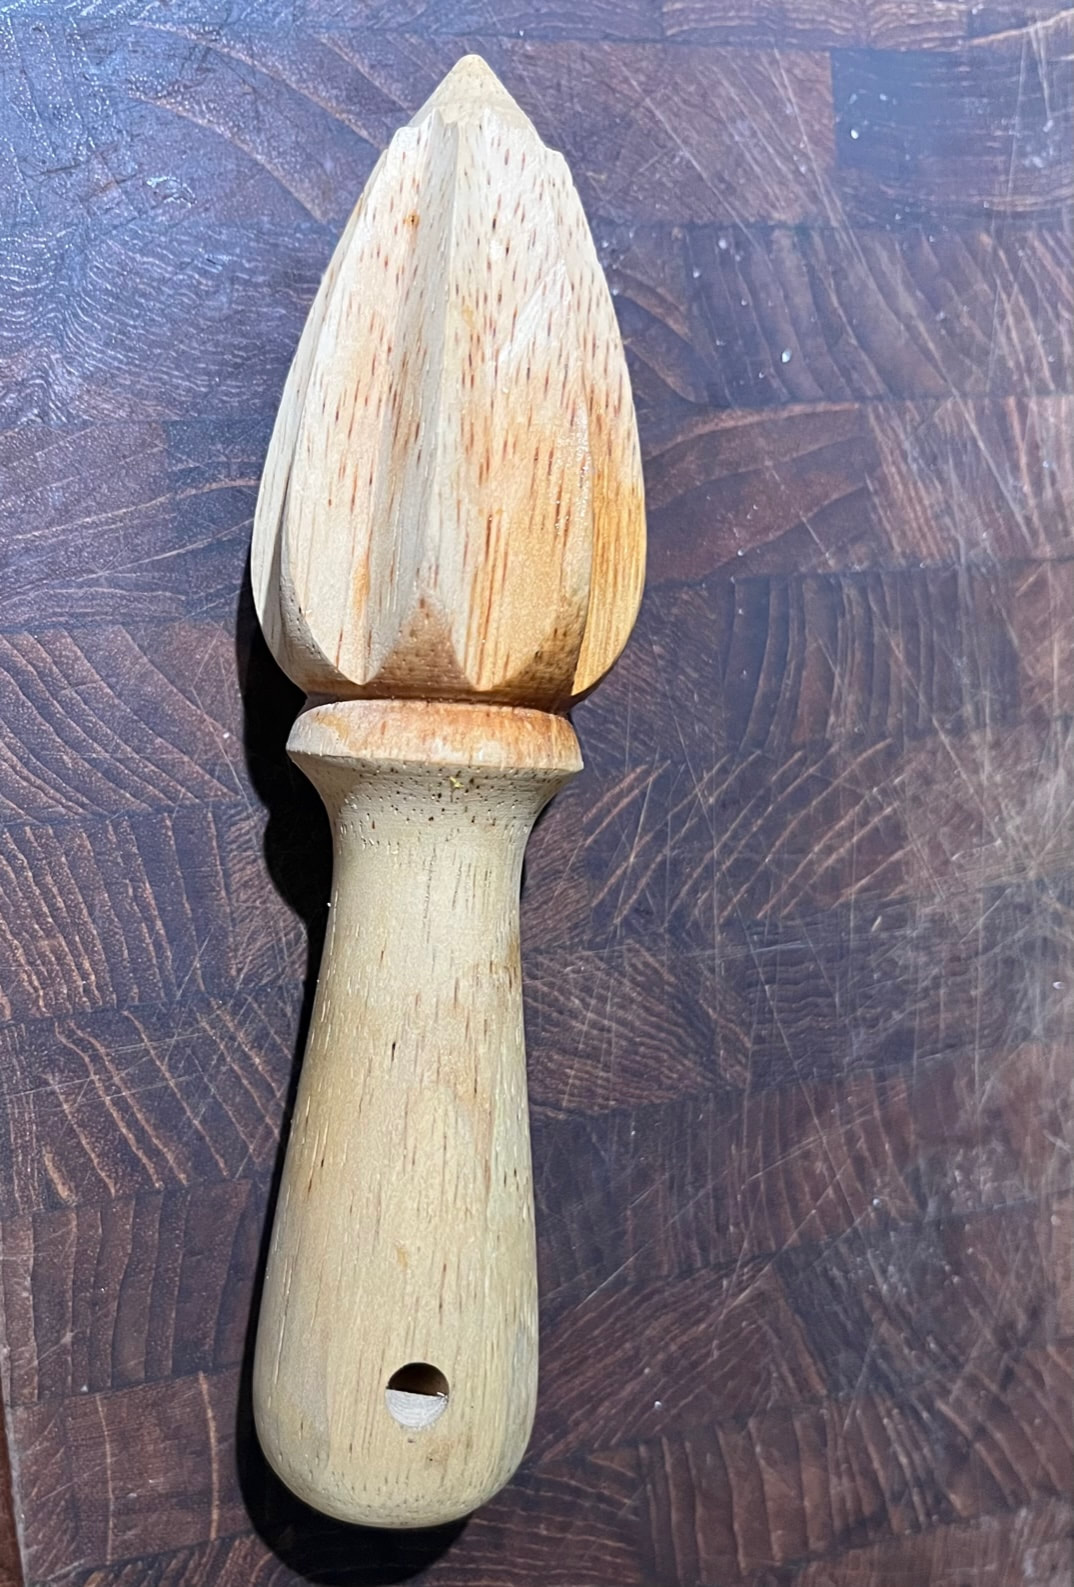
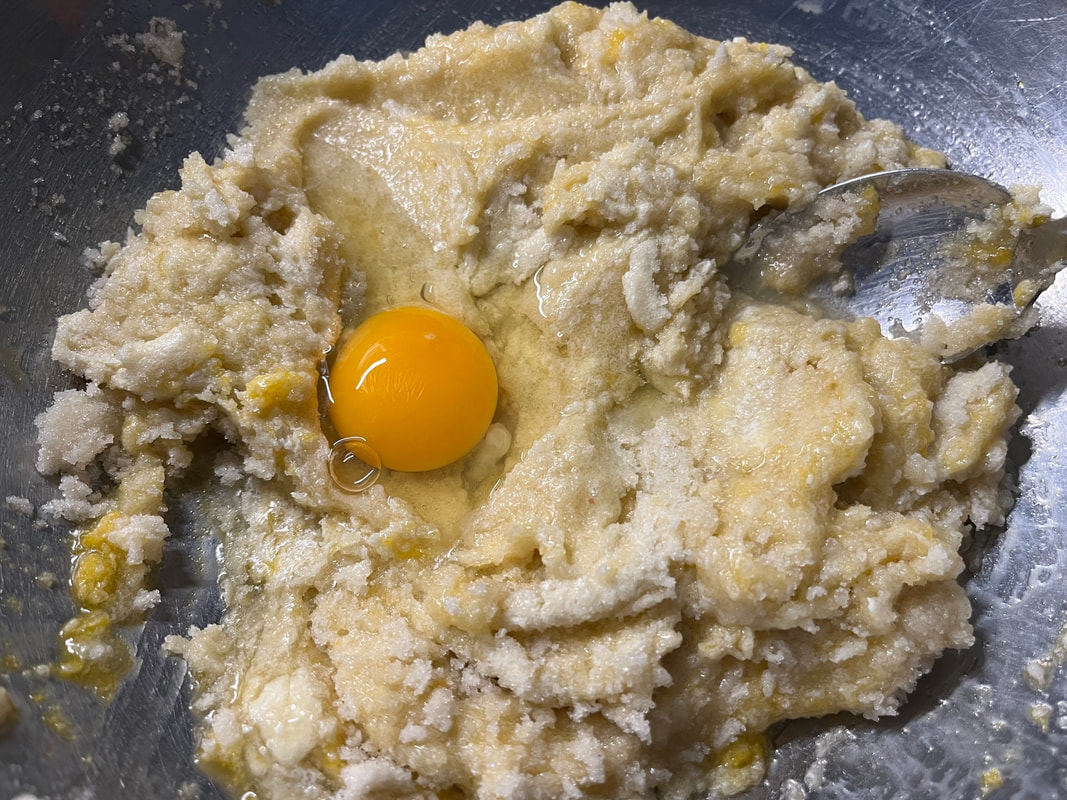
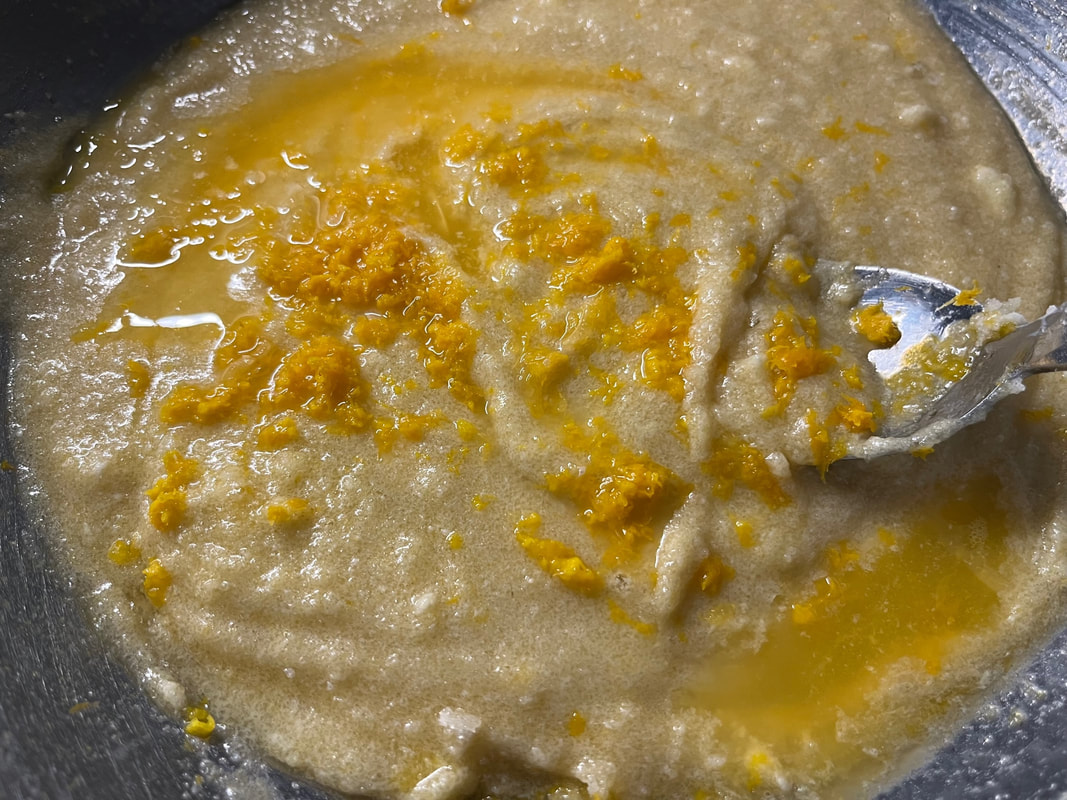
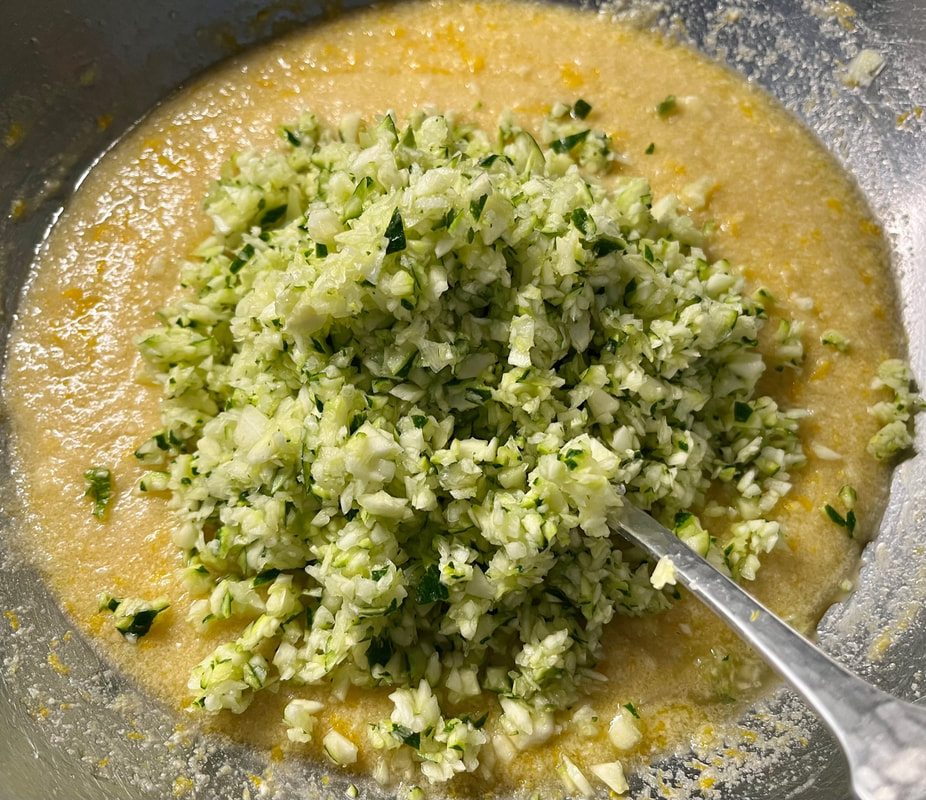
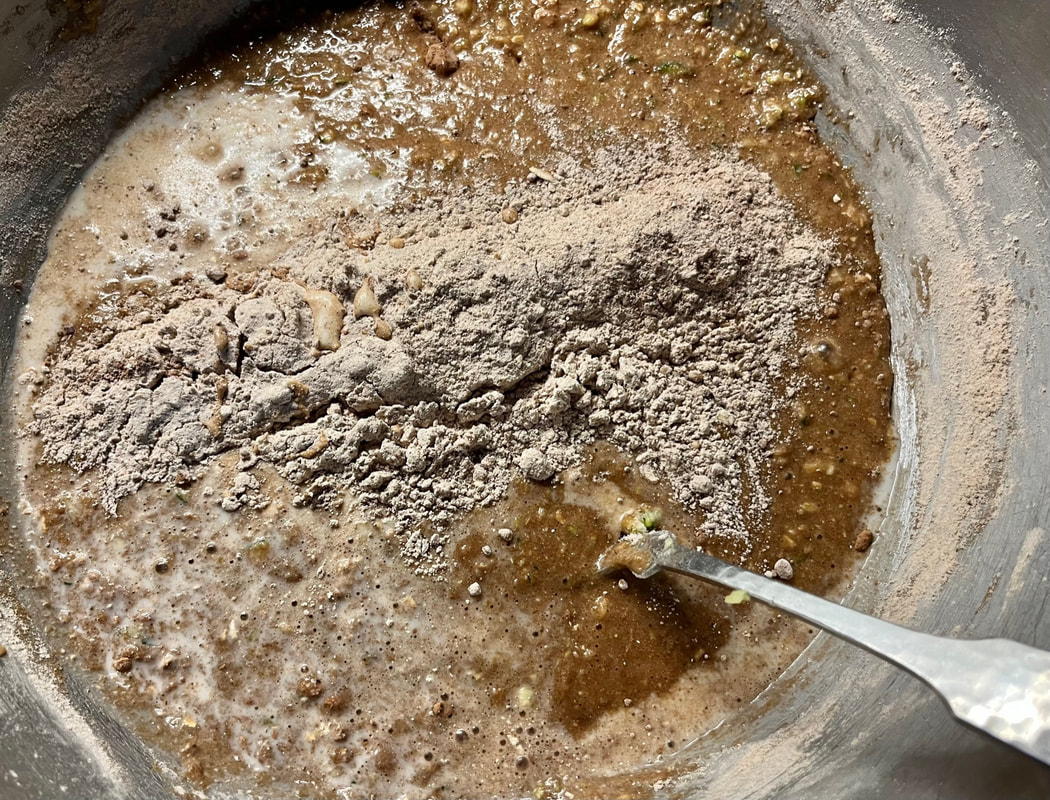
After our dinner and an hour of refrigeration, we indulged - and quickly decided this amazingly easy and tasty mousse could easily become a household staple. Enjoy! I've had this recipe in my accordion file (yes, I still have one :) for so long that I have no idea where I got it. A great way to incorporate a vegetable into dessert, these muffins benefit from added moisture provided by the zucchini. You could easily enhance the subtle chocolate flavor with the addition of miniature chocolate chips or chopped chocolate. Equipment: 3 muffin pans muffin papers Measuring cup 2 large bowls Large spoons Measuring spoons Microplane for zesting orange Citrus juicer CHOCOLATE ZUCCHINI MUFFINS Makes 2 ½-3 dozen muffins ½ cup ground oatmeal 2 cups whole wheat pastry flour ½ cup cocoa powder 2 ½ tsp, baking powder ½ tsp. baking soda 1 tsp. salt 2 tsp. cinnamon ½ cup butter, room temperature ¼ cup mild-flavored olive oil 3 whole eggs 2 tsp. vanilla 4 tsp. orange zest 3 T juice from the orange ½ cup milk ½-1 cup chopped walnuts or pecans – optional Above: My manual citrus juicer is 'ancient,' but works really well. 1. Blend dry ingredients together. Set aside. 2. Cream butter and sugar until light and fluffy. Add eggs, one at a time and incorporate. 3. Stir in vanilla, orange zest and juice, and zucchini.
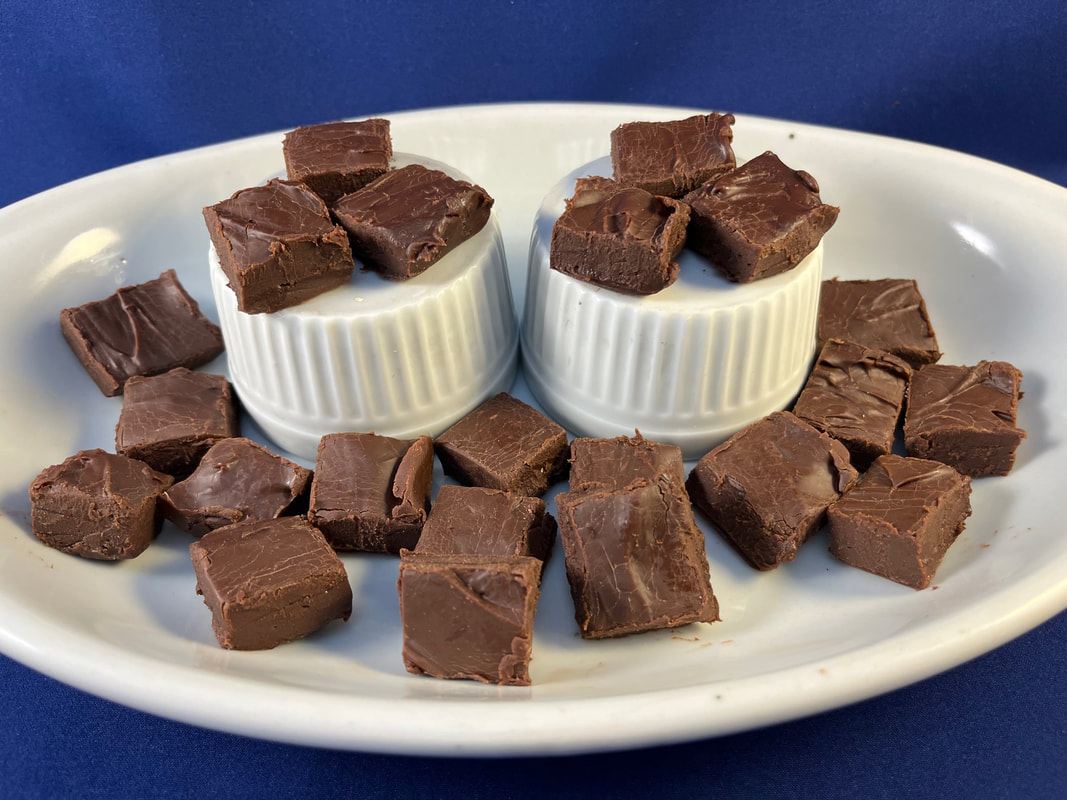
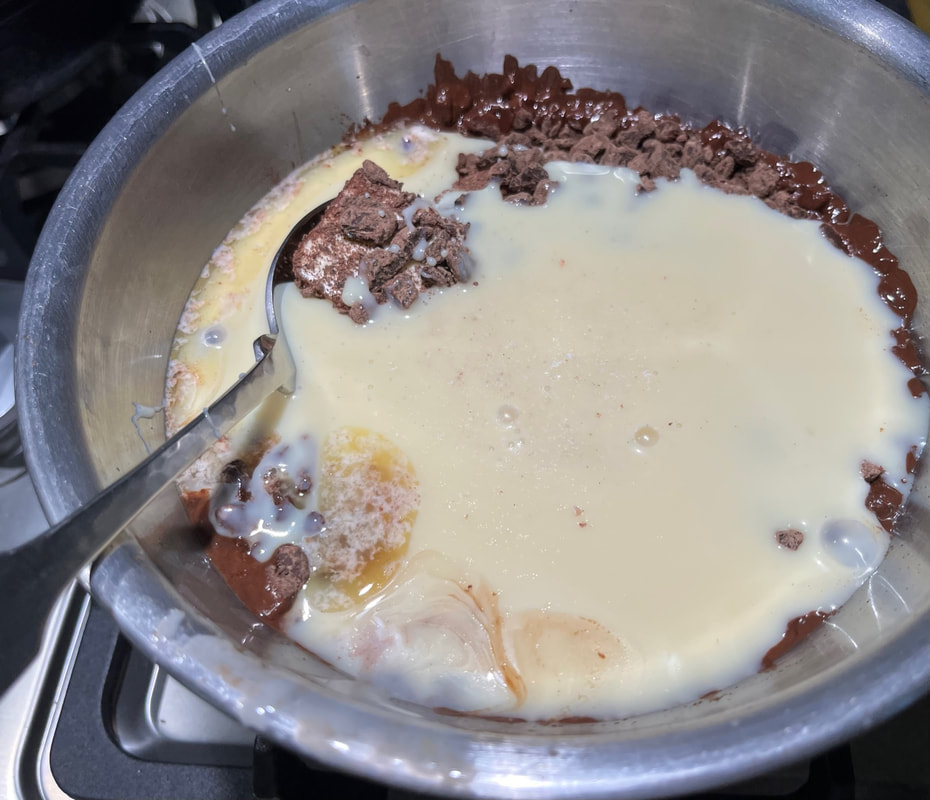
4. Alternate adding the dry ingredients with the milk. Add chopped nuts if using. 5. Pour into lined muffin pan and bake at 350 degrees for 25-30 minutes, being careful not to overbake. (V.O.E. - I generally prefer not to use muffin papers but they're necessary here because of how 'wet' the ingredients are. These muffins also have too much moisture for silicone muffin forms. And, when I tried using a thin layer of butter instead, they stuck to the cooking surface.) Enjoy these muffins after they cool, or freeze them for later use! In fall 2009, I attended a private media dinner in the Kansas City area, with longtime Gourmet Magazine editor, Ruth Reichl as special guest. Unfortunately the magazine was shutting down before year's end. But a new cookbook, Gourmet Today, had just been released, featuring more than 1,000 recipes, and each of us ended our evening with a signed copy. I've barely scratched the surface of this massive book. What better time to explore it than during My Chocolate Season 2023? Truffle Fudge is a wonderfully quick recipe to make, with utterly luscious results. Since I couldn't find a link, here's the recipe (minus the introduction) as it appears in my copy of Gourmet Today: Truffle Fudge Makes 64 pieces (V.O.E. - This may seem like A LOT of pieces - until you taste them!) Active time: 15 minutes Start to Finish: 4 1/2 hours (includes chilling) 3/4 pound bittersweet chocolate (no more than 60% cacao), finely chopped (V.O.E. - If you chop these in a food processor-as I did-you may want some ear plugs, since the chopping is extremely loud) 1/2 stick (4 tablespoons) unsalted butter, cut into tablespoons, softened 1 14-ounce can sweetened condensed milk 1/8 teaspoon salt Special equipment: parchment paper (V.O.E. equipment: large saucepan, small metal bowl, food processor, large spoon, rubber spatula) Line an 8-inch square baking pan with parchment paper. Stir together all ingredients in a metal bowl. Set bowl over a saucepan of barely simmering water and heat until chocolate appears to be melted, 5-8 minutes. (above and below) Gently stir with a rubber spatula occasionally until smooth, letting chocolate rest for a few minutes if it appears to stiffen. Pour mixture into baking pan and refrigerate, uncovered, until firm, about 4 hours. Run a knife around edges of pan, invert fudge onto a cutting board, peel off paper, and cut fudge into 1-inch squares. Serve cold. (V.O.E. - I started to 'release' the cooled fudge with a table knife but wasn't happy with the results. So I substituted an ultra-thin metal spatula blade. I also flipped the fudge over again to show the original top surface.)
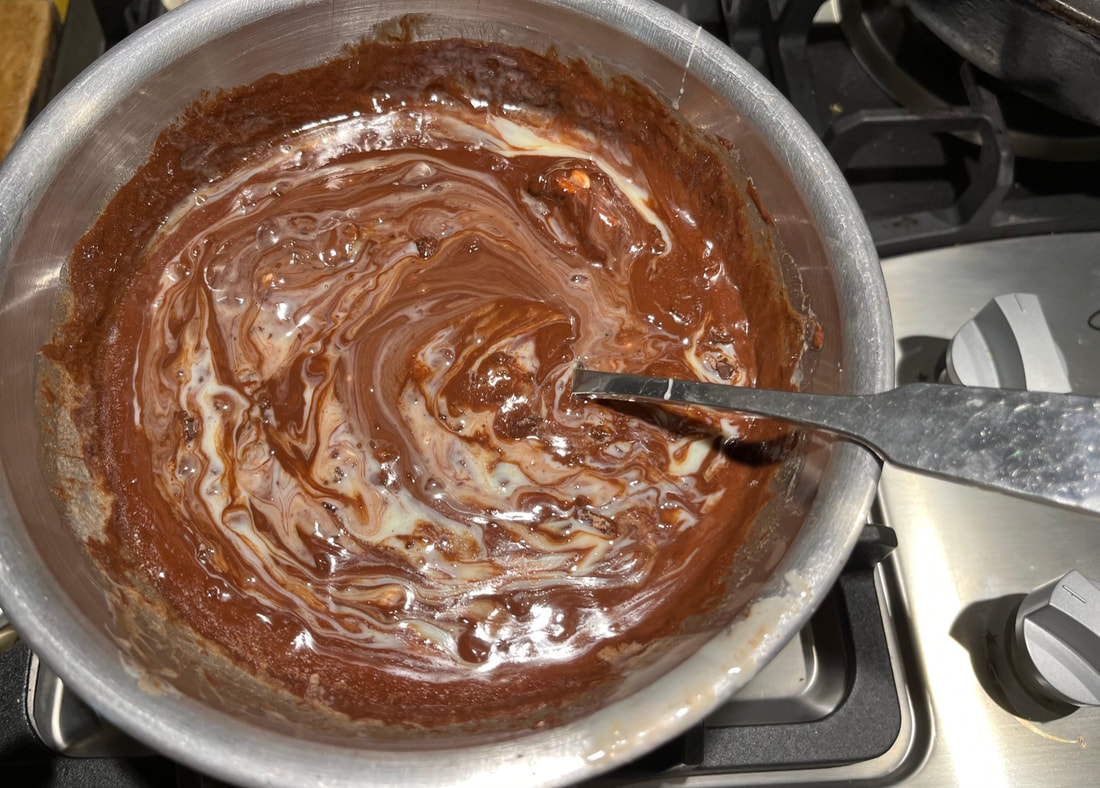
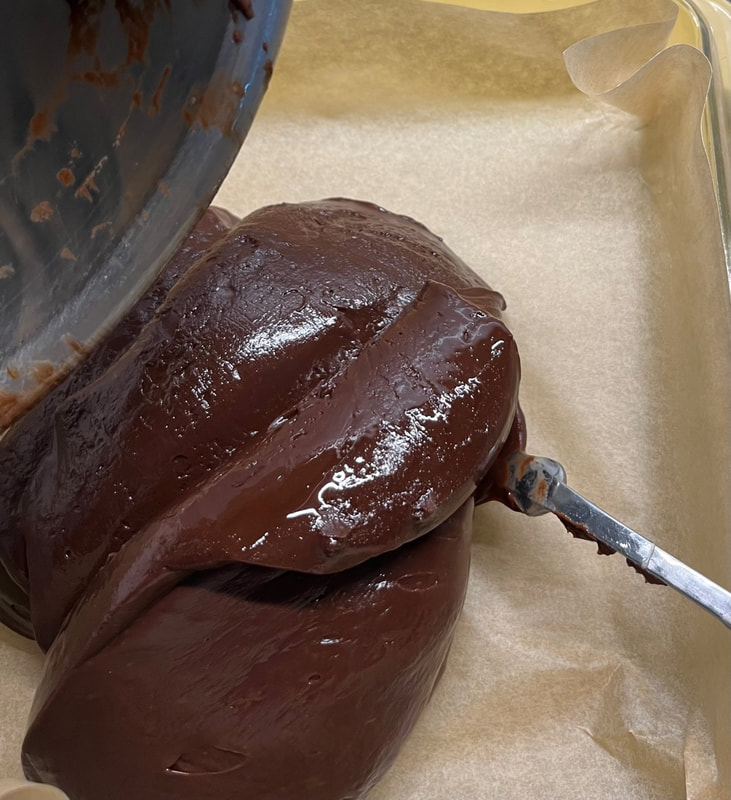
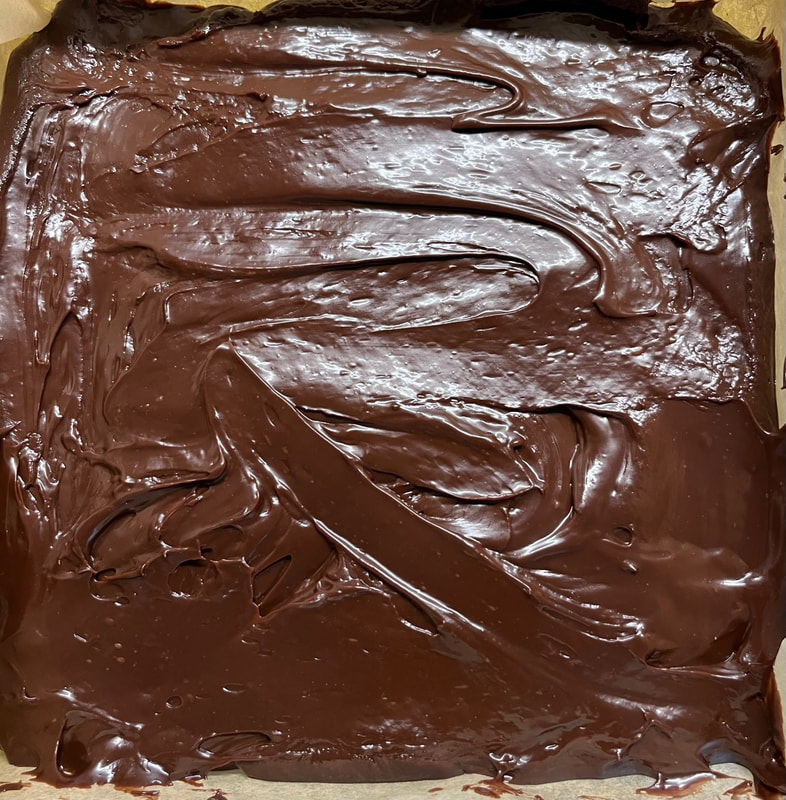
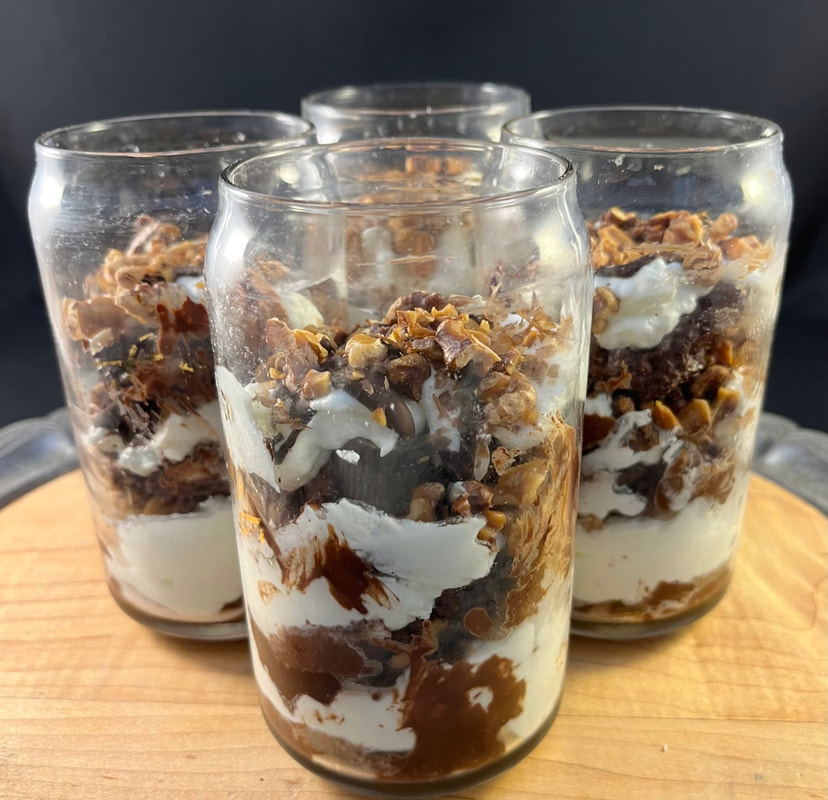
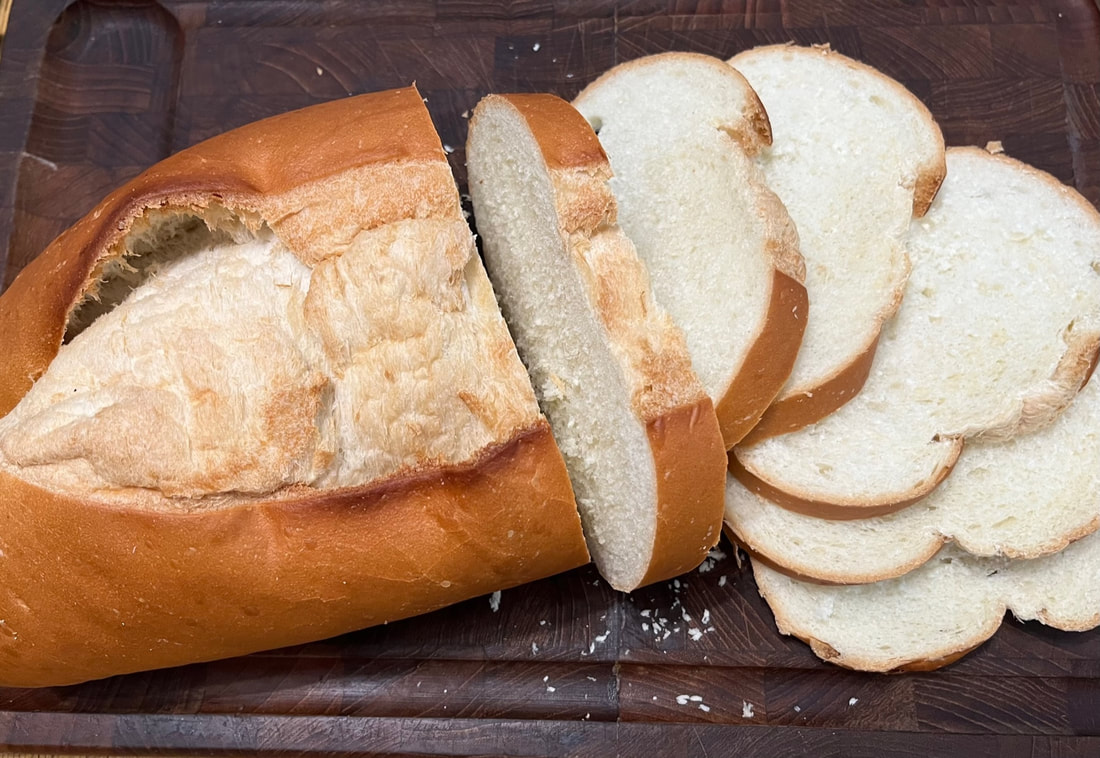
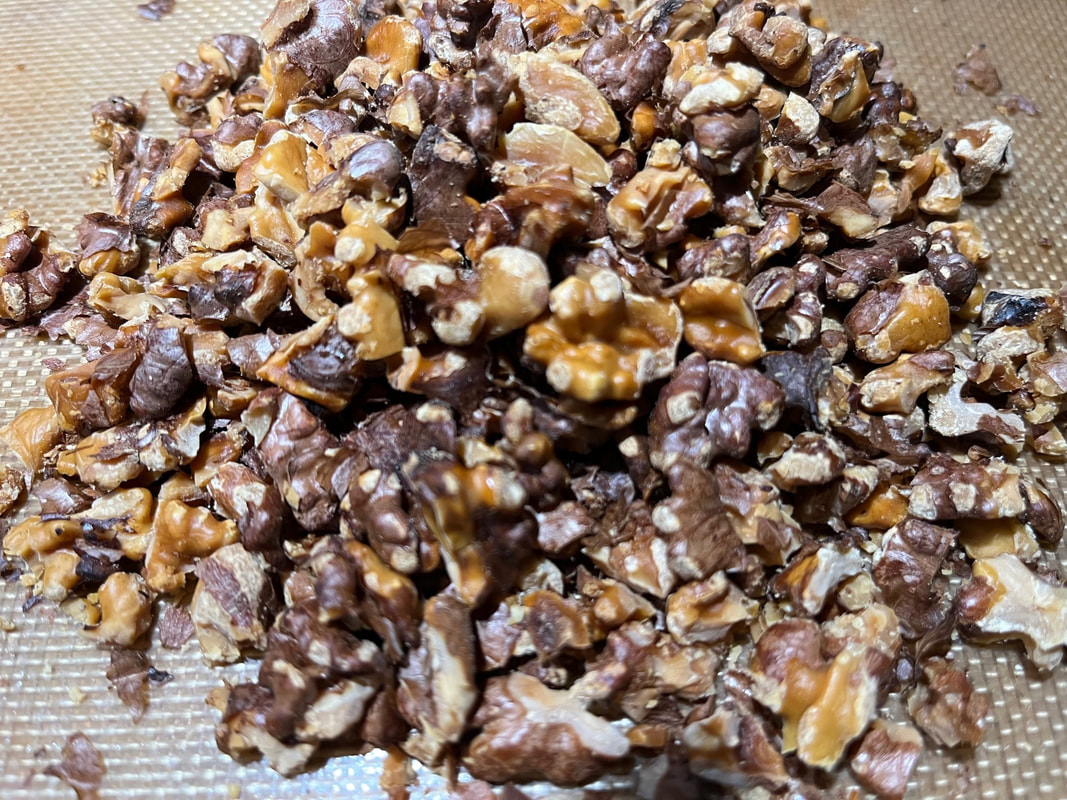
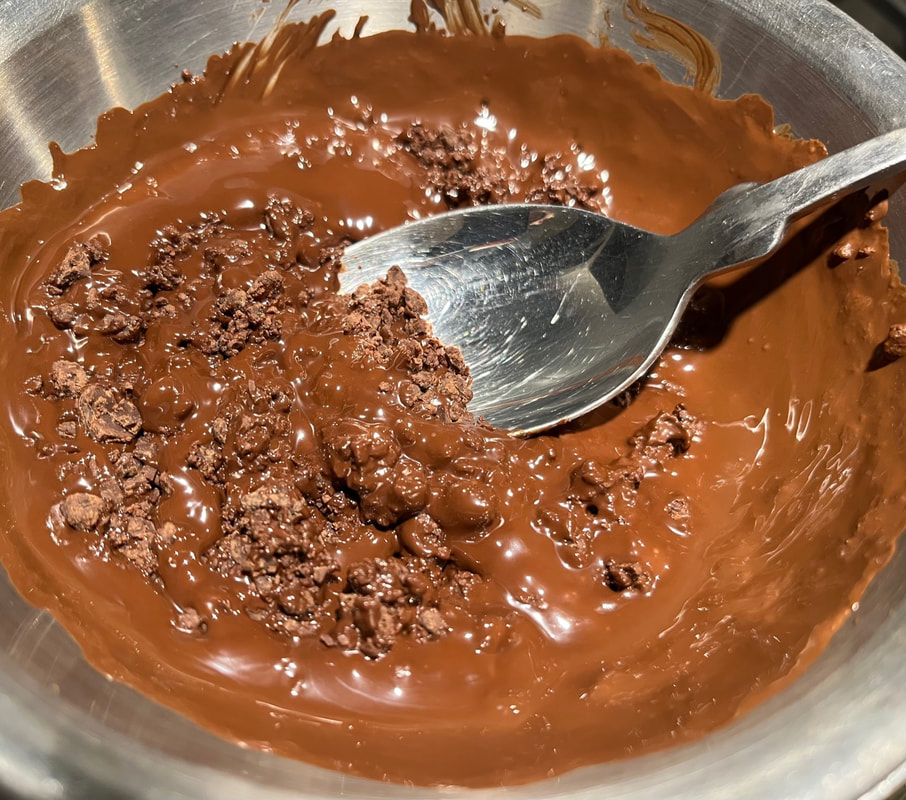
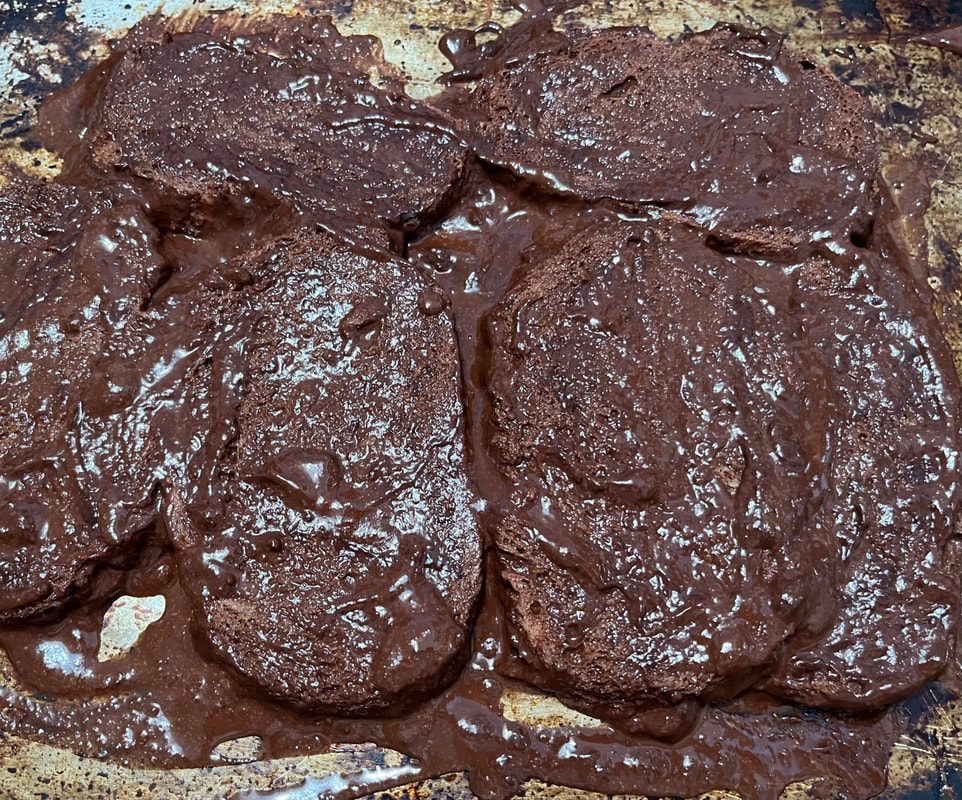
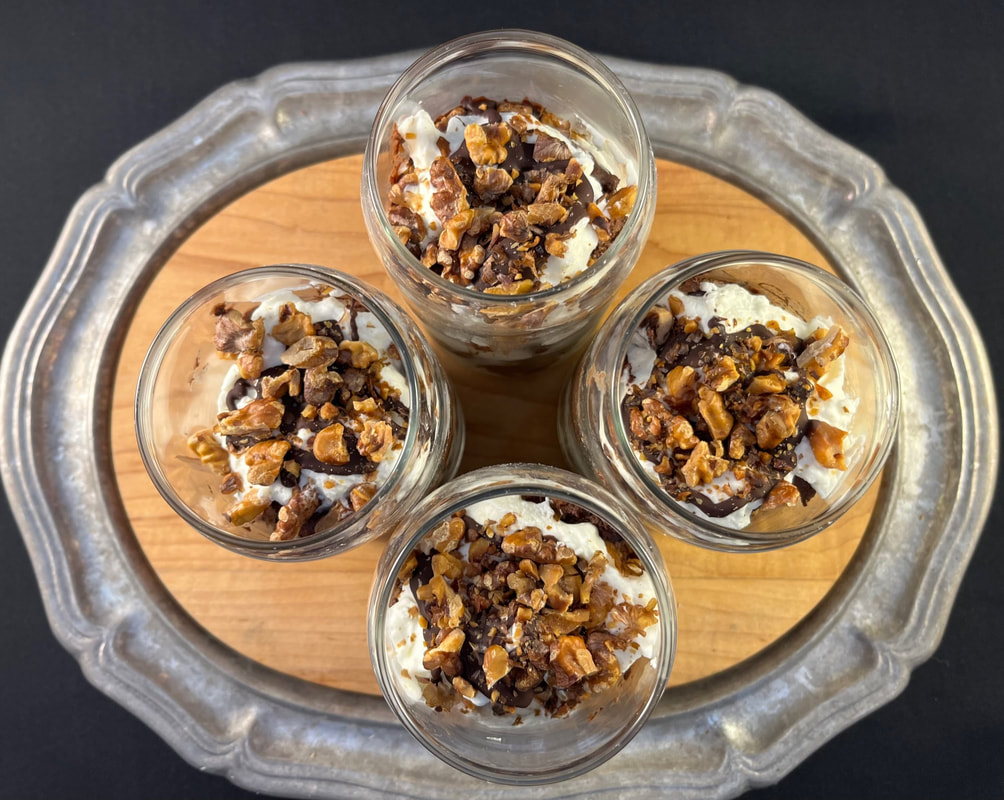
Cook's Note - The fudge keeps refrigerated, layered between sheets of parchment paper, in an airtight container for up to 1 week. The most important thing I learned about making this dessert from Lidia Bastianich is you'll need PLENTY of equipment to accomplish these luscious results, with an equal amount of cleanup - including the edge of each glass :) Equipment list: 16 ounce measuring cup with spout 2 saucepans Small bowl for melting chocolate Large spoon Large whisk Large bowl for whipping cream Hand or stand mixer to make whipped cream Tongs to pick up chocolate-saturated bread Food processor or large knife to chop the chocolate Baking sheet for toasting nuts (V.O.E. - I topped this with a silicone baking sheet) Above: I found Italian country-style bread at my local grocery store. Above: Because we always have walnuts on hand, I substituted them for almonds. Above: Melting chocolate! For the required hot chocolate, I returned to this Alice Medrich recipe from last week's post. V.O.E.: Using half of her recipe is perfect for Lidia's recipe, with a little bit extra to sip. Above: 'Soaking' bread. While Lidia's recipe suggests distributing all final ingredients across six serving glasses, I used four instead based on availability in our kitchen.
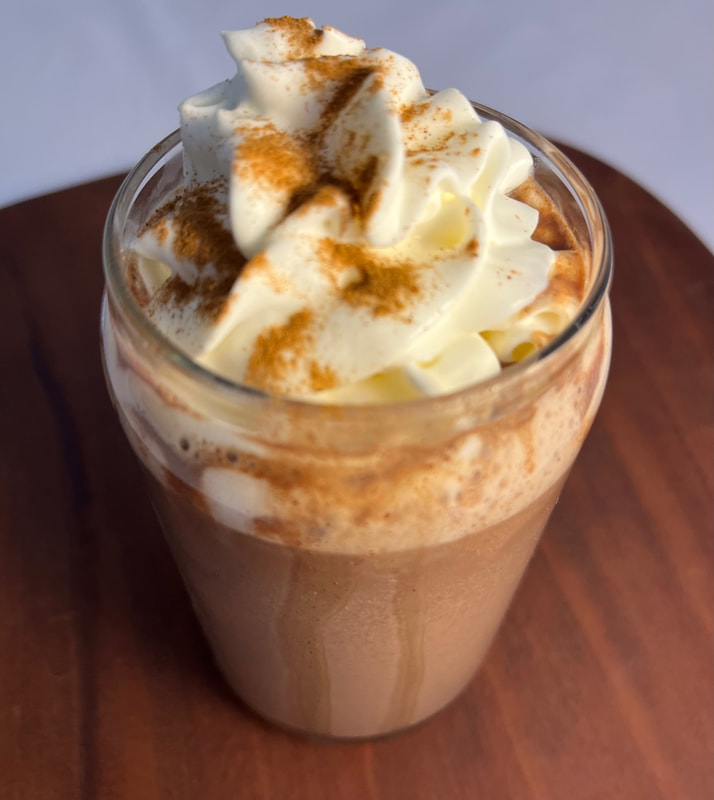
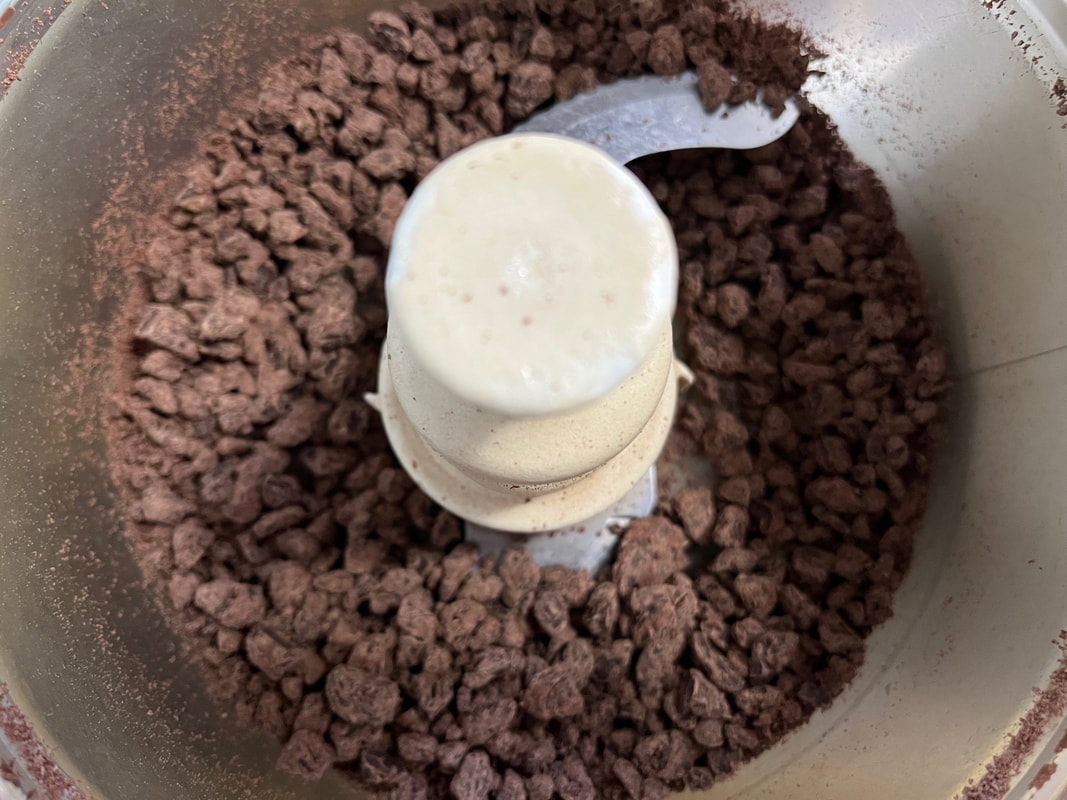
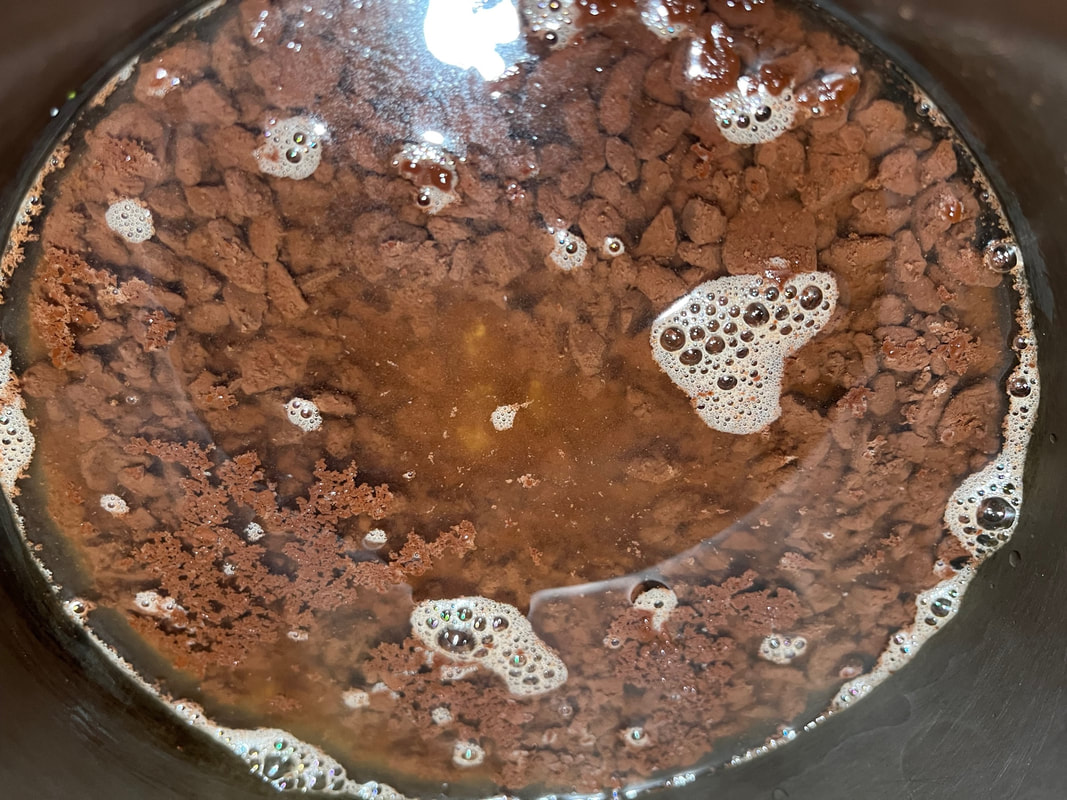
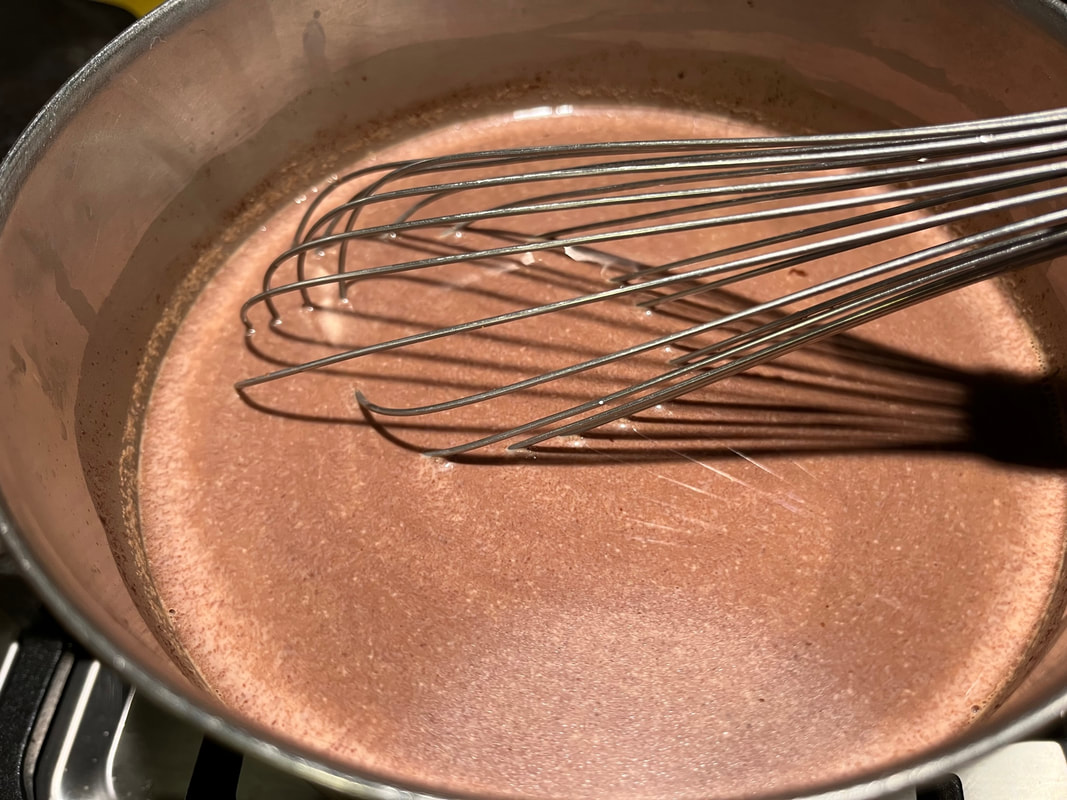
Not a fan of bread pudding, my husband found this dessert very approachable. We might add a touch more sweetness, with another tablespoon of sugar and 1-2 teaspoons of cinnamon in the whipped cream (we do love cinnamon around here :) Whichever way you go, everyone will thoroughly enjoy this multi-layered dessert. In October 2022, I had the pleasure of interviewing Alice Medrich and several other experts about differences between Dutch process and natural cocoa powder. As I created my recipe list for this year's chocolate blog, I also found her Rich Hot Chocolate Recipe on The Chocolate Professor site. Above: I chopped bittersweet chocolate chips in my food processor. This quick, simple, and simply delicious recipe was the perfect antidote to a gray and chilly Sunday afternoon in October. I served myself a large, 1 1/2 cup serving of hot chocolate, but this rich and creamy concoction could easily provide three very satisfying, one cup portions. Equipment: 2-cup measuring cup with spout 2 saucepans 1 large spoon 1 large whisk Food processor or large knife to chop the chocolate V.O.E.: I found a ladle extremely helpful when transferring completed hot chocolate to a glass. V.O.E.: Although I enjoyed my hot chocolate in a glass to facilitate taking photos, I would otherwise serve it in a ceramic mug to better contain the heat from this liquid treat. Above: After adding the initial boiling water Below: After adding remaining boiling water + milk & combining slightly with a spoon Alice recommends several possible flavor add-ins and encourages readers to experiment. I do love a touch of chile powder in hot chocolate, but unfortunately learned I am out at the moment. But I did add a generous teaspoon of cinnamon to my hot chocolate while in the pan.
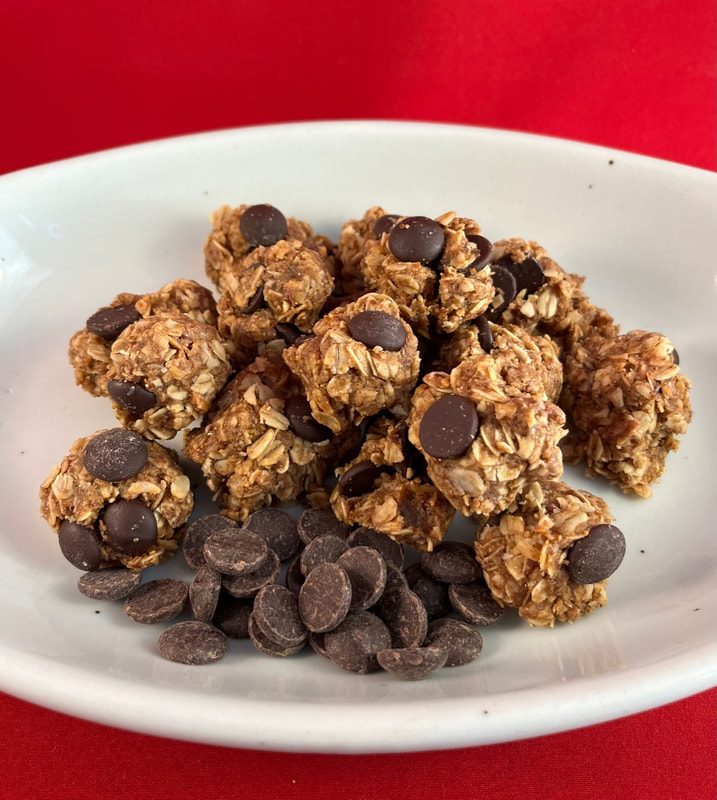
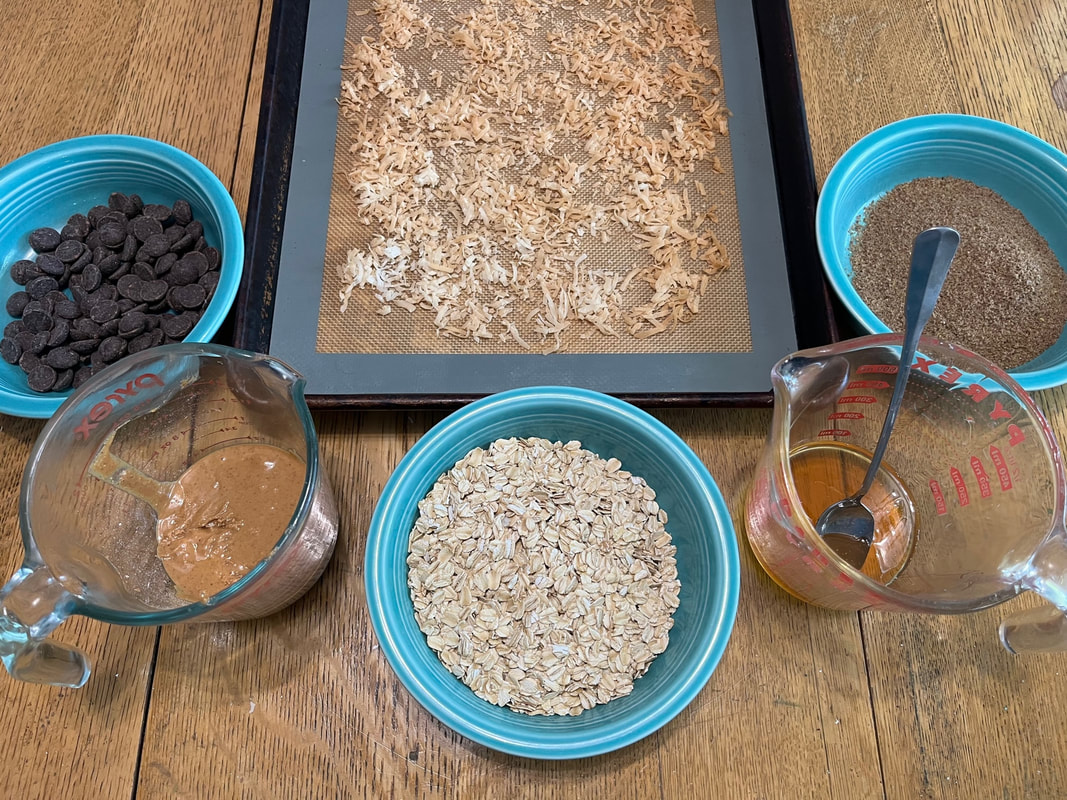
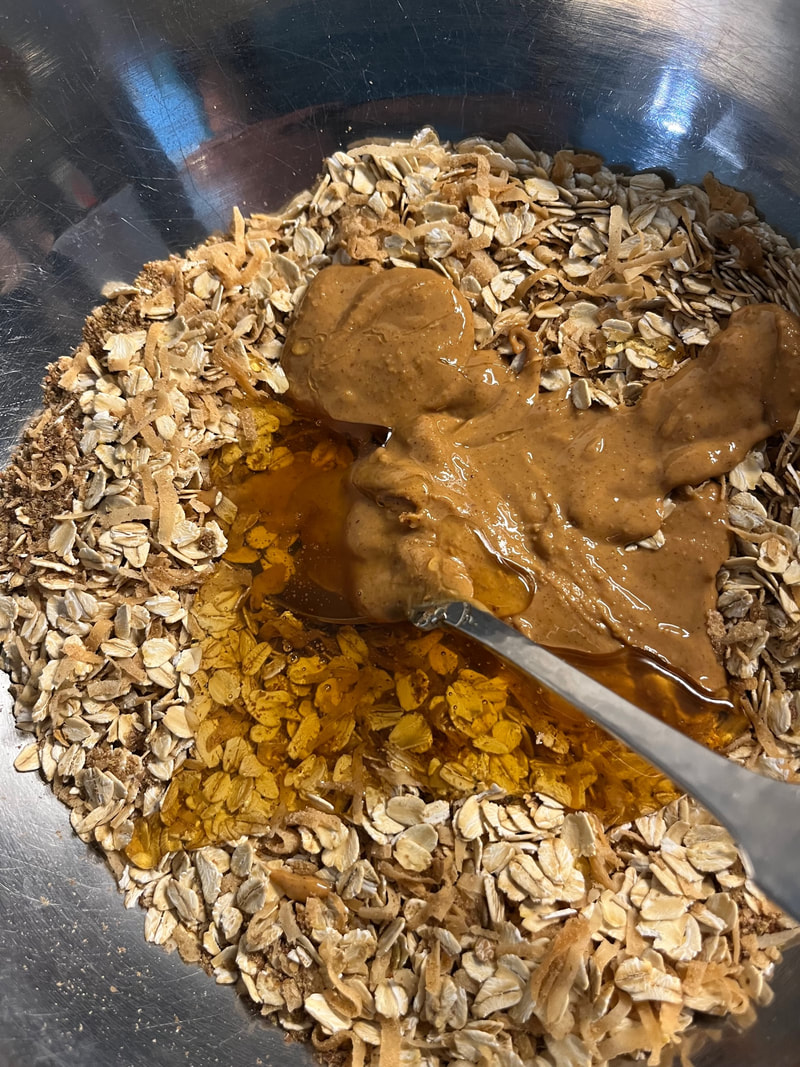
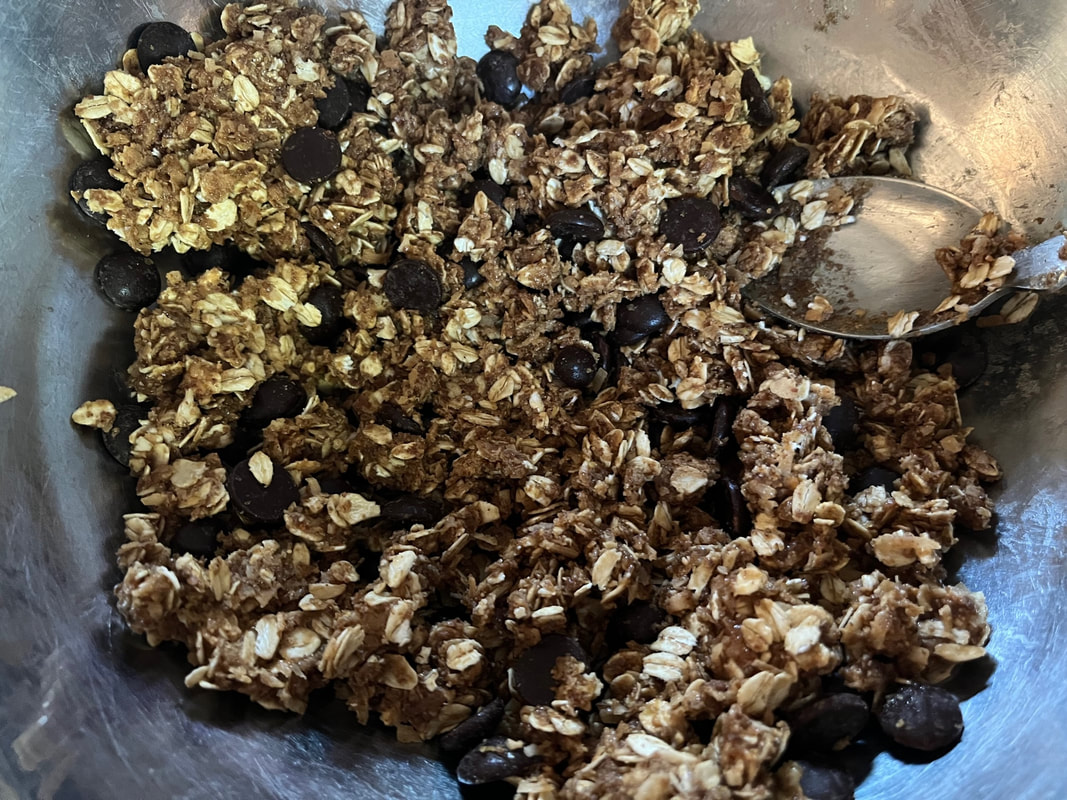
A little canned whipped cream (No, it's nowhere near as good as homemade whipped cream but with only two of us at home I typically don't make this topping unless we're having company to help us make a good dent in it) and another 'shake' of cinnamon, made a perfect combo for my tastebuds. Enjoy and experiment! After I made Orange Olive Oil Brownies plus a Raspberry Chipotle Cheesecake last week, it felt like a good time to make something quite healthy. No Bake Energy Bites fit the bill-and then some. This is also a terrific recipe choice when you want a sweet treat but don't have a lot of time to make one. Equipment list: -measuring cups -measuring spoons -large spoon -rubber spatula -sheet pan -silicone baking mat I've gathered all of my ingredients here, including the toasted coconut. As I had never toasted coconut before, I did a quick Internet search and found an easy tutorial here. However, my toasting time was closer to 10-12 minutes. After tasting the amazing results here's my V.O.E. - BE SURE TO INCLUDE THIS STEP :) Although the original recipe calls for semi-sweet chips, I always use bittersweet in my recipes. In this case, I think they provide a nice counterpoint to the honey and sweetened coconut flakes. V.O.E. - When combining ingredients, pour the toasted coconut, oatmeal and flax meal into a large bowl and combine thoroughly (a whisk may be helpful for this step). Then add vanilla, peanut butter and honey. Finally, add chocolate chips. V.O.E. - Be prepared to mash ingredients together so they combine well and keep your rubber spatula handy so you can clean off the spoon from time to time, and facilitate blending. Now that I've made these No Bake Energy Balls once, I agree with the idea of adding a little more peanut butter if the original combination of ingredients doesn't stay together well. Not a fan of messy hands when working in the kitchen? Do opt for bars instead.
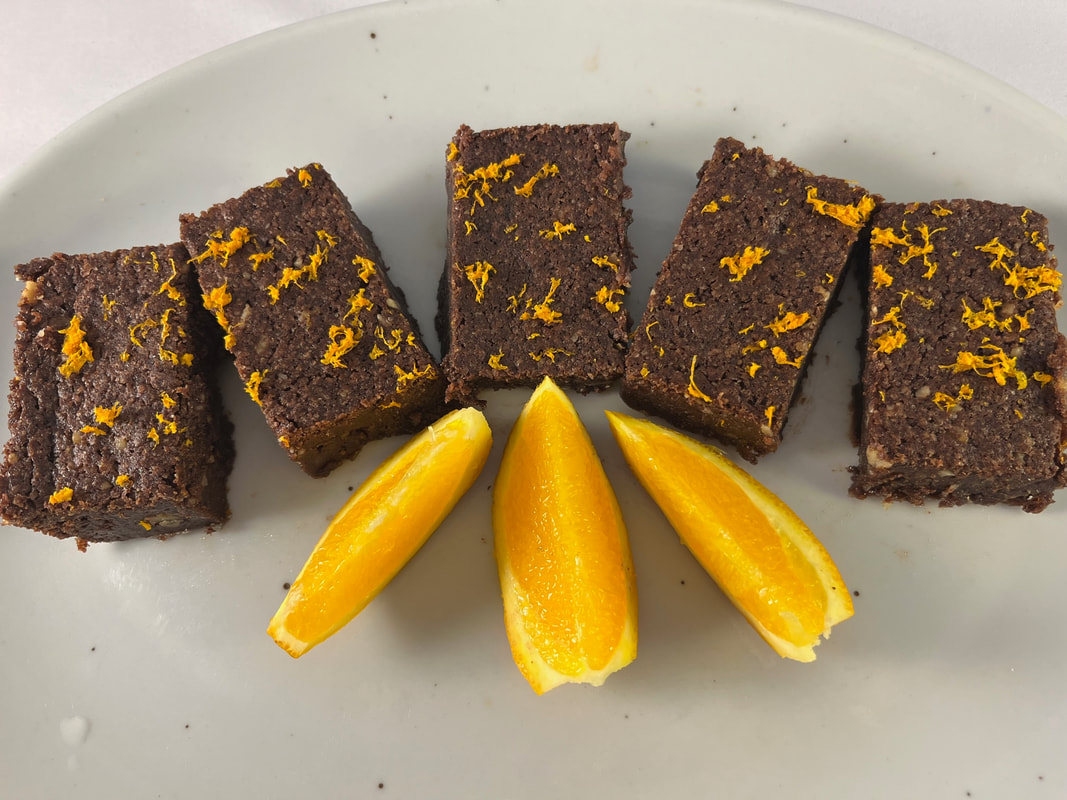
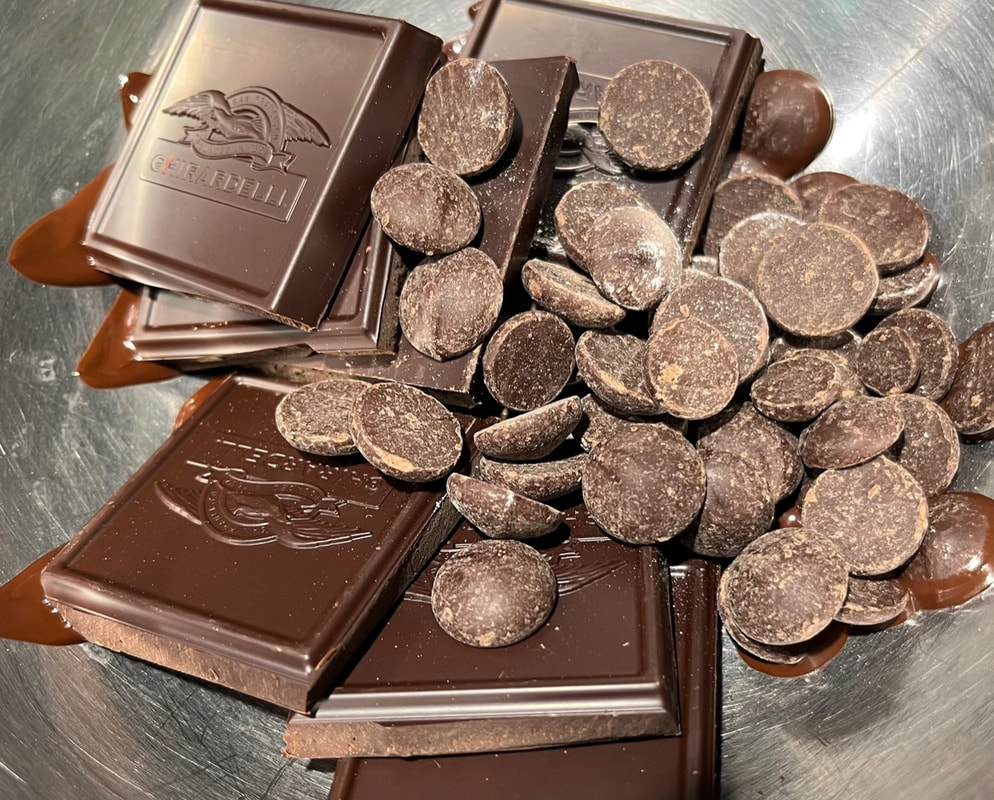
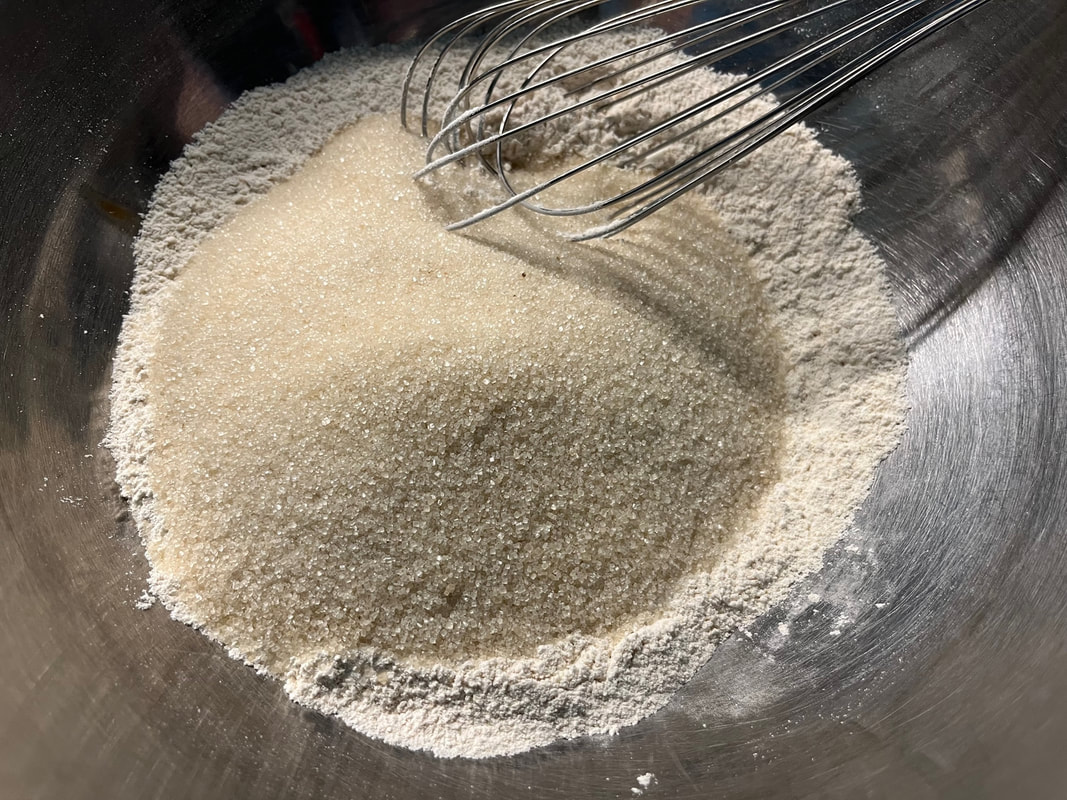
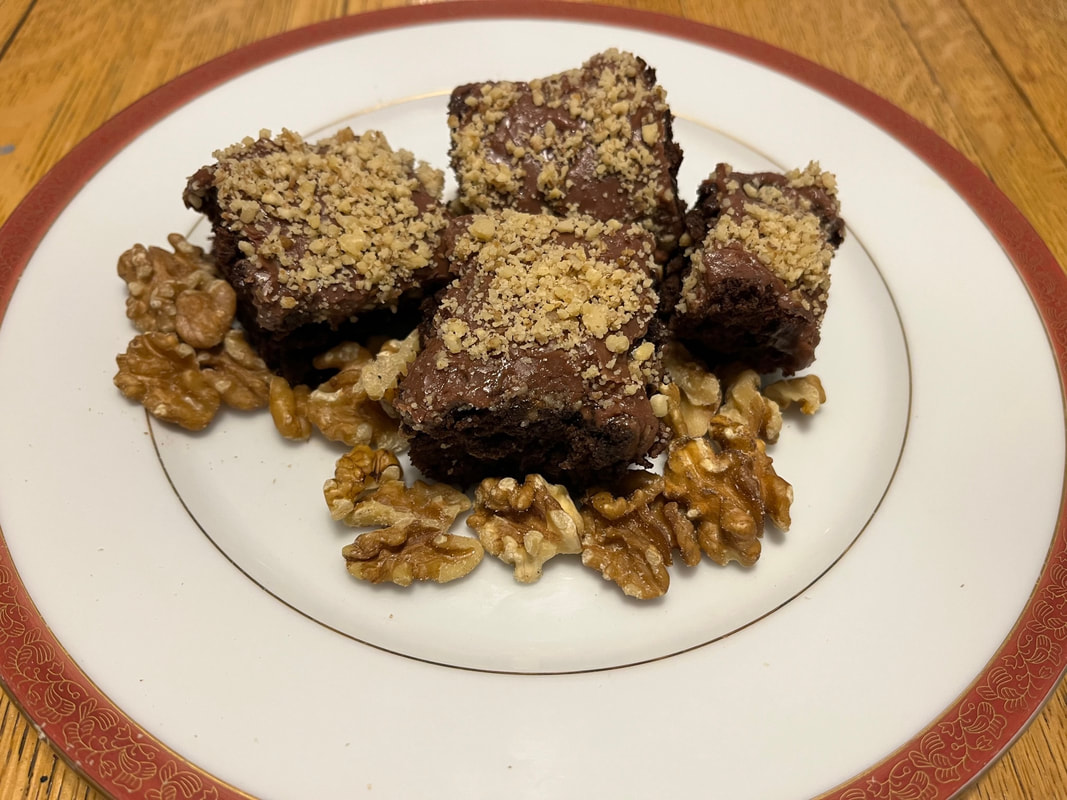
Welcome to this year's treasure trove of chocolate recipes. For the next 13 weeks I'll share delicious treats from multiple sources, with links and/or full recipes provided. If you've followed my 'Chocolate Season' before, you'll remember each post includes photos that depict ingredients and steps for each individual dessert. In addition, you'll find 'V.O.E.s' or Voice of Experience notes - in other words, tips/thoughts from my own experience when making a recipe. If we're connected on social media, you may also know I'm having a great time writing about passionate chocolate makers for The Chocolate Professor, an ongoing project that began late last year. Here is our first recipe for 2023. Many years ago one of my coworkers at The Tasteful Olive created a recipe for Orange Olive Oil Brownies. Although it has long been a customer favorite, this is the first time I've gotten around to making the recipe. Ultra-dark chocolate merges with the store's (blood) orange olive oil, creating a delicious, complex flavor profile. Check out the recipe link, and then follow along for my notes and photos. Equipment list: -9 x 13 pan -measuring cup -spatula -two mixing bowls (mine are stainless steel) -double boiler (I used a small stainless steel bowl nesting in a large saucepan) -sifter to blend dry ingredients (I substituted a large whisk) -measuring/mixing spoons -food processor/blender to crush the walnuts I chose Ghirardelli bean-to-bar premium baking 100% cacao as my unsweetened chocolate variety. It melted easily with Ghirardelli semi-sweet chocolate chips. Despite my sweet tooth - especially for chocolate - I don't like super sweet treats. So I reduced the sugar in this recipe by 1/4 cup. (V.O.E. - The result was slightly 'ooey-gooey.' For a more solid brownie, reduce the butter too, by 1-2 tablespoons.) Ready for the oven.
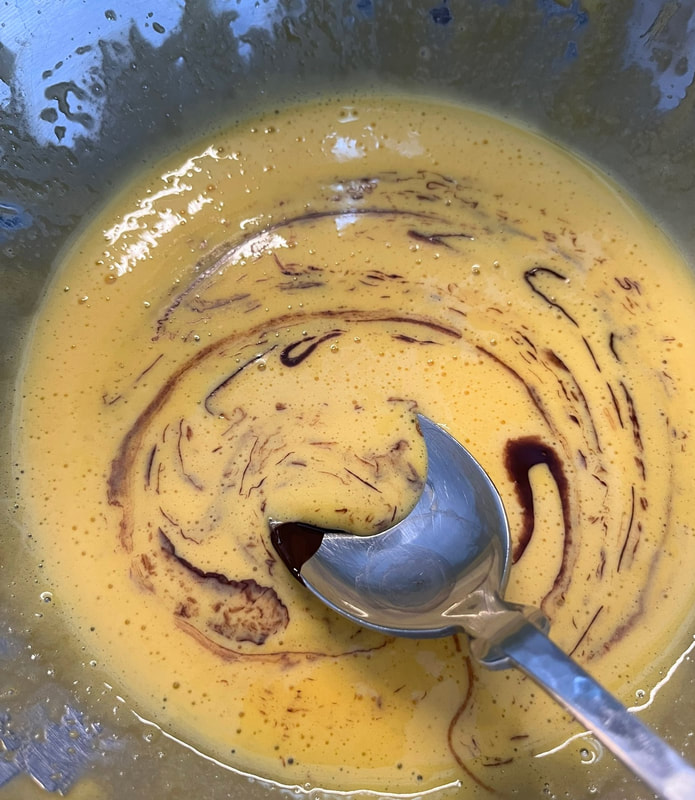
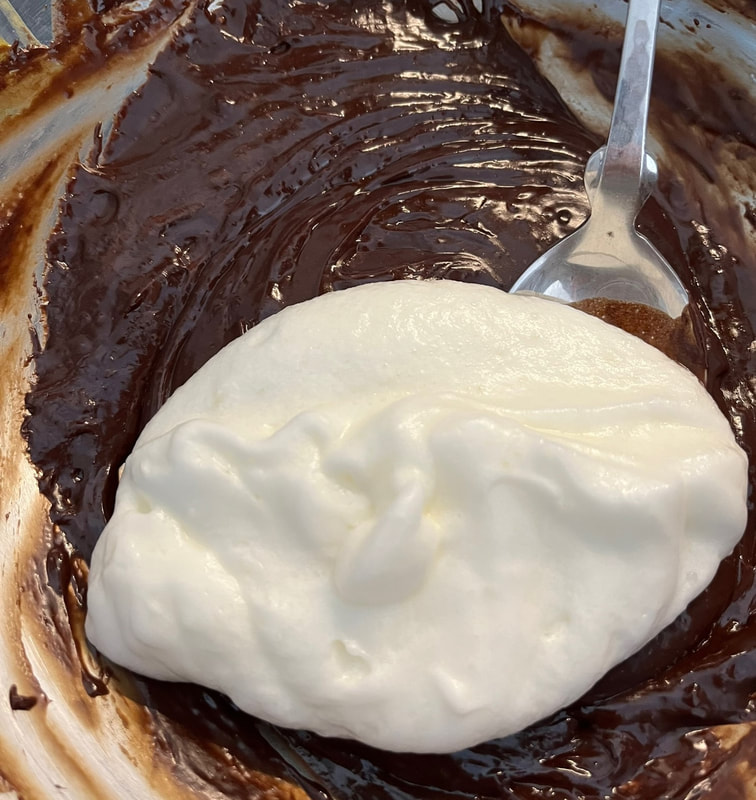
Finally, I grated orange peel atop the finished and slightly cooled brownies, for visual interest and added flavor. The result was a new favorite recipe! P.S. - These brownies also freeze and thaw beautifully. It's hard to believe the New Year will begin this weekend - and this is my final blog post of 2022. I definitely feel like celebrating the next holiday, but I also feel like 'the easier the better' in the kitchen, at this point. A word of caution: if you don't like the idea of eating raw eggs, this recipe is definitely not for you. A second word of caution: you'll have plenty of dishes to wash. But the results are worth it. I always use bittersweet chocolate in recipes; however, feel free to use semisweet chips if you prefer a slightly sweeter result. Either way, this dessert is easy, delicious, and a great way to celebrate. Happy New Year to all! Chocolate Mousse 4-6 servings (depending on the dishes you use) Ingredients 6 ounces semisweet or bittersweet chocolate 6 egg yolks 6 egg whites 2 tablespoons vanilla Whipped cream Sprinkled cocoa powder and/or cinnamon 1. In a double boiler, melt chocolate and set aside. 2. Beat yolks until thick and lemon colored. Gradually add melted chocolate and vanilla and stir together thoroughly. Set aside. 3. Beat egg whites until stiff and fluffy. Gradually fold into chocolate and egg yolk combination. 4. Spoon into individual dishes. Refrigerate for 12-24 hours. Serve with whipped cream. Top with lightly chocolate powder and/or cinnamon.
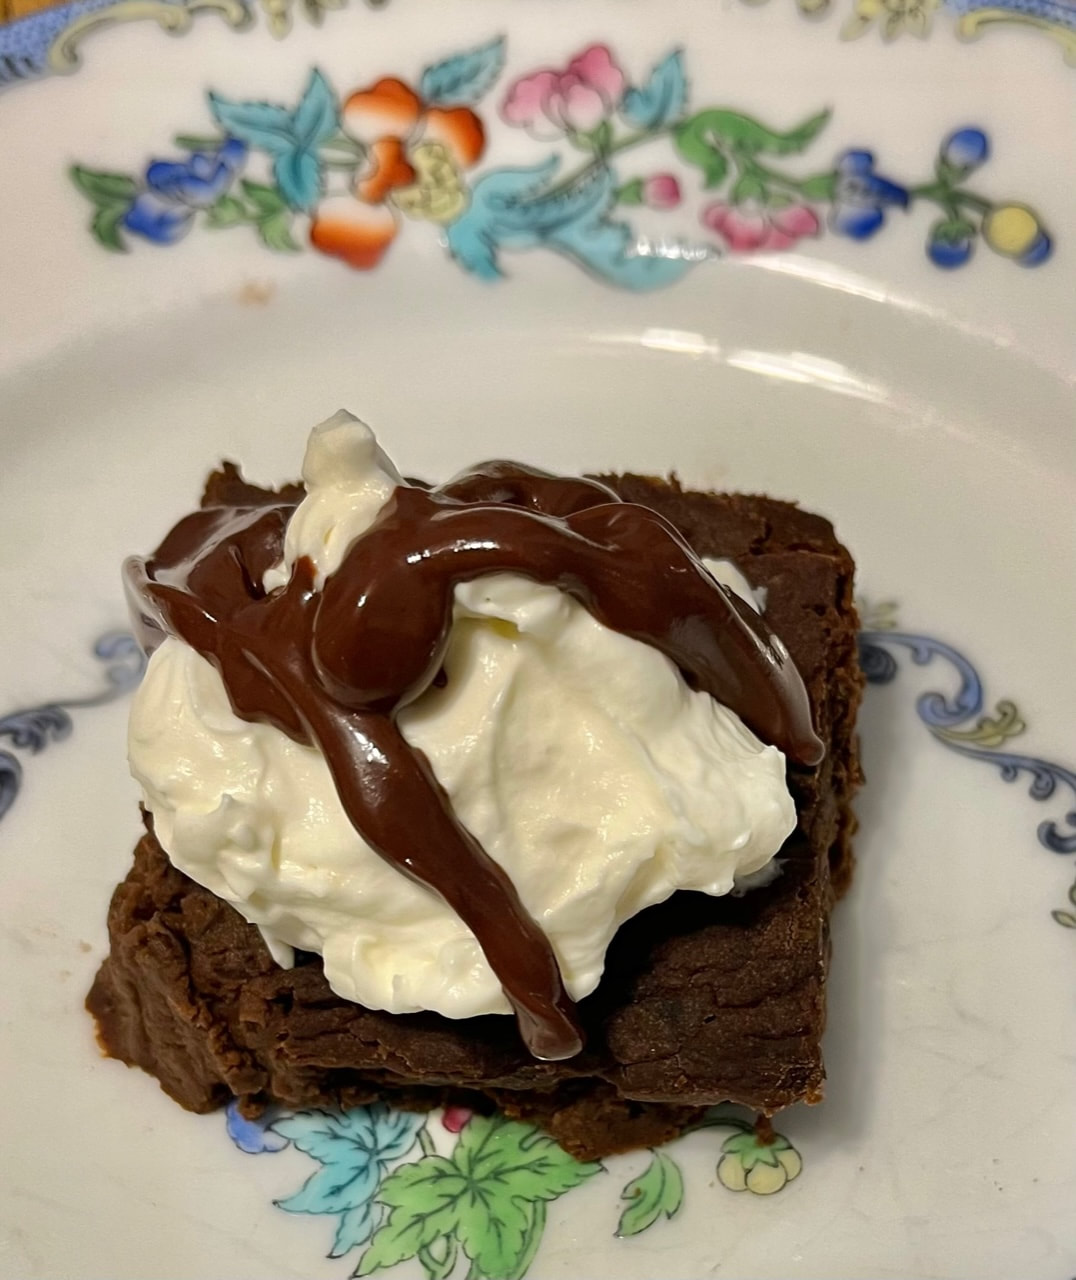
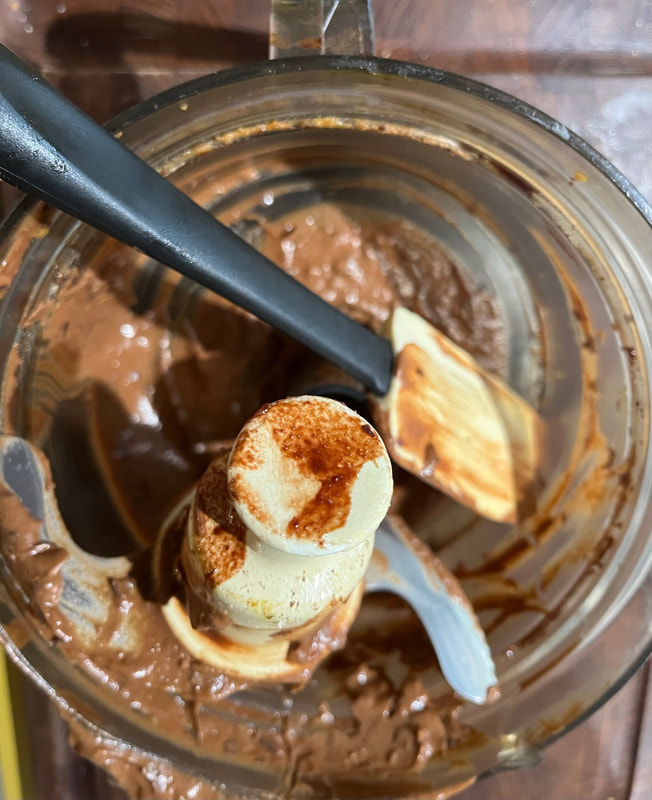
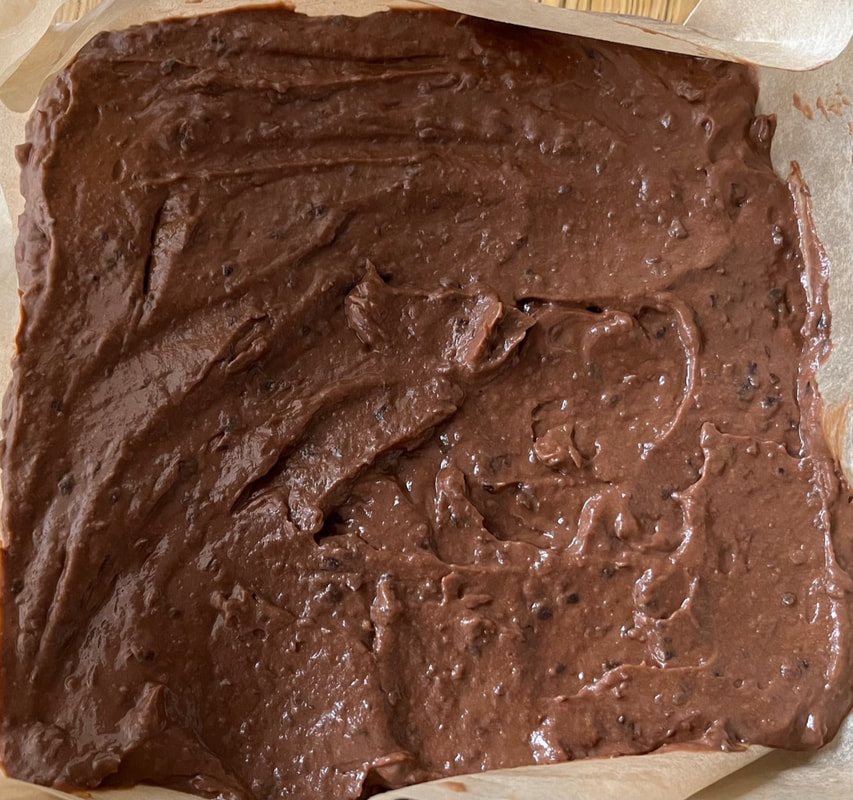
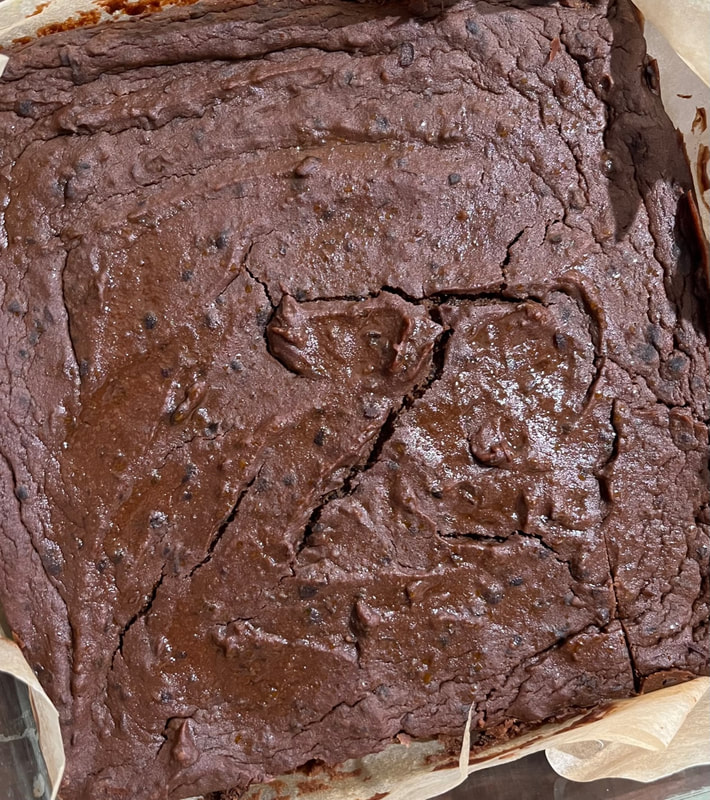
The recipe that you find here is a riff on this recipe: https://www.womenshealthmag.com/food/a20128728/black-bean-sweet-potato-brownies/. That's because a family member isn't fond of sweet potato flavor and, after doing a little research, I learned that pumpkin is a suitable 'stand-in' for this ingredient. It also helped that I had one lonely can of pumpkin in my cupboard. With the shift to pumpkin I added cinnamon and nutmeg too, because, well, pumpkin! :) We liked the results and served some of these brownies to dinner guests. But instead of adding thick chocolate sauce to the top (as above), we sprinkled the whipped cream with additional cinnamon. Either way, this dessert is a pleasant surprise. Want to have a little fun? Share these brownies with friends and family first, and then tell them what ingredients you used! Black Bean Pumpkin Fudge Brownies Makes 9-12 servings Ingredients 4 oz. bittersweet chocolate, chopped 1/4 c. unsalted butter 1 can black beans (15 oz), drained and rinsed 3/4 c. canned pumpkin 1 egg 1/3 c. maple syrup 1 tsp. vanilla extract 1 teaspoon cinnamon ½ teaspoon nutmeg 1 tsp. baking powder Pinch of kosher or sea salt 1. Preheat oven to 350°F. Line an 8-by-8-inch baking pan with parchment paper, with ends overhanging the sides. Spray lightly with cooking spray. (V.O.E. – I don’t use cooking spray so I lightly greased the parchment with olive oil and a paper towel.) 2. In a double boiler over barely simmering water, melt chocolate and butter until smooth. Meanwhile, in a food processor, puree black beans, pumpkin, egg, syrup, vanilla, cinnamon, nutmeg, baking powder, and salt. Add chocolate mixture and process until smooth. 3. Pour batter into pan and bake until brownies set in the center and pull away from the edges, about 40 to 45 minutes. Cool completely before using the parchment paper to remove brownies from the pan. The top may 'crack' slightly.
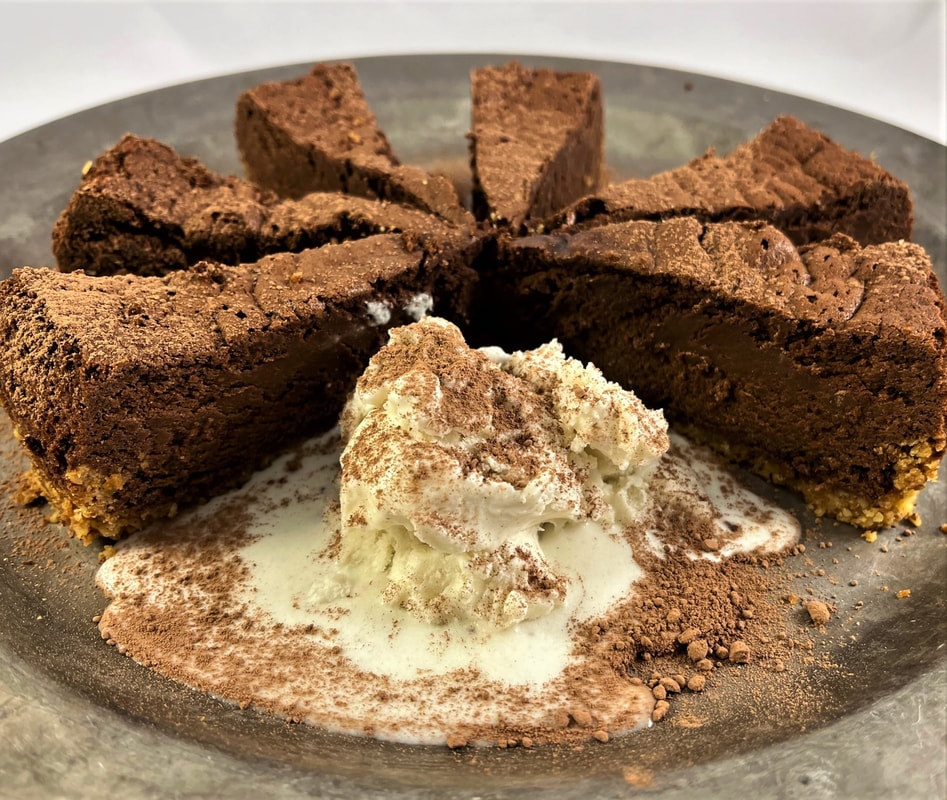
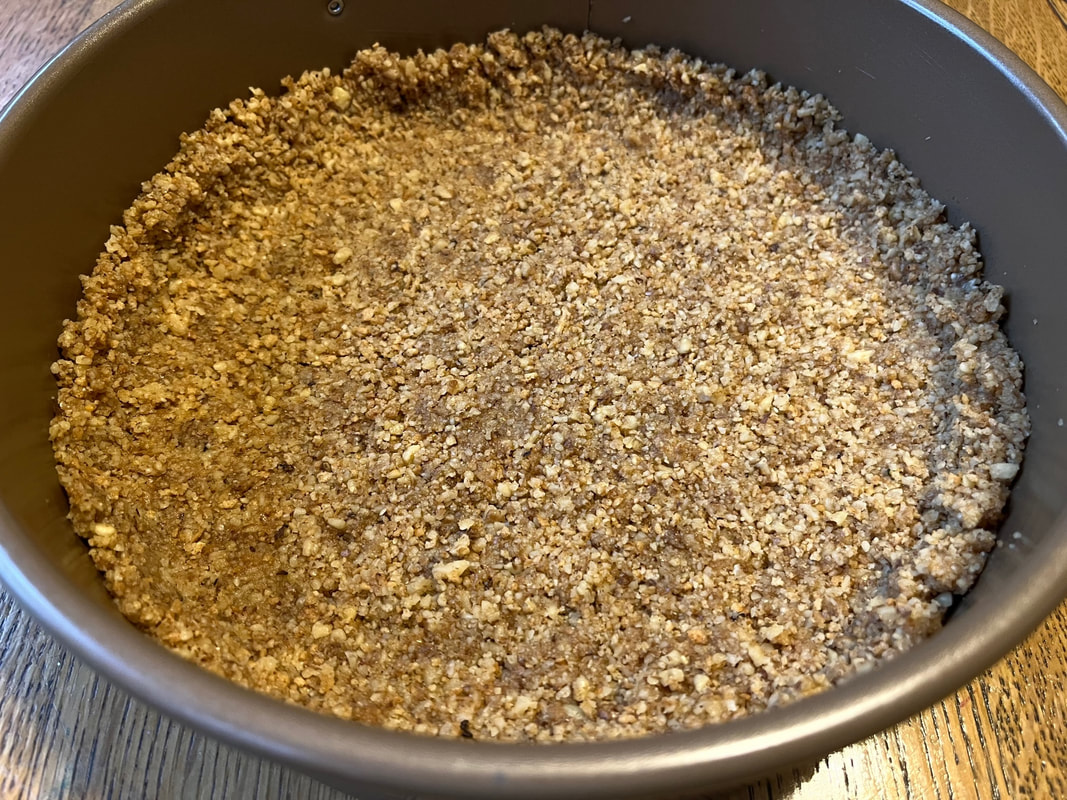
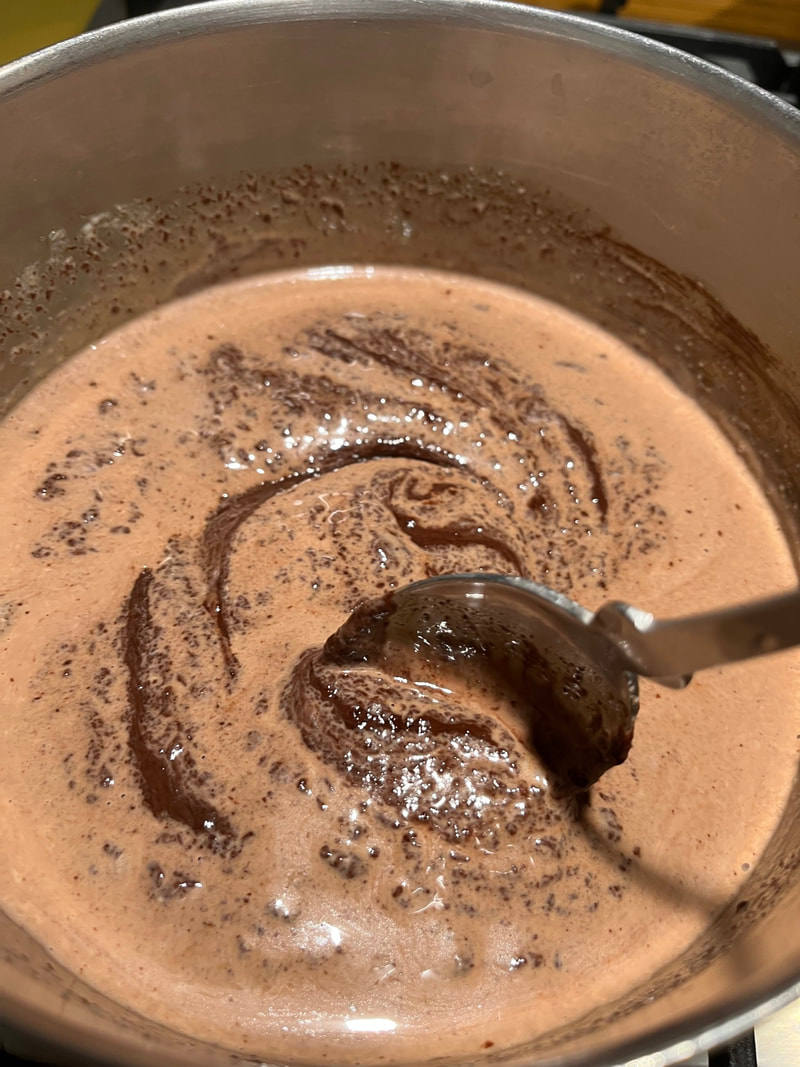
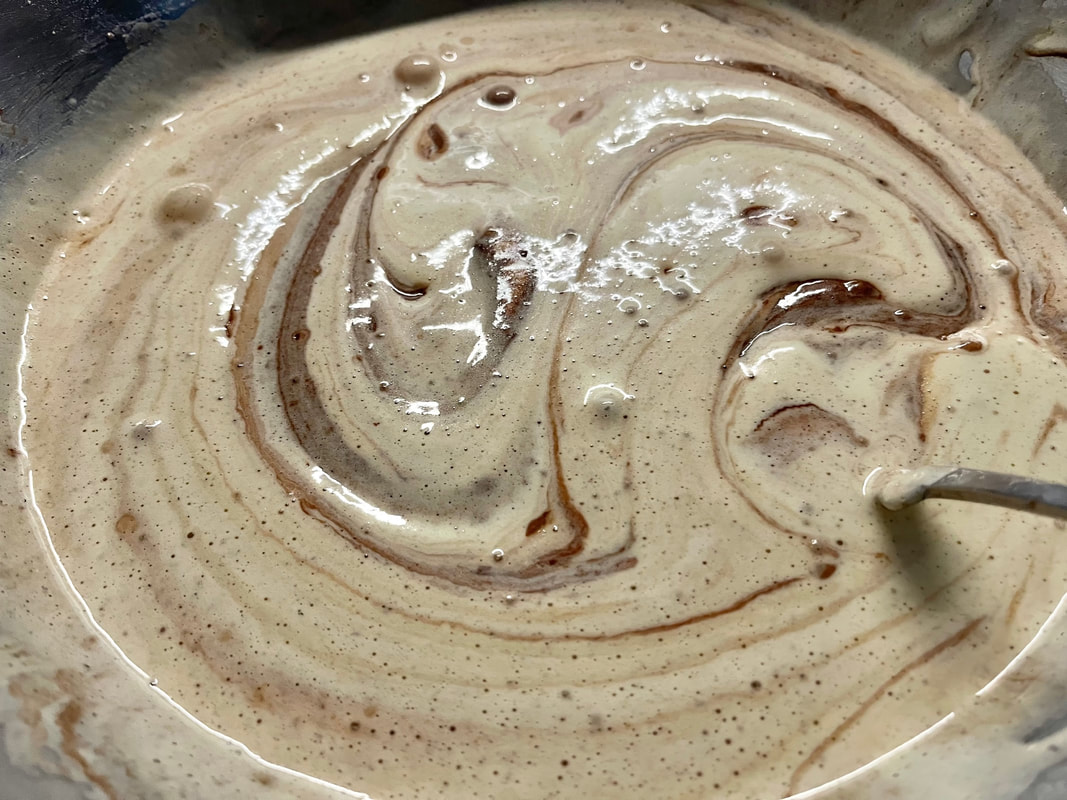
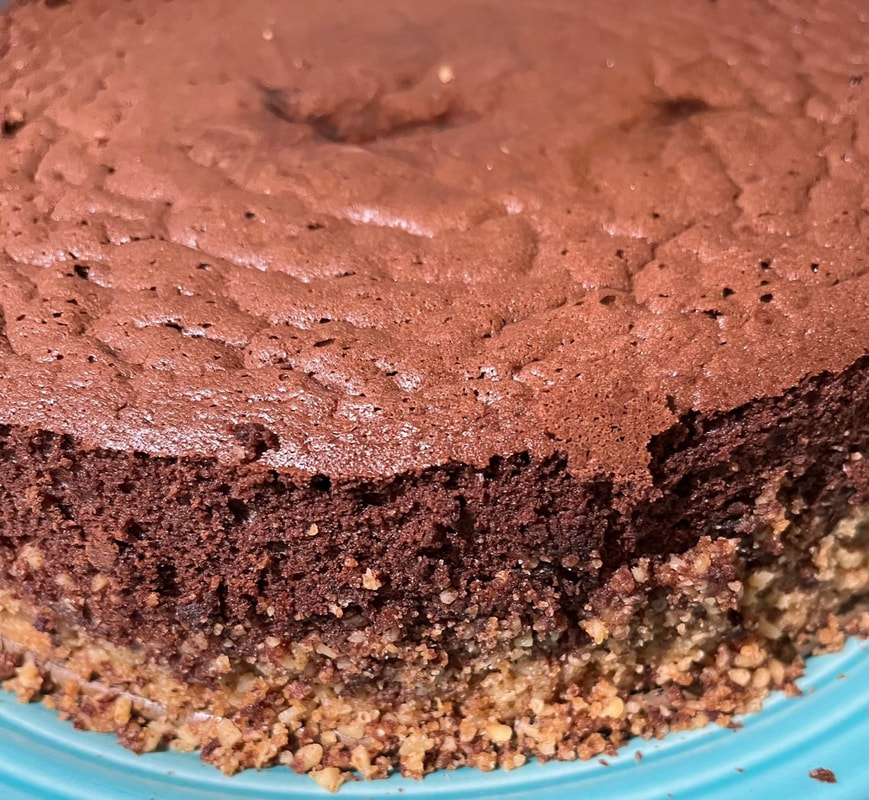
What makes a cake, a cake? With so little flour, and so many eggs, this is nowhere near a traditional cake. And, although this week's recipe has dense, creamy texture, it is definitely not a cheesecake. What you'll get is a pudding-like interior, which is especially appealing after letting your slice reach room temperature or - if you have trouble waiting to indulge - taking the chill off for less than 20 seconds in the microwave. I found this recipe during my annual chocolate recipes search for this blog. The original provided a great starting point but, as always, I've made a few modifications. Follow the original, or my version, according to your individual tastes. Enjoy! Chocolate Truffle Cake adapted from Better Homes and Gardens New Cookbook Makes 16 servings INGREDIENTS Crust 1 cup pecans, toasted and coarsely ground 1 cup graham cracker crumbs 1 quarter cup butter melted 2 tablespoons sugar, optional (V.O.E. – I substituted walnuts here, as that’s what I keep on-hand. And the next time I make this recipe I will cut these ingredients in half, because I prefer a bottom crust, only) Filling 16 ounces semisweet chocolate, cut up (V.O.E. – As always, I used bittersweet) 1 cup whipping cream 6 beaten eggs ¾ cup sugar 1/3 cup all-purpose flour Whipped cream or ice cream Cocoa powder, optional 1. For crust, combine pecans, cracker crumbs and melted butter. Press onto bottom and about 1 ½ inches up the sides of a greased 9-inch springform pan (V.O.E. - if using ½ crust recipe, press to just above the bottom inside edge). Set aside. 2. In a large saucepan cook and stir chocolate and whipping cream over low heat till the chocolate melts. Transfer the mixture to a medium mixing bowl. Set aside. 3. In a large mixing bowl combine beaten eggs, the ¾ cup sugar and flour. Beat for 10 minutes or until thick and lemon colored (V.O.E. - My batter never became lemon colored, although it did thicken). Fold ¼ of egg mixture into the chocolate mixture and then fold chocolate mixture into remaining egg mixture. Pour into crust-lined pan. 4. Bake the cake in a 325 degree oven, for about 45 minutes or until puffed around the edge and halfway to center, which will be slightly soft. (V.O.E.-Watch the top cake texture from about 40 minutes and remove earlier as needed; my cake became slightly dry and crumbly around the upper edge, at 45 minutes).
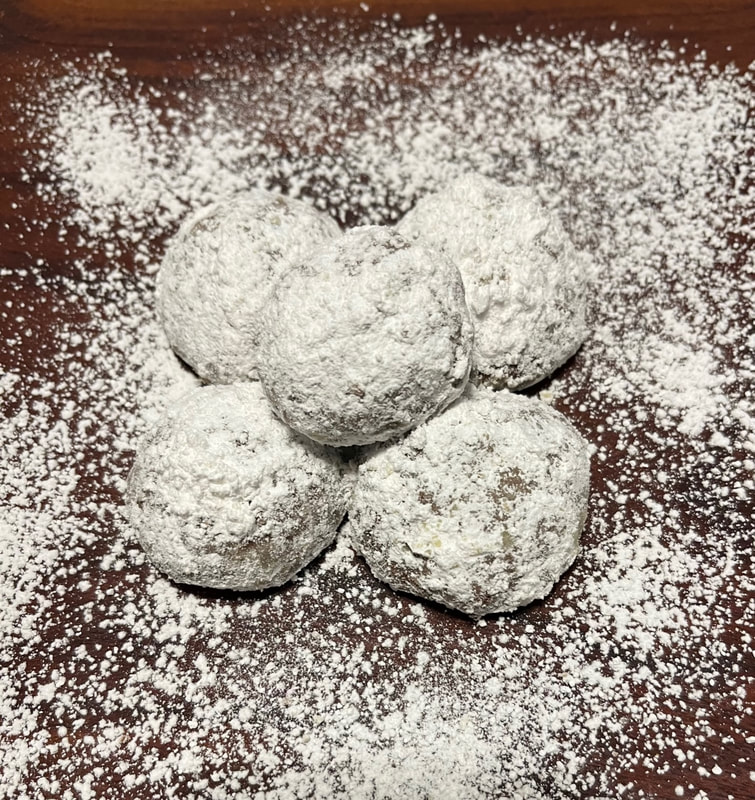
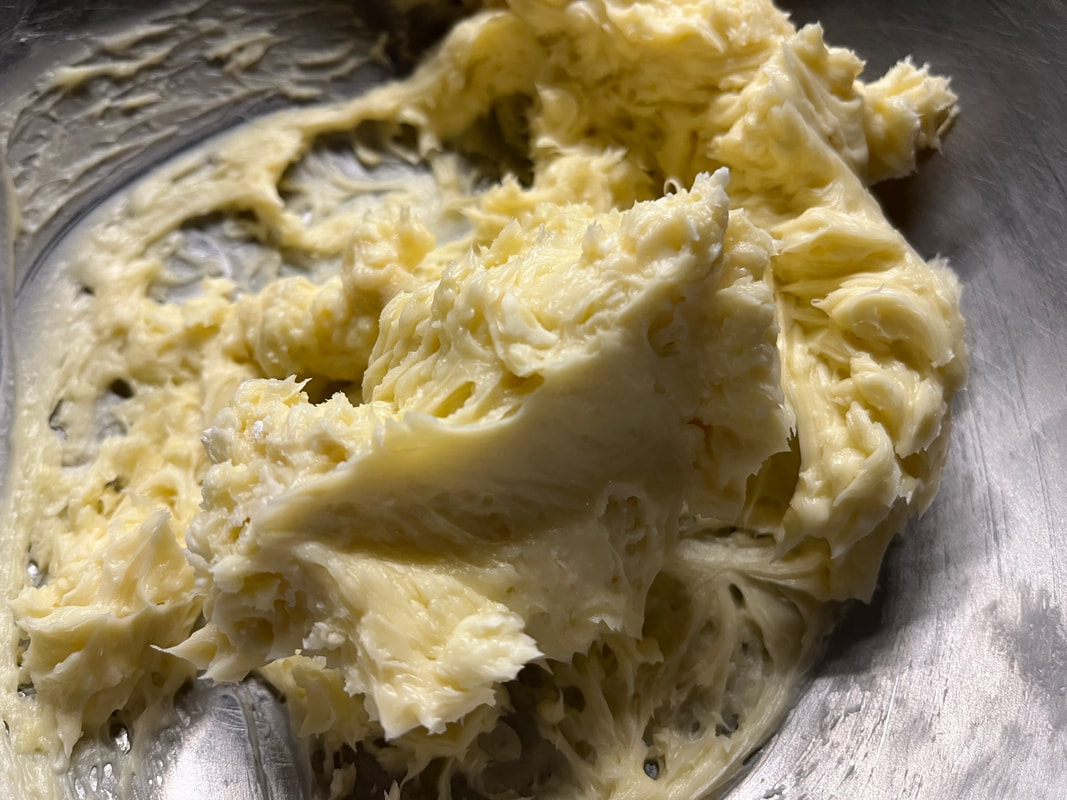
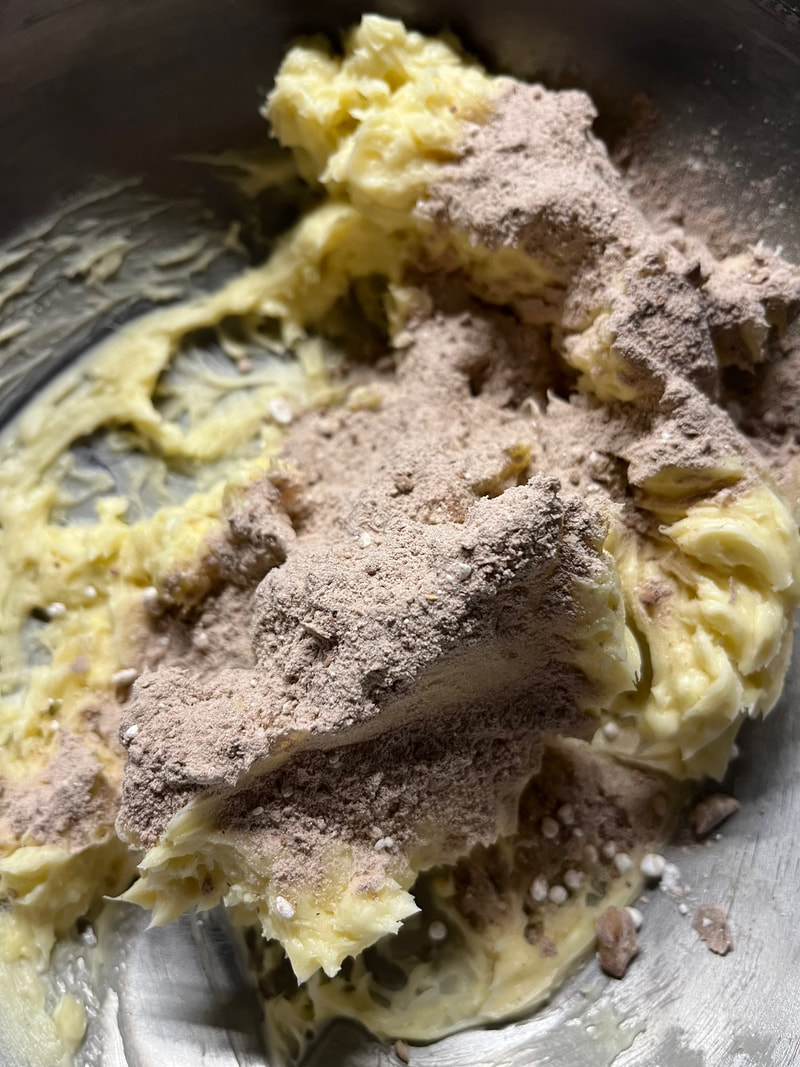
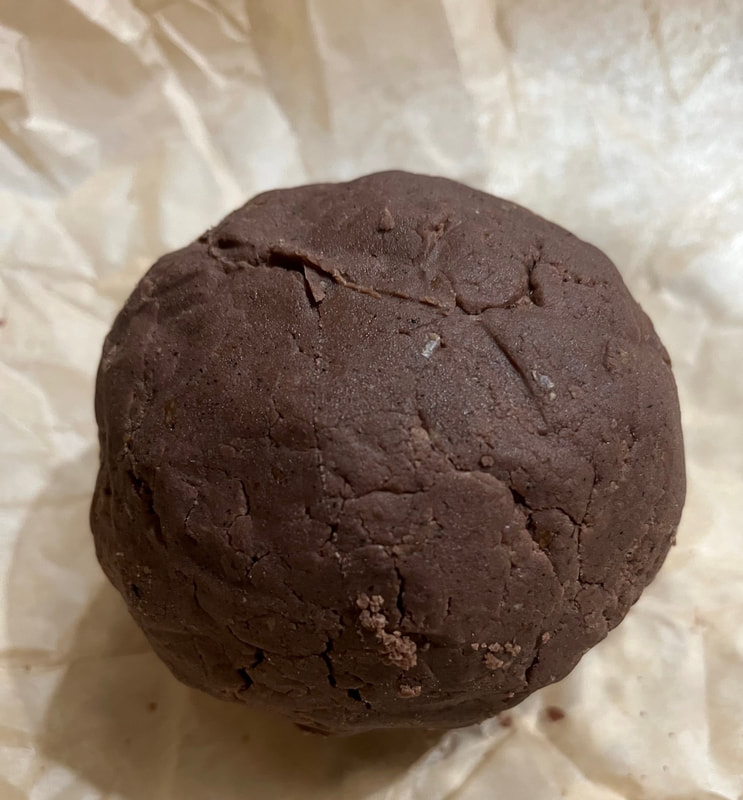
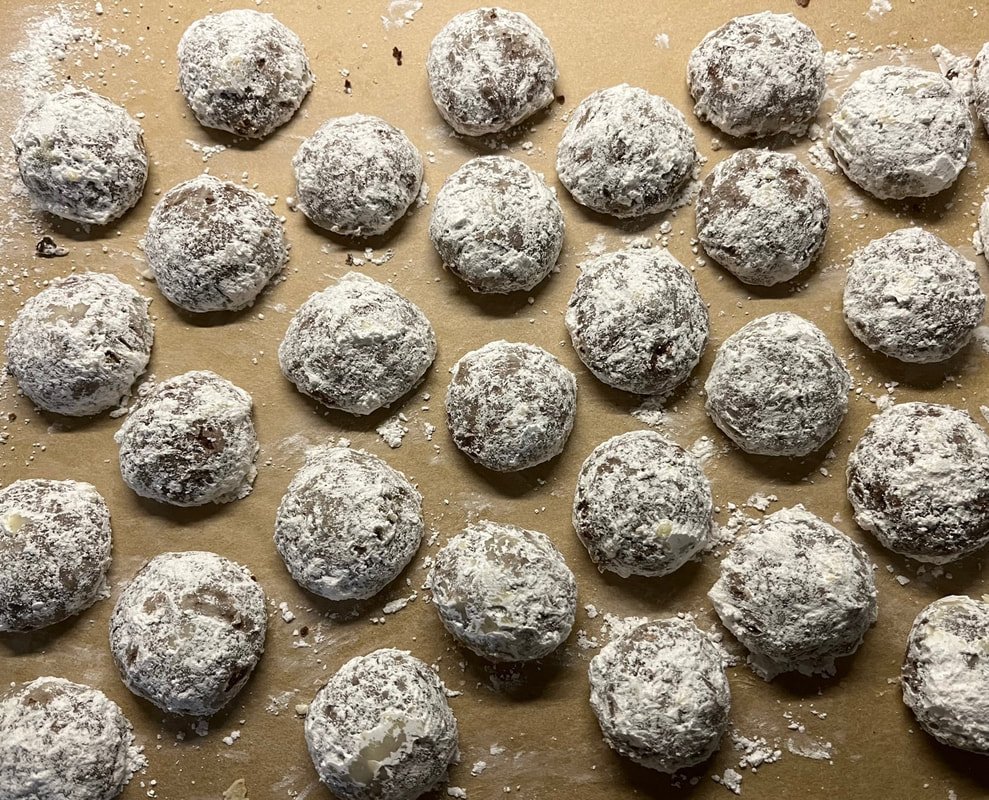
5. Cool in pan on a wire rack for 20 minutes. Using a table knife, gently release cake from sides of pan before removing the sides. Cool for four hours. Top with whipped cream or ice cream. Dust with cocoa powder, if desired. Cover any leftovers and store in the refrigerator. My husband, Mark, and I both grew up with moms who crafted confectioners sugar-dusted Almond Crescent Cookies, during each holiday season. Following their lead, I made those same cookies for many years as Christmas approached, with one small tweak-because we always have walnuts on hand and rarely purchase almonds, I used walnuts, instead. Then came the day when I stumbled upon a recipe for Chocolate Mexican Wedding Cookies. With the addition of cocoa powder and cinnamon, this recipe provided a pleasant 'riff' on the classic recipe. These cookies are still full of butter, but include a little olive oil to reduce the saturated fat a bit. And they have become a new holiday favorite in our house. See if you don't agree! V.O.E. - Be sure you allow plenty of time to complete this recipe, from start to finish. I had already had a long day when I decided to make the cookies and was then reminded of the need for dough set time in the refrigerator. I ended up going to bed an hour later than usual and grateful for a rerun of 'Titanic' to keep me company. :) Chocolate Mexican Wedding Cookies Makes 2-2 1/2 dozen 1/2 cup pecan or walnut halves, toasted (toast in a 300-degree oven for about 20 minutes, turning once) 1 cup confectioner’s sugar, divided 1 1/2 cups all-purpose flour (I used whole wheat pastry flour) 1/3 cup unsweetened cocoa 1 1/2 sticks butter, softened 1/3 cup extra virgin olive oil 1 teaspoon vanilla extract Pinch of salt Confectioner’s sugar Cinnamon 1. Place nuts and 1/4 cup of confectioner’s sugar in the work bowl of a food processor. Process, until nuts are powder-fine. 2. In a medium bowl, whisk together flour, cocoa, salt and nut mixture. 3. In a large bowl, cream butter, oil, and remaining 3/4 cup of confectioners sugar, until light and fluffy. Beat in vanilla. 4. On low speed, gradually beat in flour mixture just until mixed. Refrigerate dough, tightly covered, for at least one hour and preferably no longer than three hours. 5. Measure dough by 1 1/4-inch scoop or scant measuring tablespoons and roll it between the well-floured palms of your hands to form one inch balls. Place balls 1 1/2 inches apart on unbuttered cookie sheets. Bake in 350-degree oven 16-18 minutes or until set (the tops will dull slightly).
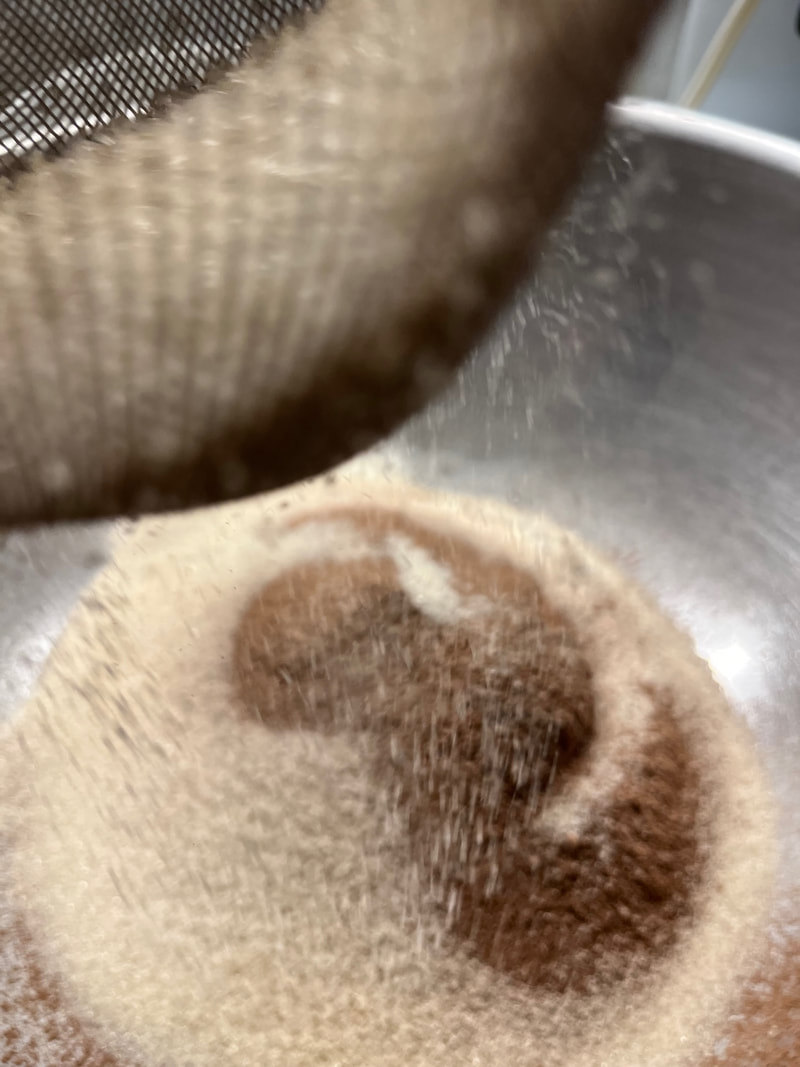
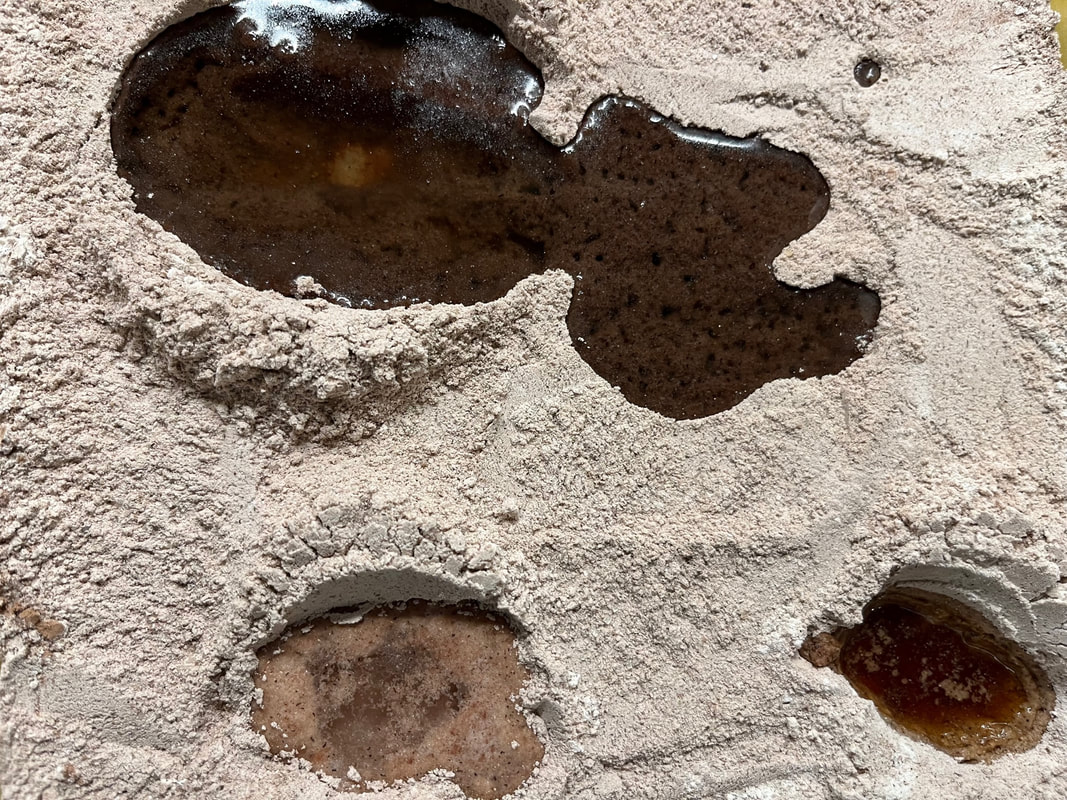
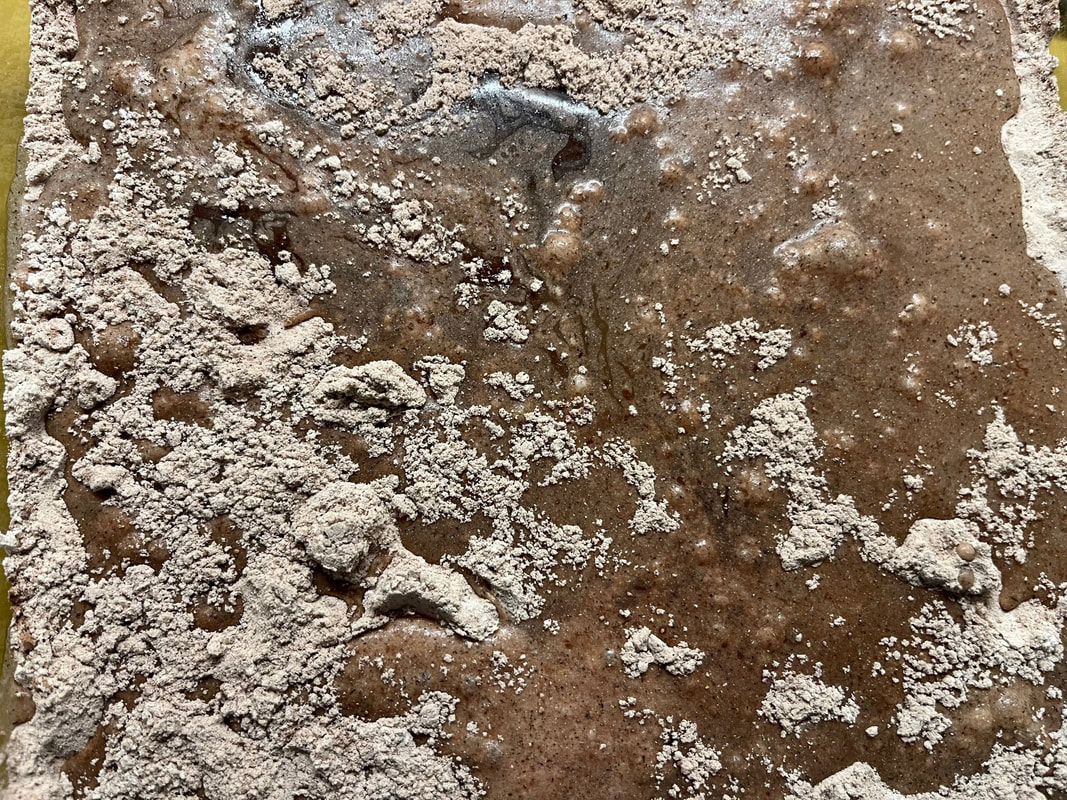
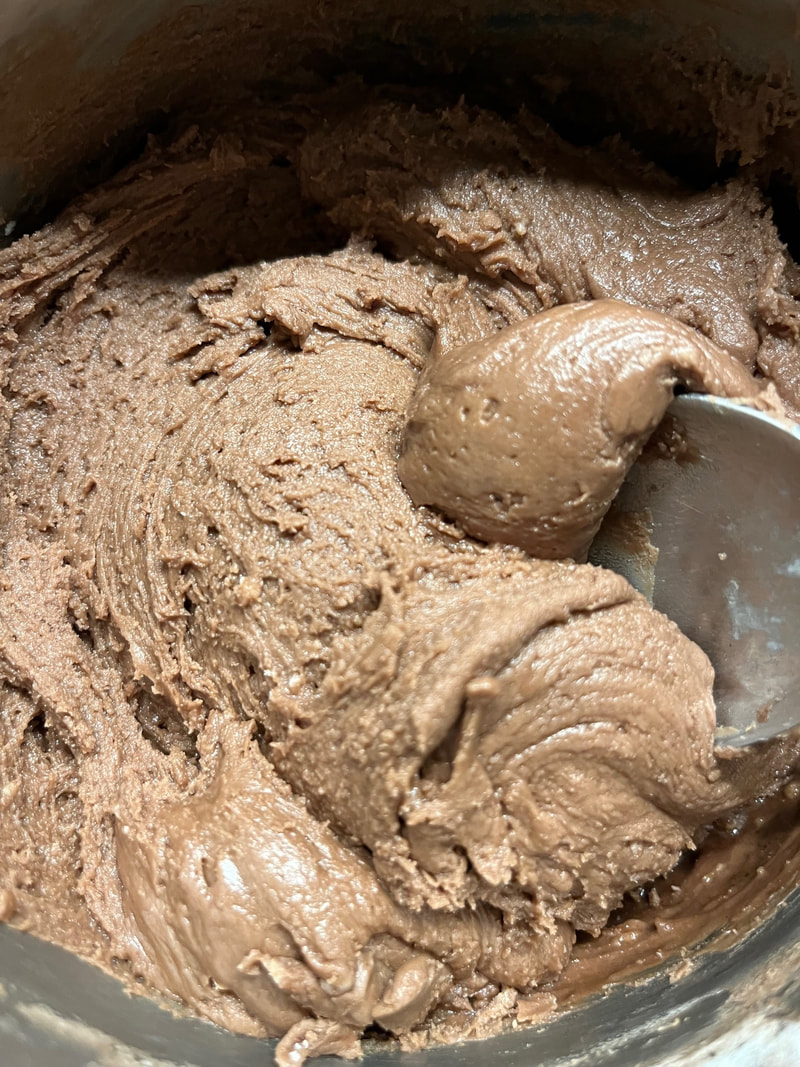
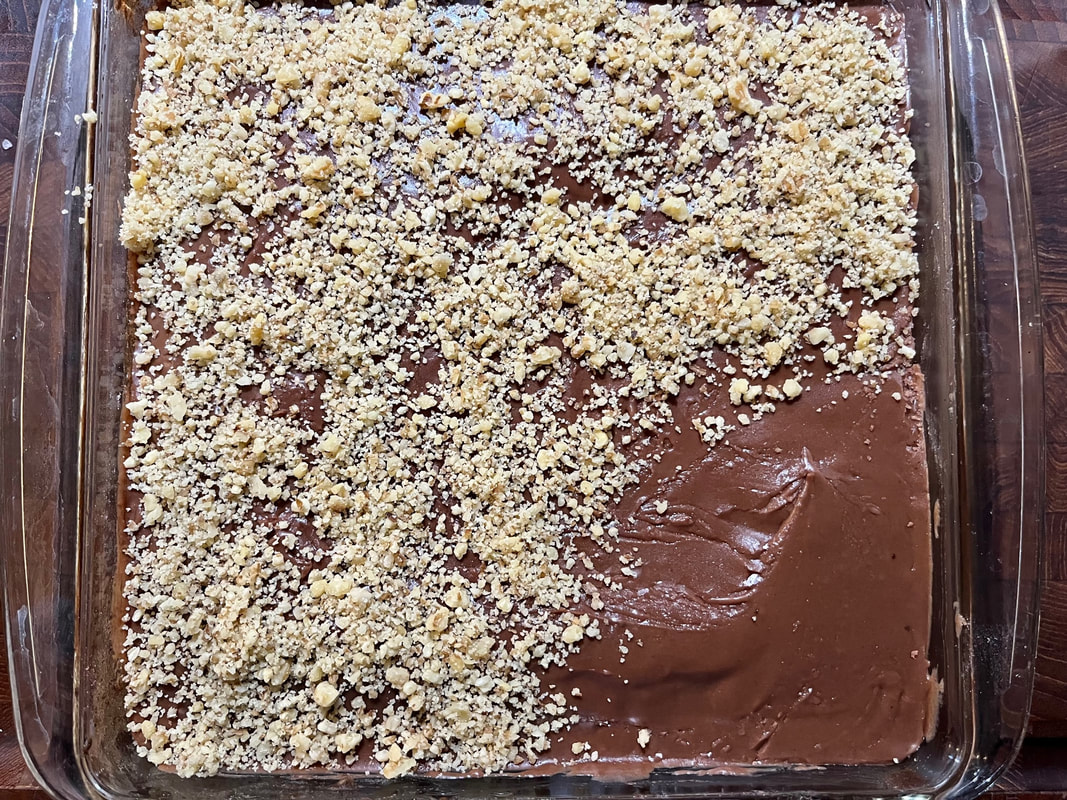
6. Cool cookies on sheets two to three minutes. Combine powdered sugar and cinnamon for coating, at a ratio of 1 cup sugar to 2 teaspoons cinnamon; make more as needed to thoroughly coat all cookies. Roll cookies in confectioners sugar mixture while still hot, coating heavily. Transfer cookies to wire racks to cool completely. 7. Store in a tightly covered container in the refrigerator, for up to one week, or freeze up to 3 months. V.O.E. - If your cookies seem a little dry, place 1/2 slice of fresh bread in the cookie container. The bread contributes some moisture that causes the cookies to soften slightly. Looking for another luscious, last minute Thanksgiving dessert? This Wacky (Chocolate) Cake couldn’t be easier or faster. If you enjoy baking, you likely have plenty of butter and confectioner’s sugar on hand. But you only need those if you also make the icing. As stated in Southern Living’s recipe notes, “This cake was created when many common ingredients were hard to acquire, or food items were being rationed, so the recipe doesn't include any butter, eggs, or milk.” Click on the recipe link above-which includes an embedded link for the frosting-and follow along, as I share my thoughts/V.O.E.s. Although this recipe features sifted flour, cocoa powder, salt, and baking soda, I’ve never owned a sifter, so I filtered each of these ingredients through my sieve. I also initially ‘sifted’ them into a large bowl, before transferring the whole combination into an 8- by 8-inch ungreased pan. I created three wells in the mixture, but I should have made the oil well larger (I used safflower oil because that is what I had on hand). Thankfully, the oil run-off didn’t hurt the recipe, and everything blended easily after I added the water. Blending ingredients after adding water FROSTING NOTES Although recipe instructions mention pouring this mixture atop the cake, I found it too dense, even while blending the ingredients. At a certain point my whisk couldn’t adequately handle the frosting density, so I switched to a large spoon. I also incorporated two extra tablespoons of milk. And, because I wanted to temper the frosting sweetness a bit, I had already reduced the amount of powdered sugar by ¼ cup. Southern Living recommends topping this finished cake with pecans, but I again worked with what I already had and substituted walnuts. About that nut-free section of cake. With two toddler grandsons, nuts just won't cut it :)
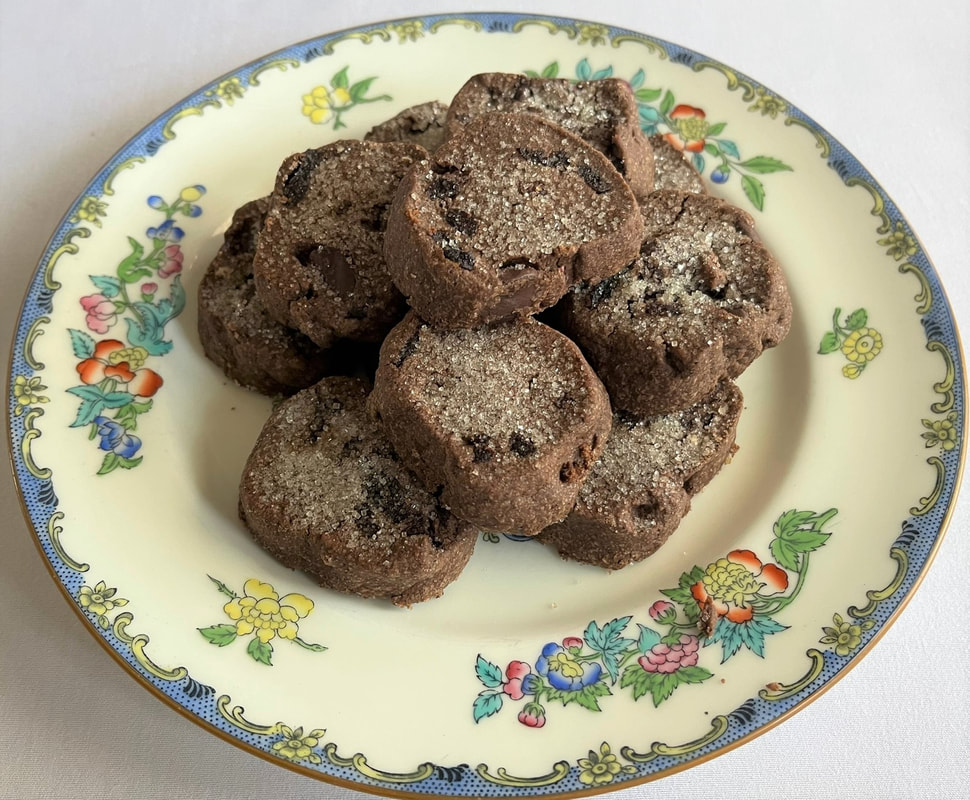
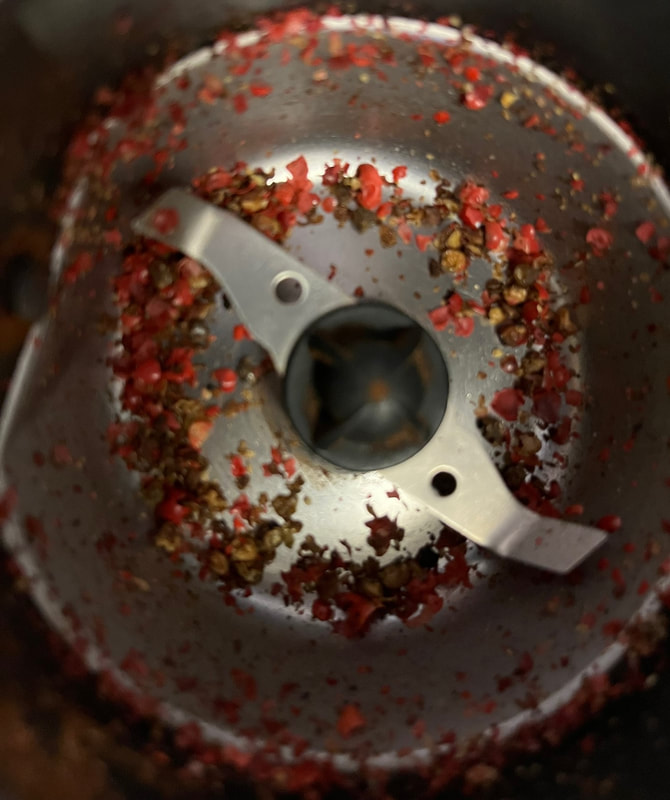
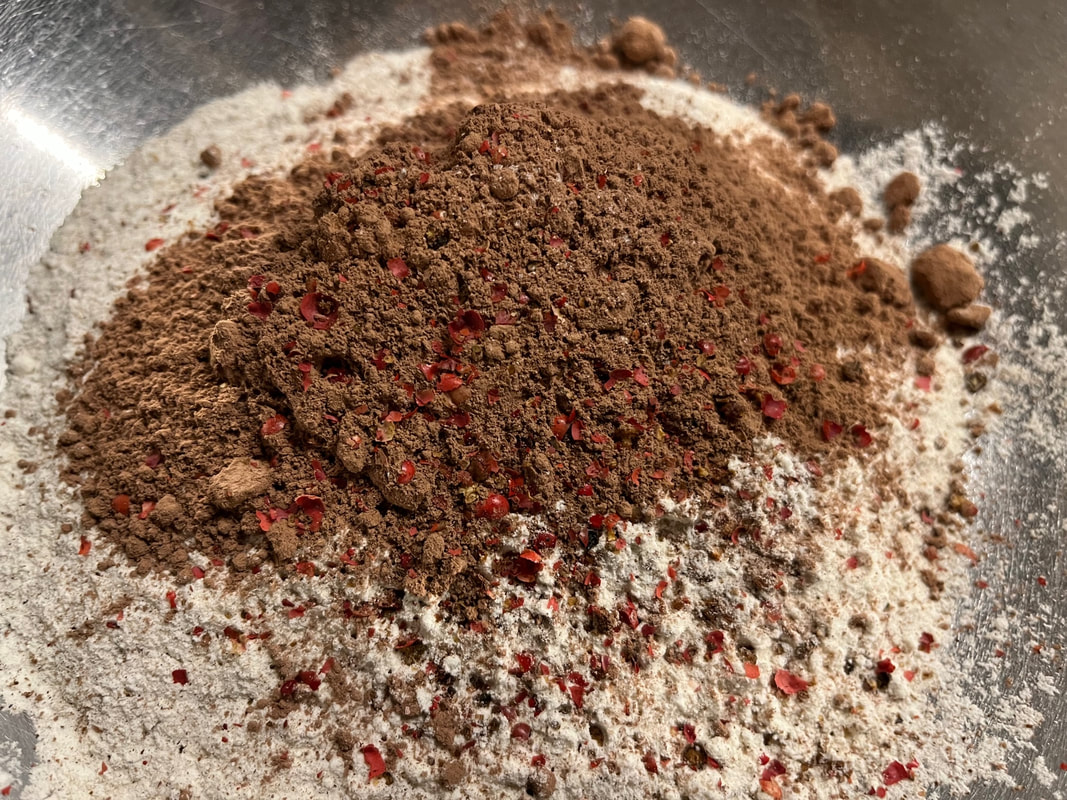
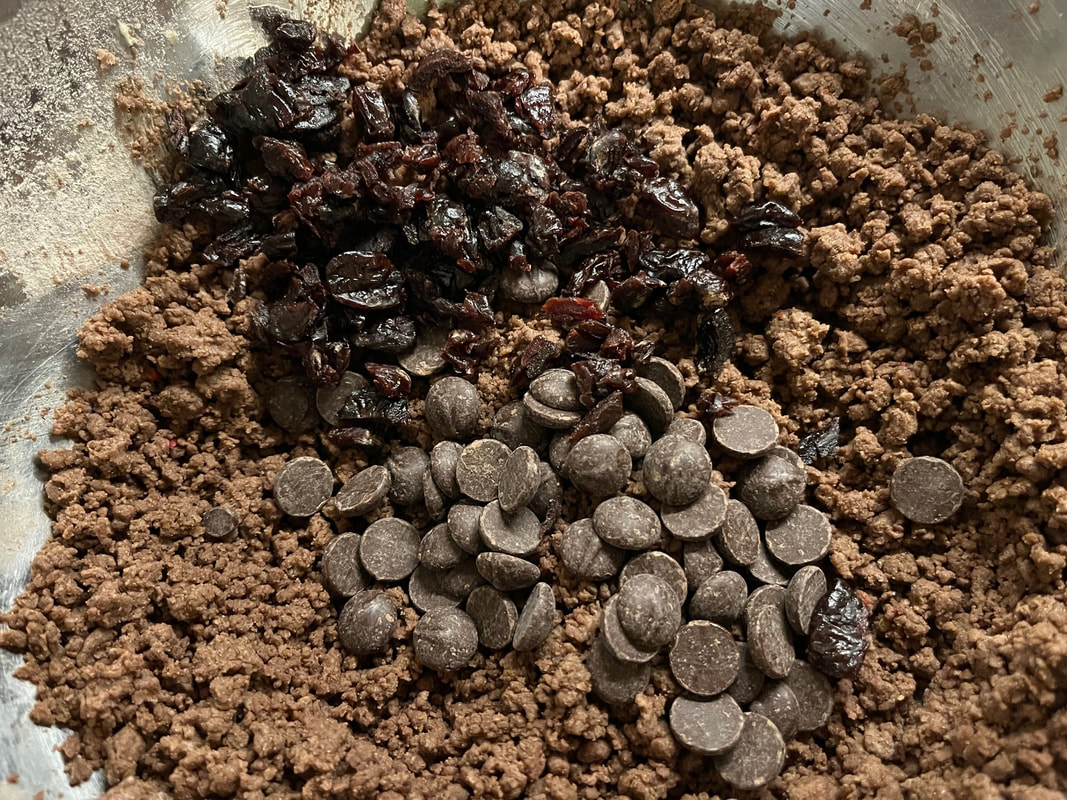
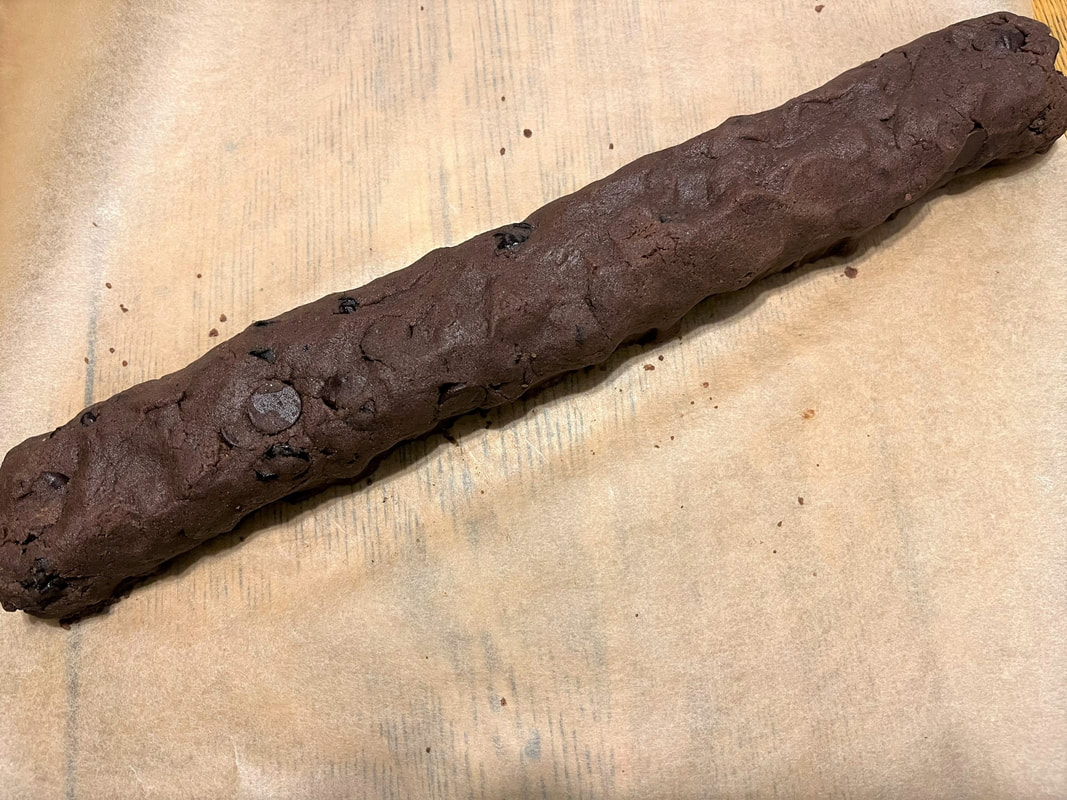
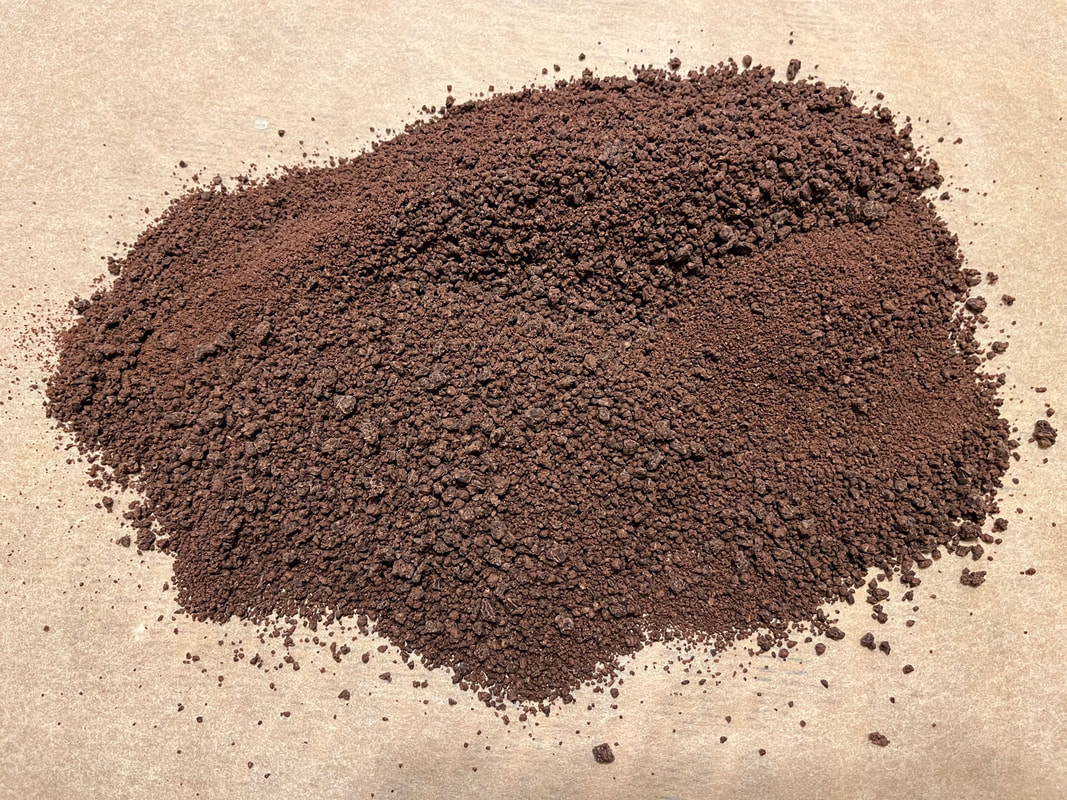
The results? Moist, dense, decadent, and tough to stop eating. But we did, to make sure there was some left for tomorrow. Happy Thanksgiving, everyone! I've exhausted stories about chefs I have actually met, in previous posts, but other cookbooks remain in my collection with more, delectable chocolate recipes. This recipe for chocolate cherry shortbread cookies comes from my copy of giada's ITALY, by Giada De Laurentiis. But it's also available here, so click the link and follow along :) The first thing I learned about this recipe is I couldn't assume availability of a couple ingredients. Fortunately, I suspected that might be the case and made a few phone calls before getting in my car. Although my 'regular' grocery store didn't carry dried cherries, another nearby grocer did. After I found out that my favorite food store also didn't carry pink peppercorns, I seriously debated substituting black peppercorns that we always have on hand. Although this is allowable in the culinary realm it does impart a slightly different flavor. I found the pink variety in a local spice store and hope to find plenty of other uses for them in the future. Then there was the matter of adequately crushing the peppercorns for this sweet recipe. I pulled out an extra coffee grinder that I long ago relegated to grinding spices and gave them a good 'zap.' The peppercorns made a pretty addition to the combo of flour, cocoa powder, and salt. I chopped the dried cherries on a cutting board with a sharp knife because I thought they might become a gummy mess if I used my food processor. After combining the sugar + butter + egg yolks + the flour blend with my mixer, I stirred in cherries and chips by hand. Although Giada's recipe calls for semisweet chocolate chips, I used Ghirardelli bittersweet, instead. I love the quality, but I'm also sentimental about watching early morning deliveries at the flagship store many years ago, on a chilly, early February morning near Fisherman's Wharf in San Francisco. Giada's recipe says to wrap the cookie dough 'log' in plastic wrap before placing it in the refrigerator. Since I avoid plastic wrap due to environmental concerns, I crafted the log atop parchment paper before wrapping it tightly.
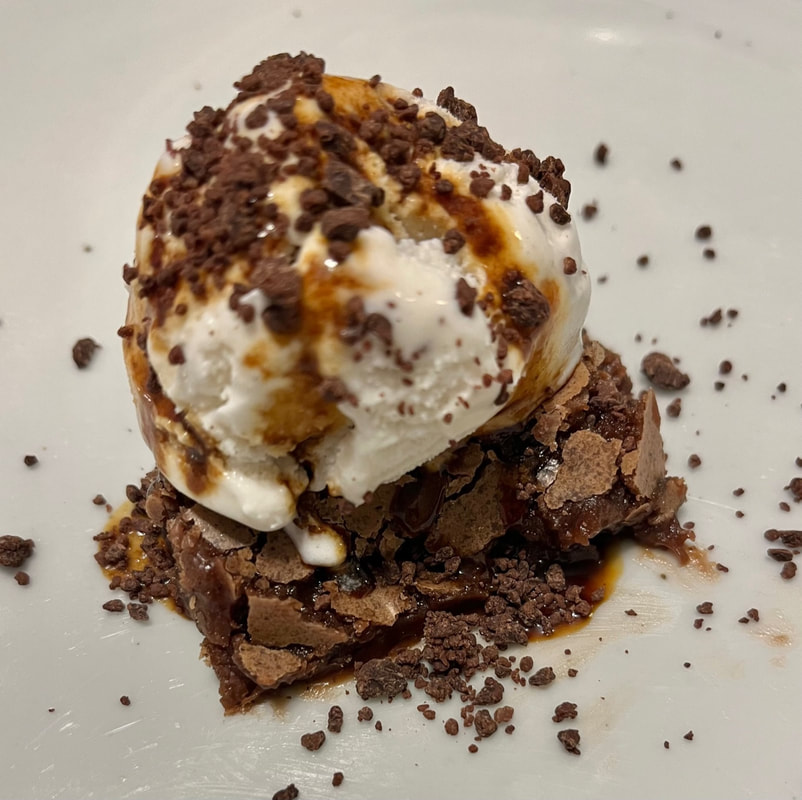
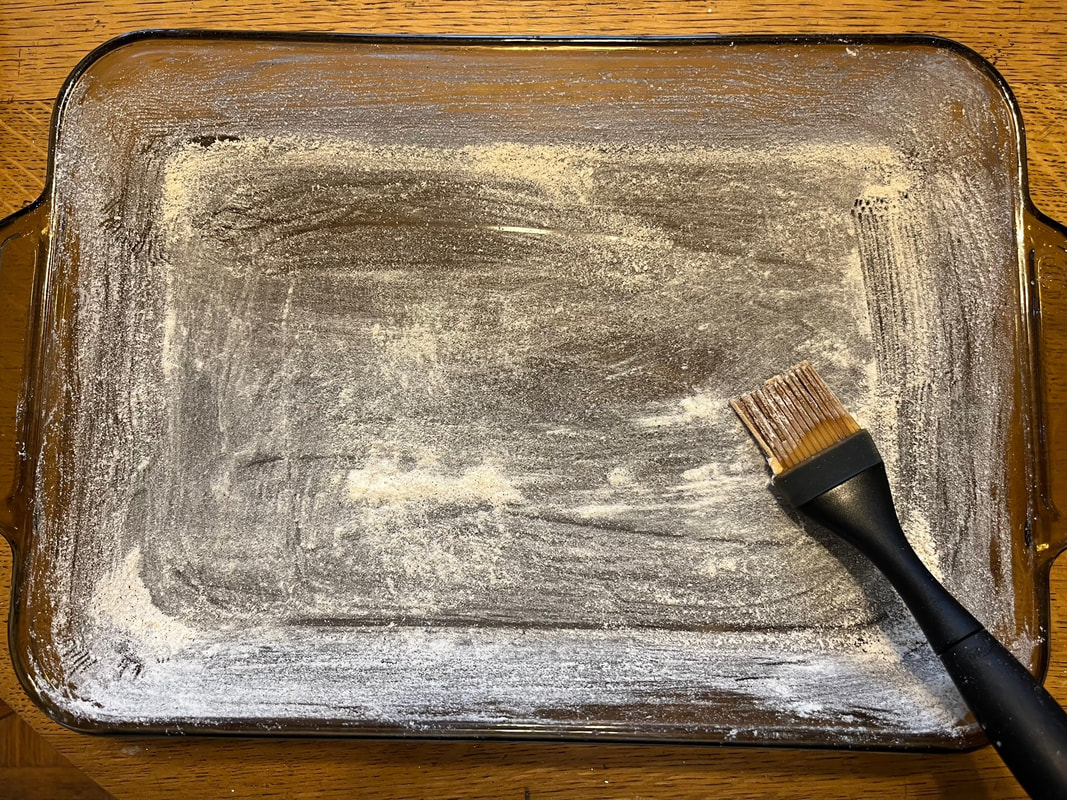
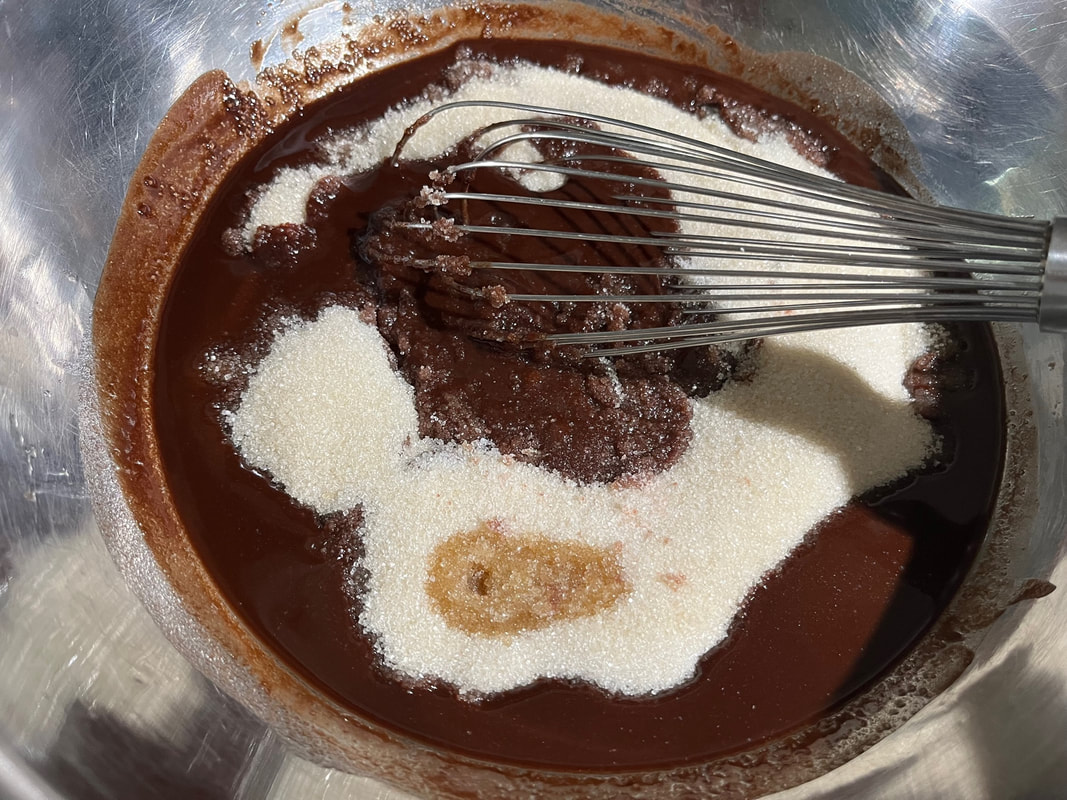
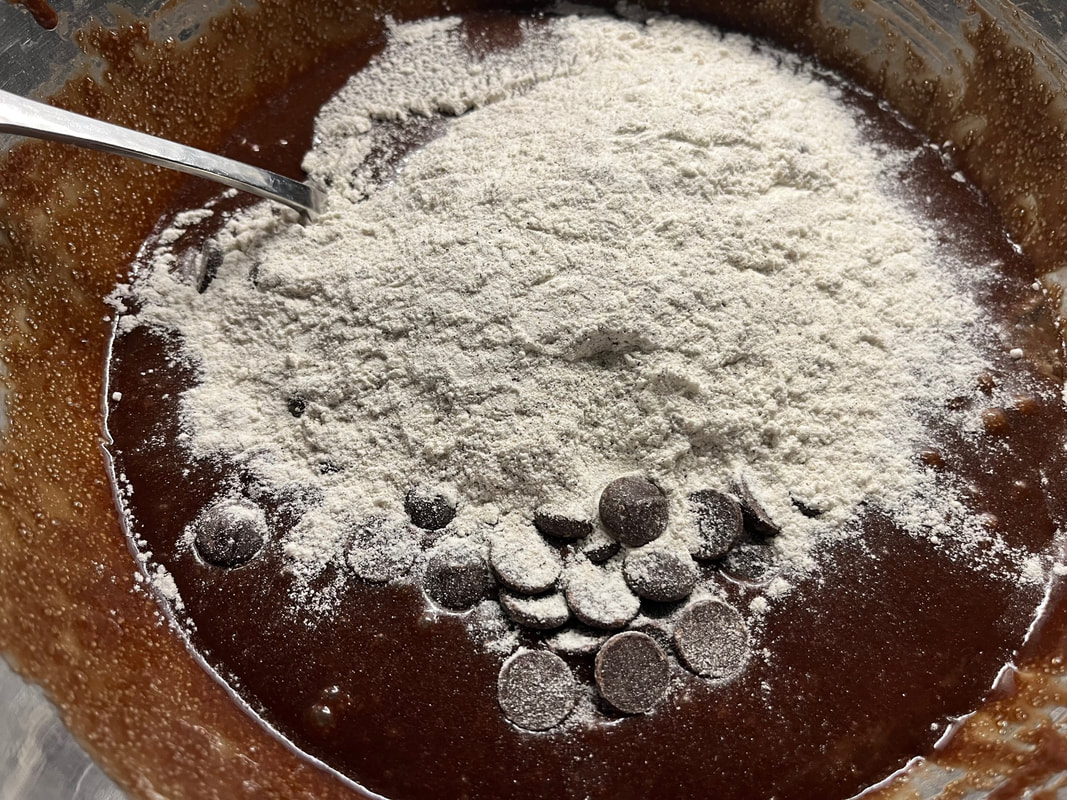
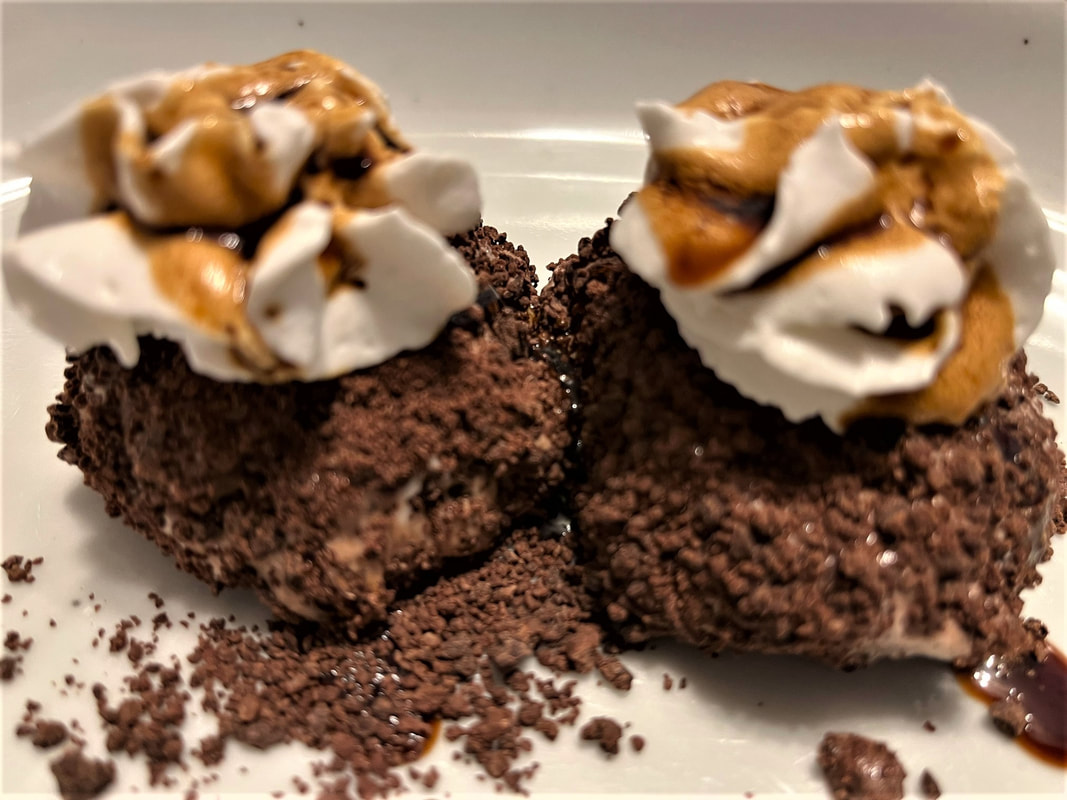
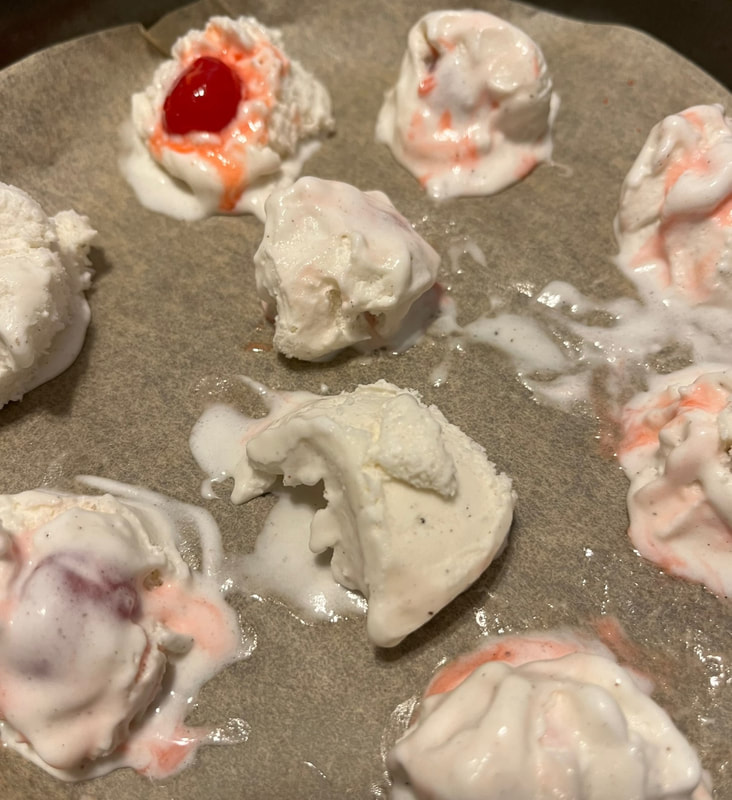
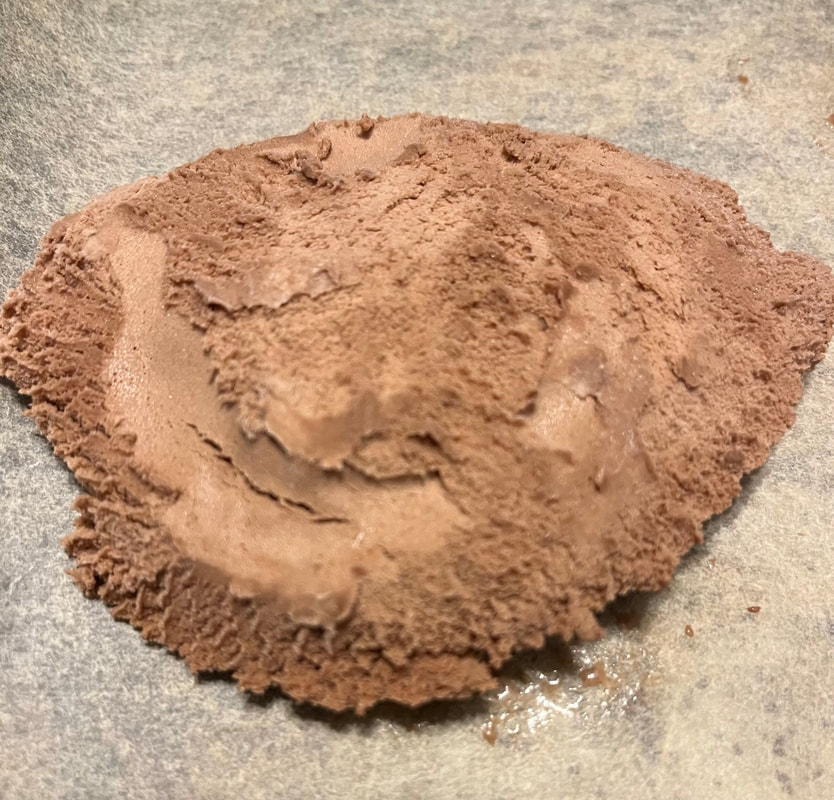
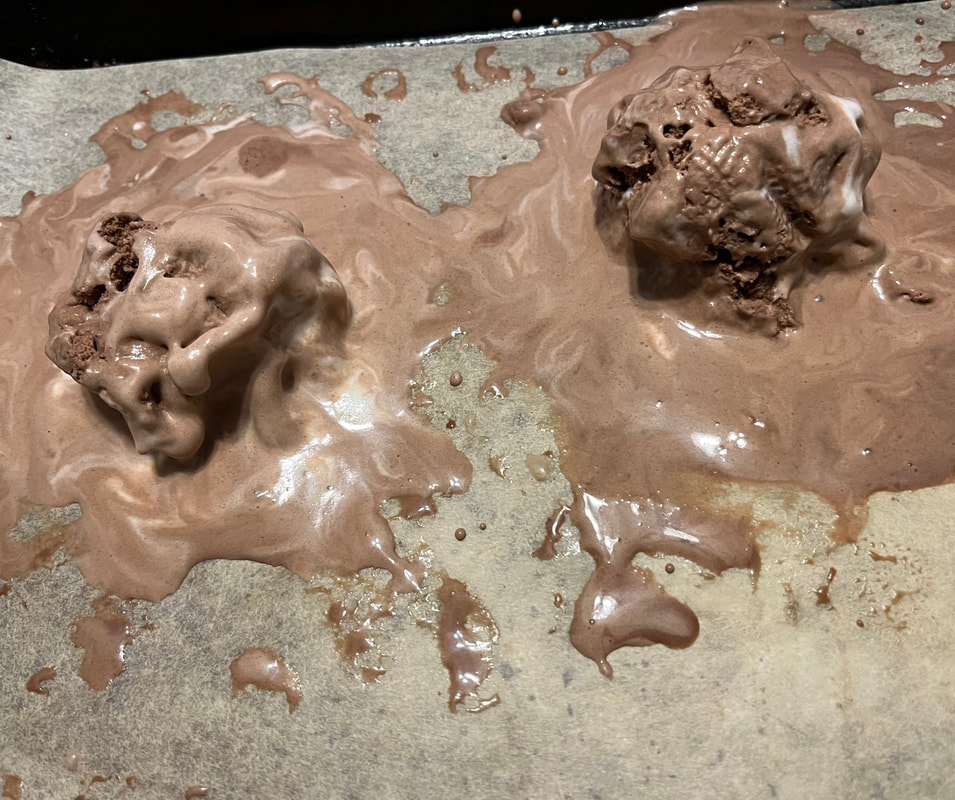
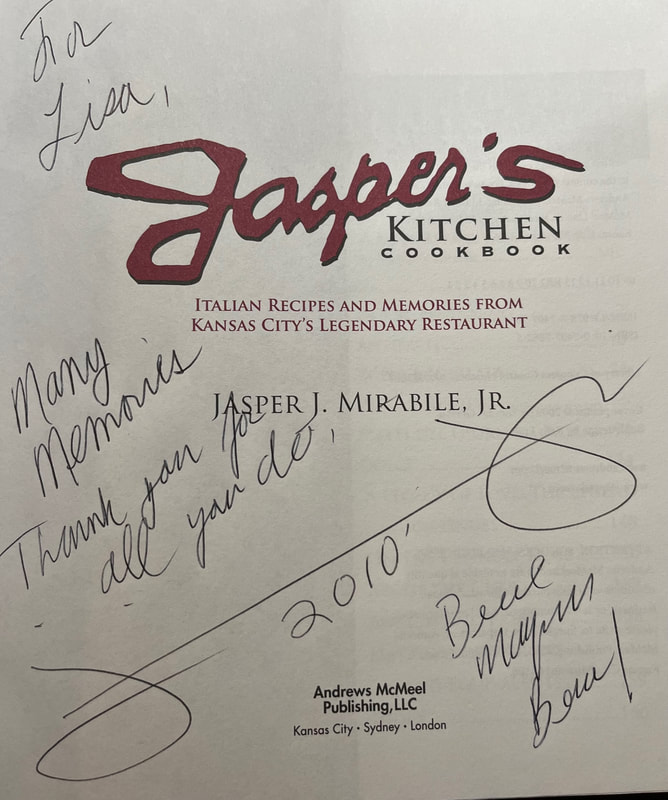
I couldn't wait for the log to become thoroughly chilled, baked, and cooled again. The result? A mildly sweet nice crunch with occasional bites of chewy cherry and unexpected bursts of chocolate chip flavor. The peppercorn flavor didn't stand out on my palate but I'm sure the cookies would have tasted different without it. And I still have plenty of dried cherries-and pink peppercorns-for my next batch of cookies. In fall 2020, RowHouse Restaurant, Topeka, KS, closed after 14 years of operation. Housed in an antique building, downtown, the fine dining restaurant offered frequently changing ‘American fusion’ cuisine, with a big focus on using fresh local ingredients. One of many restaurants that closed during the pandemic, its chef/owner, Greg Fox, now creates food-focused events in the city. I felt honored to dine at RowHouse a decade ago, while doing research for a regional travel magazine. I also feel honored to own a signed copy of Fox’s first cookbook, FRESH. It features a full-page history of the 1876 rowhouse where the restaurant operated and a group photo of restaurant staff. A self-professed visual learner and cook, Fox illustrated each recipe with a gorgeous, full-page photo of the completed dish. One of my favorite features in the book was his notations regarding ‘things you will need’ to create a dish, such as ‘2, 9 x 13 pans & whisk,’ when making his mocha chocolate brownies. These simple but luscious brownies are packed with chocolate and a hint of java. I have provided Fox’s original recipe plus measurements to make a half-recipe, as I did. For serving, I topped my brownies with a small scoop of ice cream, a big drizzle of chocolate balsamic vinegar, and plenty of grated chocolate. Enjoy! mocha chocolate brownies Makes 24 brownies INGREDIENTS 1 cup sugar (1/2 cup) ½ cup boiling water (1/8 cup because my brownies turned out almost like pudding) 2 teaspoons instant coffee (1 more if you want more coffee flavor) (1 teaspoon) 3 sticks salted butter (1 ½ sticks; V.O.E – I used 1 stick salted butter and ½ stick unsalted) 10 ½ ounces of chocolate chips (no more) (5 ¼ ounces) 4 cups sugar (2 cups) 2 teaspoons vanilla extract (1 teaspoon) 1 teaspoon Kosher salt (1/2 teaspoon, may also use fine sea salt) 8 eggs (4 eggs) 2 cups flour (1 cup; as noted elsewhere in the book, Fox uses all-purpose flour) 1 ¾ cups additional chocolate chips, no more (7/8 cup) INSTRUCTIONS Preheat oven to 375 and prepare two 9 x 13 pans. (Elsewhere in FRESH, Fox defines prepared pans as layers of cooking spray, parchment, and more cooking spray, because of how many dishes the restaurant had to wash. V.O.E.- I buttered & floured my pan, instead, using a ‘butter brush’ to spread the flour evenly) Mix 1 (1/2) cup of the sugar with the instant coffee and boiling hot water and whisk together until coffee granules dissolve. Set aside until later. In a separate bowl mix flour with the additional 1 ¾ cups (7/8 cup) chocolate chips and set aside. Use a double boiler, or a pan in a water bath (a pan large enough to make all these brownies). I use a chafing dish on the stove, starting with hot water in the base, and always on the lowest flame. Put butter in this pan, then add the chocolate chips. Before the butter and chocolate get too hot (butter will melt to clear, and chips will start to get soft) remove from heat and stir together until smooth. If the chips don’t melt, put back on the heat for just a bit, just get it off the heat as soon as the butter and chocolate smoothly combine. Add the coffee and sugar mixture you made earlier. Using a sturdy wire whisk, add the rest of the sugar (3 ½ cups; 1 ¾ cups), vanilla, and salt. Whisk together. Add the eggs one at a time, whisking until each one is incorporated. Fold the flour and chocolate chip mixture into the batter all at once until just incorporated. Don’t over stir. Spread evenly into prepared pans and bake for 22 minutes. Don’t overbake (V.O.E.- However, I do think an additional 2-3 minutes would have better solidified the brownies-just watch them carefully). When you jiggle the pan there should be no motion. Let cool, before cutting except for the corner you need to taste while hot. I suggest eating them plain, but ice cream is a welcome addition. 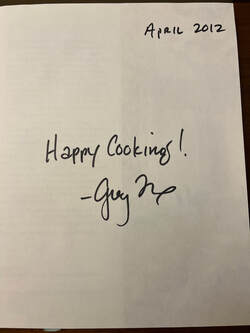 It has been several decades since my husband and I dined at Jasper’s Italian Restaurant in its original location. For those of you who live in the Kansas City area, that’s when the Mirabile family operated their upscale dining destination near 75th Street, in Kansas City, Missouri (Marco Polo's Italian Market arrived a bit later). Little did I know that I would later interview Jasper J. Mirabile, Jr. for a national magazine, serve on the board of Slow Food Kansas City with him for many years, or win one of his dessert recipe contests (he adored my Chocolate Lover’s Pumpkin Pie). Although we don’t see each other often now, we stay connected over social media and our love of great food. Through our long acquaintance I have often enjoyed Jasper’s Tartufo at the end of meals. Mine aren’t anywhere near as ‘polished’ as the ones that he serves in the restaurant but they taste great. I also asked him several questions about the recipe before I began. As always, V.O.E. notations indicate my experience in trying to recreate a dish. Enjoy! FROM JASPER’S KITCHEN COOKBOOK (Andrews McMeel Publishing, LLC, 2009) JASPER’S TARTUFO Serves 8 INGREDIENTS 1 cup vanilla ice cream, slightly softened 1 ½ cups chocolate shavings 8 maraschino cherries Chocolate syrup, for serving 2 cups chocolate ice cream, slightly softened Whipped cream, for serving INSTRUCTIONS With a small ice cream scoop, make 8, walnut-sized balls of the vanilla ice cream. Place a cherry in the center of each ball, then place the balls in the freezer to harden, while you prepare the chocolate ice cream. (V.O.E. - I quickly decided to use rubber gloves against the cold, when handling the ice cream in this recipe. I also frequently washed and dried my gloves during the process). With a large ice cream scoop, shave out 8 flat portions of chocolate ice cream, enough to cover the frozen vanilla ice cream balls. Remove the frozen vanilla ice cream mixture and pack the chocolate ice cream around it, completely covering the vanilla ice cream. Freeze for 30 minutes. (V.O.E. - My slabs weren't exactly square but they still worked. My ice cream also melted fairly quickly so I worked with my vanilla ice cream 'balls' two at a time, while keeping others in the freezer.) Put the chocolate shavings on a piece of wax paper. Remove the frozen tartufo balls from the freezer and roll them in the chocolate shavings. Serve with chocolate syrup and freshly whipped cream. (V.O.E. - Because we had espresso-flavored balsamic vinegar in the cupboard, we used it as a substitute for chocolate syrup. In addition, if you aren't sharing all eight servings at once, wait to add the shavings until you DO enjoy more servings.)
|
Welcome to Visual Traveler.I love crafting stories about fantastic food & beverages, must-visit destinations & eco-friendly topics. I wrote a 350+ page book about Kansas. And I've worked with dozens of additional clients - from Fodors.com & AAA magazines to USA Today 10Best & WanderWithWonder. Grab a chair & join me as you explore photo-rich stories reflecting U.S. & international travels, plus home kitchen views.
Archived posts featuring Arizona, California, Kansas, New Mexico & chocolate
December 2023
|
|
Lisa Waterman Gray
Overland Park, KS, in the Kansas City metropolitan area ► E-mail Lisa | 816-805-8918 Copyright © 2021 by Lisa Waterman Gray Site Development by Limestone9Consulting |


 RSS Feed


